There are 3 steps that we recommend SharePoint site owners follow to ensure your site is using the correct permissions:
- restrict site sharing permissions
- add a shortcut to your SharePoint folders from your OneDrive
- regularly check who has access to your documents
Restrict site sharing permissions
We recommend that SharePoint site owners restrict site sharing permissions so that only you can grant access to files and folders. This means you will have more control over who is accessing your files.
You will need to ensure you have at least 2 site owners so that any access requests can be managed when the other site owner is unavailable or on leave.
-
If you have SharePoint site connected to a Team in Microsoft Teams you will need to open the site in a web browser first. Go to the 'Files' tab in your Teams site and select the 3 dots next to the 'Download' option in the top menu.
-
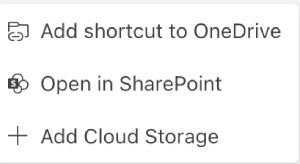
Select 'Open in SharePoint' from the expanded menu options.
-
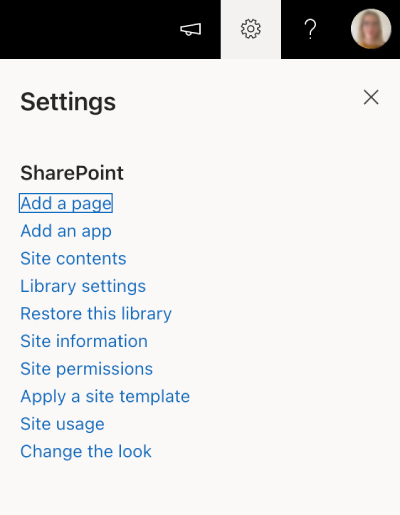
Select the cog icon in the top right corner of the SharePoint menu. From the expanded menu select 'Site permissions'.
-
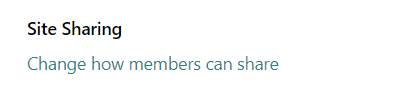
Select the link 'Change how members can share' below 'Site Sharing'.
-
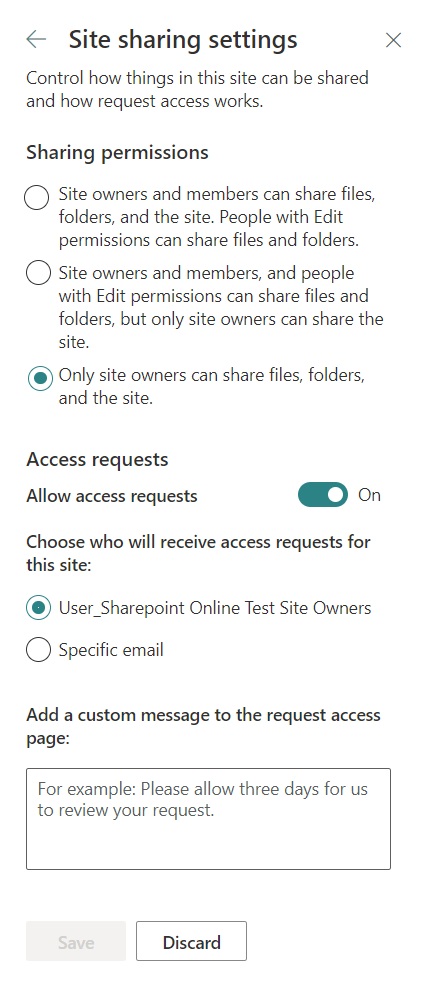
On this screen, select 'Only site owners can share files, folders, and the site'.
You can also switch off 'Allow access requests' if you do not want users requesting access to files.

Add a shortcut to your SharePoint folders from your OneDrive
We recommend adding a shortcut to your SharePoint folders from your personal OneDrive so that it's easier to manage permissions. You're able to see who has access to each file and folder using this shortcut.
-
If you have SharePoint site connected to a Team in Microsoft Teams you can do this from Teams.
Go to the 'Files' tab in your Teams site and select the 3 dots next to the 'Download' option in the top menu.
-
Select 'Add shortcut to OneDrive' from the expanded menu options.
-
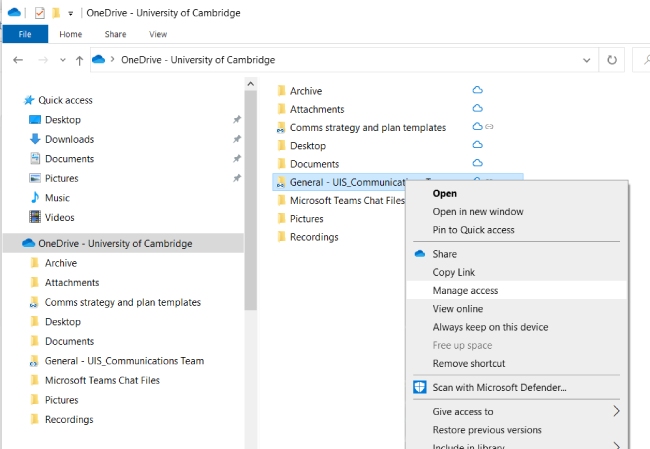
If you then go to your file directory, you should see the shortcut in your OneDrive folder. You can see this in Windows by opening your 'File Explorer'. If you're using macOS, you need to open 'Finder'.
Right-click on the new shortcut folder and you'll see more options. Select 'Manage access'.
-
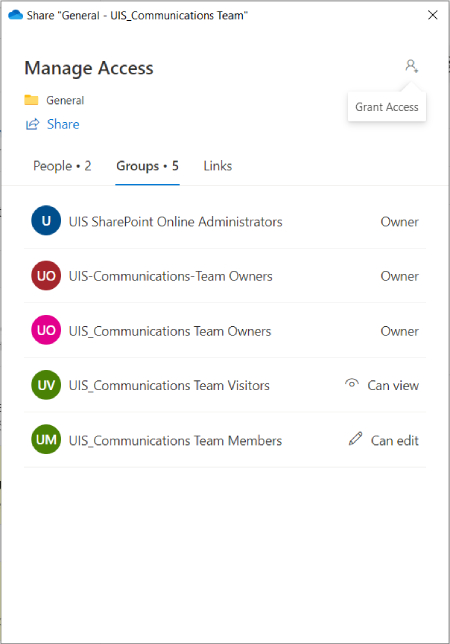
On the pop-up window, there are 3 tabs you can review to see who has access to the folder: People, Groups and Links:
- People will show you individuals who the document has been shared with
- Groups shows you an overview of the SharePoint user groups who have access to your folder
- Links shows you the different share links for your folder and who has access
-
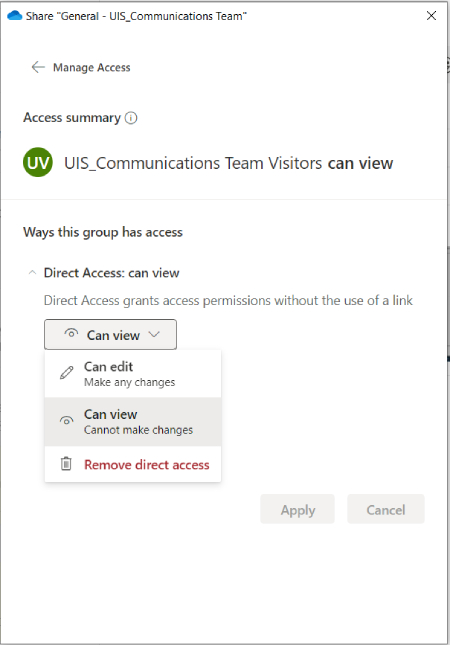
You can stop Members or Visitors viewing or editing folders by selecting 'Can view' or 'Can edit' and selecting 'Remove direct access'.
-
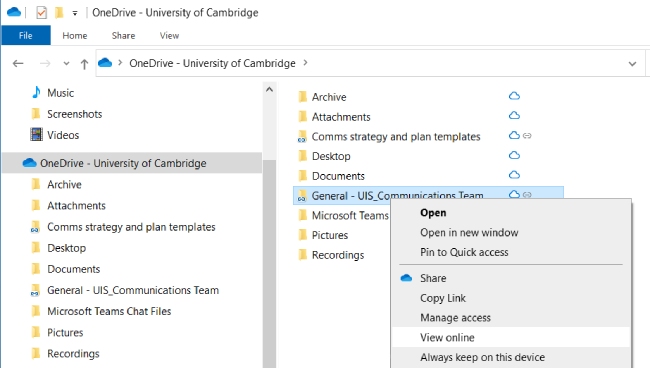
If you want to review the full site permissions so that you can add or remove users from the Members or Visitors groups, you need to do this in the browser.
Go back to your OneDrive in File Explorer or Finder on macOS. Right-click on the SharePoint folder shortcut and select 'View Online' from the expanded menu.
-
Select the cog icon in the top right corner of the SharePoint menu. From the expanded menu select 'Site permissions'.
You can follow the instructions on the Manage SharePoint site permissions page to add and remove users to the Members or Visitors groups.
Regularly check who has access to your documents
You should regularly check that only the correct users have access to your SharePoint files and folders. It is a good idea to keep a record of who should have access to your SharePoint sites. You can do this by:
- creating a spreadsheet
- keeping a copy of access request emails for individual documents in a folder in Outlook
- adding a notes field in your SharePoint document library to record permissions
You should check the site permission settings match your records of who should have access. The Microsoft support website explains how you can also check folder permissions and file sharing for individual documents.
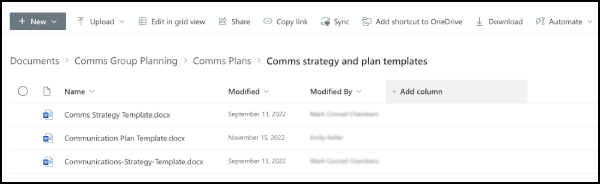
Add a notes field to your SharePoint document library
-
Select 'Add column' in your chosen document library folder.
-
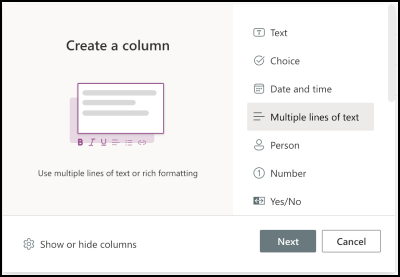
In the pop-up window that appears, select 'Multiple lines of text'.
-
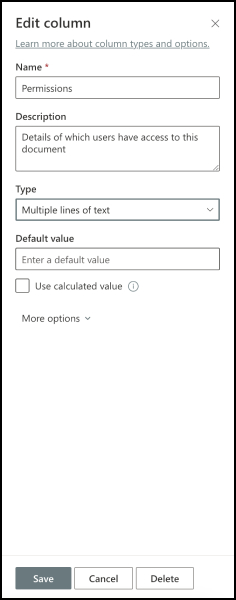
Name your new field 'Permissions' and give it a relevant description.
-
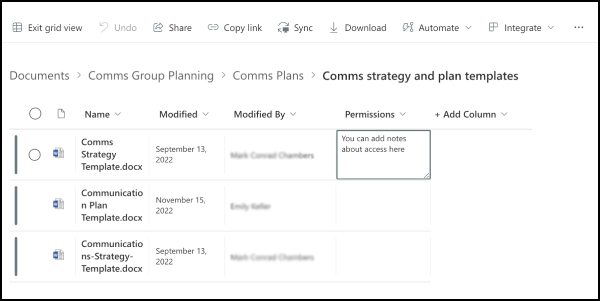
In the menu, select 'Edit in grid view'.
-
You can now make notes about who should have access to each document.