Shared mailboxes can be used either by a group of people – such as an HR team answering the same email enquiries – or by an individual with a specific named role – such as bursar@st.botolphs.cam.ac.uk.
If you are looking for emails to be sent to a group of personal mailboxes then a mail distribution group would be more suitable. Local IT staff have access to create these via Toolkit – contact your local IT support if you need either a new shared mailbox or distribution group to be set up. If you don't have an IT support team at your institution, please contact the UIS service desk.
Connecting to a shared mailbox in Outlook
Follow Microsoft's instructions for adding a shared mailbox in:
If you're using Outlook for the PC, follow the instructions as for adding a personal account, but enter the shared mailbox address for the email address. When you are prompted for credentials, it will list the shared mailbox email address as the username. Select 'Sign in with another account' and then enter your own CRSid@cam.ac.uk address as the username:
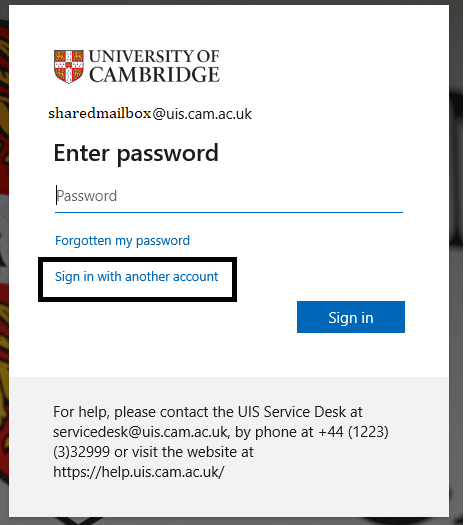

Select 'Next' and then enter your Raven password and complete the multi-factor authentication process to sign in.
Connecting to a shared mailbox in other apps
For other desktop mail apps that support modern authentication, use the following settings to connect to a shared mailbox that you have authority to access. In this example, your username is your individual mailbox in the format [CRSid]@cam.ac.uk and the shared mailbox is in the format [mailbox]@[domain].cam.ac.uk.
IMAP
- IMAP server: outlook.office365.com
- IMAP port: 993
- IMAP connection security: SSL/TLS
- IMAP username: [mailbox]@[domain].cam.ac.uk
- IMAP authentication method: OAuth2
SMTP
- SMTP server: smtp.office365.com
- SMTP port: 587
- SMTP connection security: STARTTLS
- SMTP username: [CRSid]@cam.ac.uk
- SMTP authentication method: OAuth2
When authenticating, you'll see the usual Cambridge University screen for your username, password and then multi-factor authentication (MFA). You must ensure that your username on that screen is [CRSid]@cam.ac.uk, not [mailbox]@[domain].cam.ac.uk.
Unfortunately, Apple Mail currently doesn't support shared mailboxes for two reasons. It's no longer possible to access a shared mailbox via IMAP in Apple Mail because Microsoft has retired the basic authentication method used for this approach. You also can't add a shared mailbox as an Exchange account because Apple Mail doesn't allow you to connect to a mailbox with a differing email address and username.
How to set up your Exchange Online mailbox with an @cam subdomain email address – such as @botolphs.cam.ac.uk – using the Outlook Windows desktop client.
In most cases, following the standard Microsoft instructions will work, but for older versions of Outlook or devices on a managed network, you may see an error that an encrypted connection cannot be made:
In this case, follow these instructions to fix the AutoDiscover issue:
- If you haven't already done so, download and run this configuration script:
- With Outlook closed, open regedit and browse to:
HKEY_CURRENT_USER\SOFTWARE\Microsoft\Office\16.0(or 15.0 for 2013 etc)\Outlook\AutoDiscover
- Copy the cam.ac.uk registry string’s value data.
- Create a new string value (right click > new > string value) and name it the domain you want – for example, botolphs.cam.ac.uk.
- Right-click on the created string and select Modify.
- Paste the value data into the value data field.
- This should now work and follow your roaming profile around.
You'll need a registry key for each domain
You'll need a key for each domain. For example, if you had an @lib.cam.ac.uk shared mailbox but your main mailbox was @cam.ac.uk, you would need 2 registry keys.
Do not delete your @cam registry key.