-
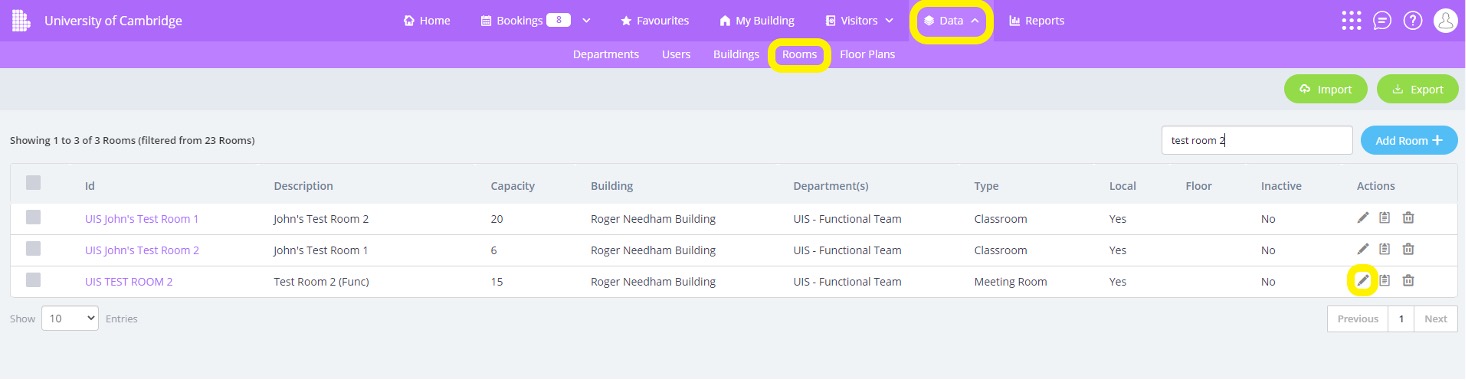
In the toolbar menu at the top, go to Data > Rooms. Find the room you want to set up in the list and select the pencil icon to edit.
-
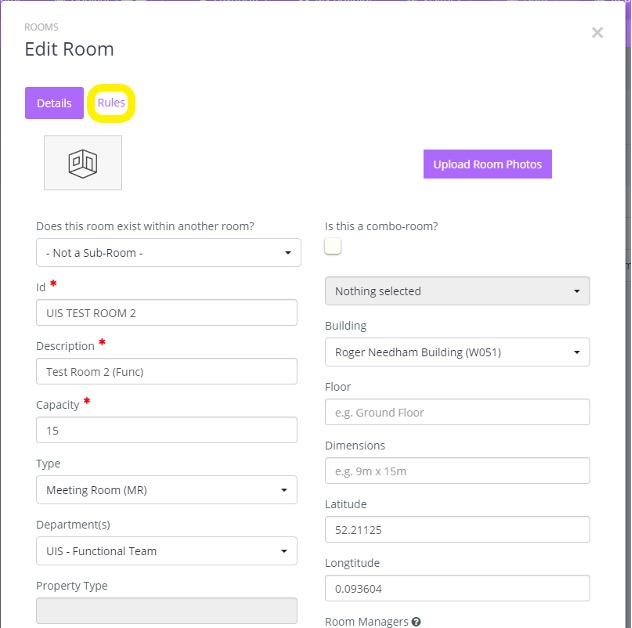
In the 'Edit Room' screen select 'Rules'.
-
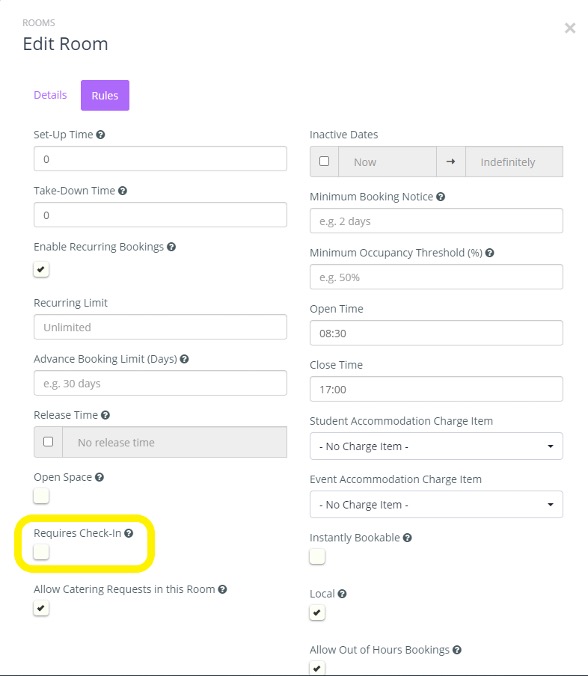
Select the 'Requires Check-in' checkbox, so that the box is ticked.
-
Select 'Update Room' to save the changes. The room or resource is now set up to require check-in. You now need to set up the QR code.
-
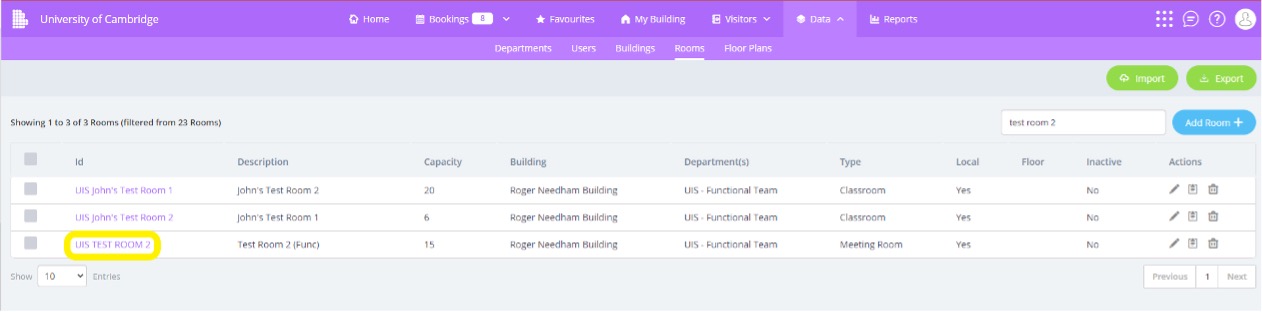
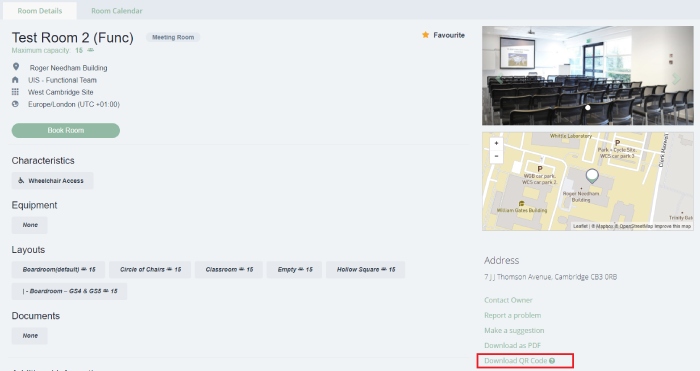
Go to Data > Rooms. Select the relevant room from the list.
-
On the 'Room details' tab select 'Download QR Code'. The file will download.
-
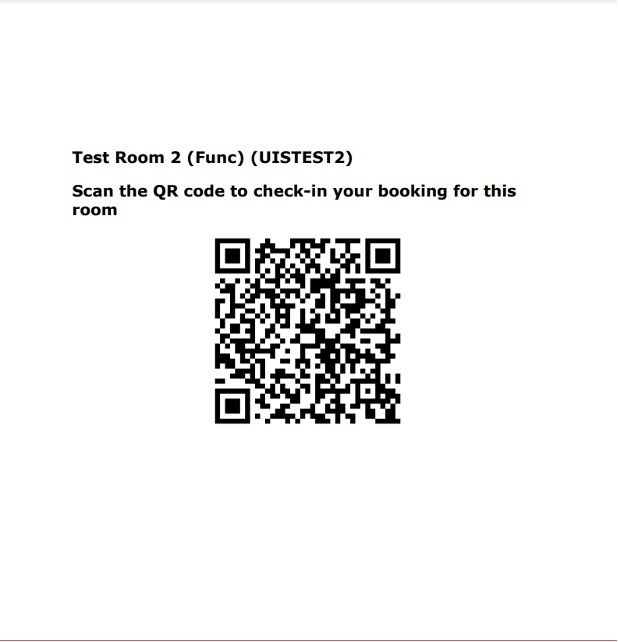
Select the downloaded file to open. You can also find this file in your downloads folder.
-
Print the QR code and place next to the room, hot-desk or resource. We recommend that you laminate the QR code. Room requestors can now scan this to check-in.