We ask that you either remove a user from your department or deactivate their account in Booker, instead of deleting their account:
- Remove a user from a department: To remove a user from a department, including Department Managers, the process involves disabling their ability to make bookings for departmental meeting rooms while retaining access to other department bookings or resources accessible to all users. Additionally, if a colleague previously held the role of Department Manager and is no longer in that position, steps must be taken to revoke their administrative access to the department.
- Deactivate a user: disable a user account if they leave the University or move to a role where they no longer need access to Booker
- Reactivate a user: reactivate a user who needs access to Booker again
Removing a user from a department
-
In the toolbar menu, go to Data > Users.
-
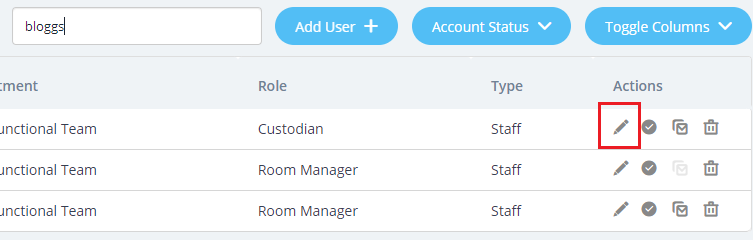
Find the user in the list below. You can type part of their name, CRSid, or email address in the search box at the top to filter the list.
-
Once you have found the right user, select the pencil icon under the Actions column on the right.
-
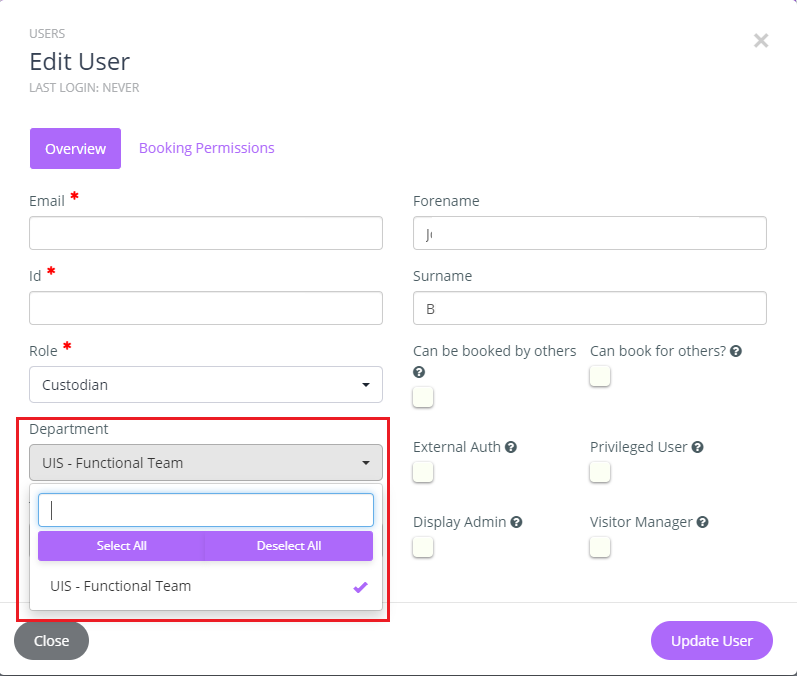
On the pop-up window, find the 'Department' dropdown and untick the department you want to remove.
-
If you are deactivating a current Department Manager, kindly ensure to downgrade the user to a Room Requestor role. If the user is linked to other departments where the remover lacks administrative privileges, this field will be inaccessible. In such cases, please reach out to the Room Booking System team for assistance.
-
Select 'Update User' to confirm the changes.

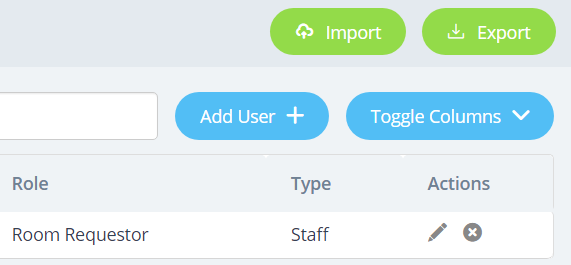
The room requestor will now only have access to any other departments that they are associated with in Booker and any rooms available to all users.
Deactivate a user
-
In the toolbar menu, go to Data > Users.
-
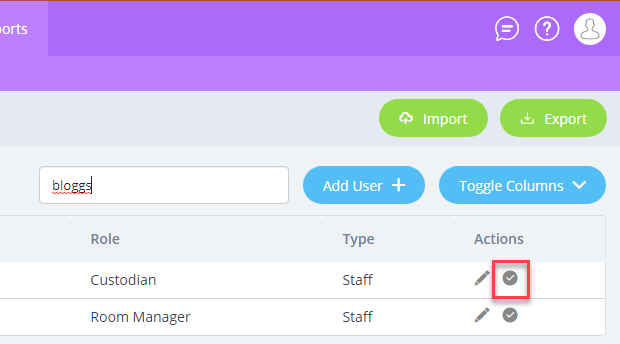
Find the user in the list below. You can type part of their name, CRSid or email address in the search box at the top to filter the list.
-
Once you have found the right user, select the tick icon under the Actions column on the right.
-
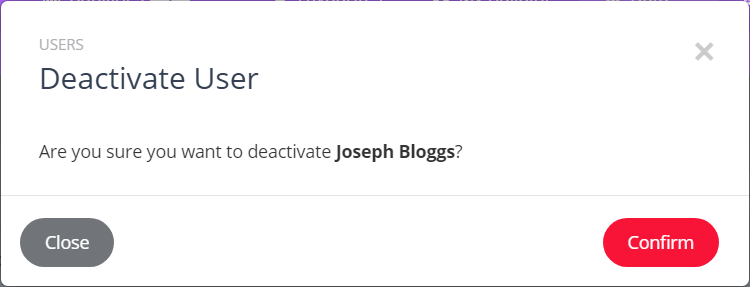
Select 'Confirm' in the pop-up window to deactivate the user. The tick is replaced by a cross underneath the Actions tab.

Reactivate a user
-
In the toolbar menu, go to Data > Users.
-
Find the user in the list below. You can type part of their name, CRSid or email address in the search box at the top to filter the list.
-
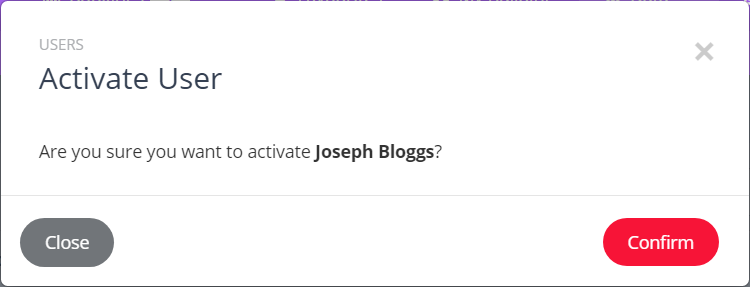
Once you have found the right user, select the cross icon under the Actions column on the right.
-
Select 'Confirm' in the pop-up window to reactivate the user. The cross is replaced by a tick underneath the Actions tab.