You can use the Panopto desktop recorder to create educational videos. The videos are recorded on your computer and automatically uploaded to Panopto, where you can review and edit it before you publish it to a Moodle course.
In order to create a recording, you need to have installed the Panopto desktop recorder for either Windows or Mac and have at least a microphone (either built-in or externally connected). You can also record from a webcam (built-in or externally connected), visualiser or document camera. You can purchase USB-connected visualisers, document cameras, and webcams from various online retailers if required.
A video usually includes audio and one or more video sources, such as a slide presentation, your computer display (for example, to show content from a web browser or other program), or a video of yourself speaking. Panopto desktop recorder supports a single audio feed and multiple video feeds. Examples of sources used when creating educational videos include but are not limited to:
-
A slide presentation (Powerpoint or Keynote) with the voice of the speaker and (optional) video.
-
A slide presentation with recording from a second computer display showing other material, with voice and (optional) video of the speaker.
-
A slide presentation combined with a video feed from a visualiser or document camera and voice recording.
-
A video feed from a visualiser or document camera with voice and (optional) video of the speaker.
Read about the use of copyright materials in recorded teaching sessions.
Before you begin recording, you will need to decide if you want to record online or offline.
To record online you will need to sign in to Panopto. You can record offline to your computer but you will need to sign in to upload your recordings to the Panopto server. Once you have signed in, you will be able to select the Course Folder or My Folder for your recordings to be saved.
Create a video using Panopto desktop recorder for Windows
-
Open the Panopto desktop recorder. (You can also launch the recorder directly from Panopto: at the top of the webpage, click Create > Create new recording.)
-
Under Session Settings, ensure the Folder is set to My Folder. When you have finished recording, the video will be uploaded to this folder, where it will only be visible to you. This ensures you can review and edit the video before sharing it more widely. If you select a different folder, the recording will be visible to a wider audience before you can review it.
-
In the Name box, enter a name for the recording. You can edit this after the recording has been created and uploaded. The default title will be the date and time of the recording.

-
Specify the sources you want to record:
-
The Primary Sources include the single audio source and one video camera source. You do not have to include a primary video source (for example, if you want to create a recording that consists of only slides or your screen and audio). The recorder will not allow you to record unless you have specified an audio source.
-
The option Capture Computer Audio should be cleared unless you specifically need to capture computer audio. Select this option to record audio from presentation materials or applications (in addition to audio captured from the mic). To avoid computer audio also being captured by the mic and distorting the sound during playback, turn down the computer volume while recording; this does not affect the volume of computer audio during playback. Note that all computer audio, such as notification sounds, will be recorded when this option is selected.
-
You can add multiple secondary video sources, including a Powerpoint or Keynote presentation, one or more screens, and one or more cameras (depending on what is connected to your computer). If you have multiple secondary sources, use the tabs above the preview to check each one. Note that Capture PowerPoint means that that any slides containing text (excluding images of text) will be indexed to create chapters and their content will be searchable, but that any cursor movements or animations are NOT captured. To include cursor movements or animations, use Capture Screen instead or in addition to capturing the Powerpoint.
-
When viewing a recording via Moodle, students can display the primary source video alongside one secondary source video or view a single video in full-screen mode. Students can switch between secondary source videos, but they cannot display multiple secondary source videos at the same time.

-
Click the red record button to start the recording.

-
You can pause the recording as needed. Panopto desktop recorder continues to capture the selected sources while the recording is paused but marks the content as a cut. When editing a recording, you can include content from the paused section in the published video.
-
When you have finished, click Stop. After stopping the recording you will see a summary of the recording. To save the recording and upload it to the Panopto folder you specified, click Done. If you weren't happy with it, you can delete the recording and start again.

For tips on how to create a better video, refer to Panopto's Recording Best Practices.
Important note on Panopto folders
If you selected a course folder rather than My Folder to upload your video to on completion, the video will be made available to students via Moodle as follows:
-
If the course folder is set to publish immediately the video will be available to students through the Moodle block straight away.
-
If the course folder is set to be available when approved, this will require a teacher or 'publisher' from the course to approve the video.
To ensure the recording remains private until you are ready to share it with other teachers or students, ensure My Folder is selected. For more information on folder availability settings, see Publishing a video to Moodle.
For more detailed information on the Panopto desktop recorder, see the Panopto guidance (Windows, Mac). For guidance on reviewing and editing a video prior to publishing it to Moodle, see Reviewing and editing videos in Panopto.
Create a video using Panopto desktop recorder for Mac
In order to create a recording, you need to have installed the Panopto desktop recorder for Mac and have at least a microphone (either built-in or externally connected). You can also record from a webcam (built-in or externally connected), visualiser or document camera. You can connect USB-connected visualisers, document cameras and webcams if required.
Sign in options:
Option 1 – Sign in to upload offline recordings from your device to the Panopto server.
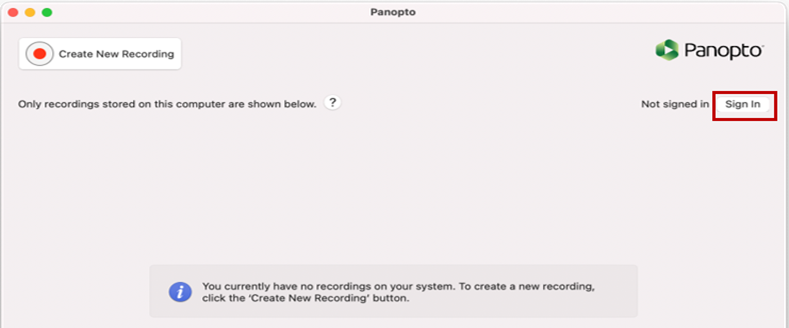
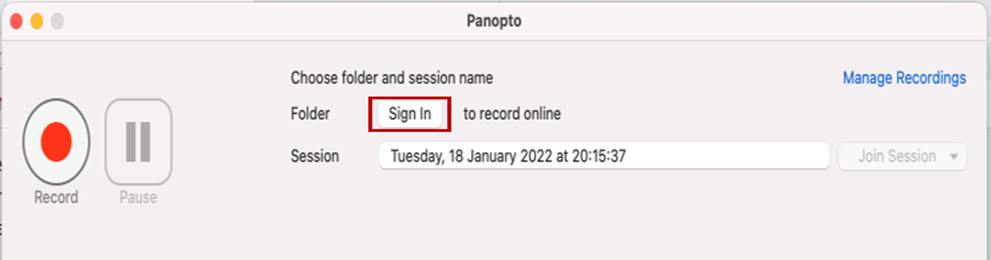
If you do not sign into Panopto, your recordings will be saved offline on your device. To sign in, click the Sign In button on the first window you are presented with after opening the Mac Panopto recorder.
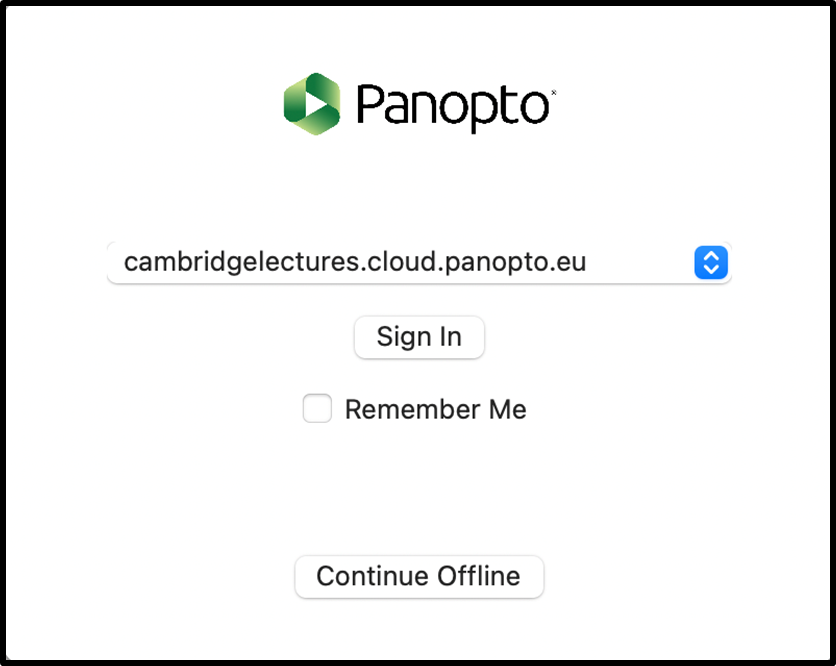
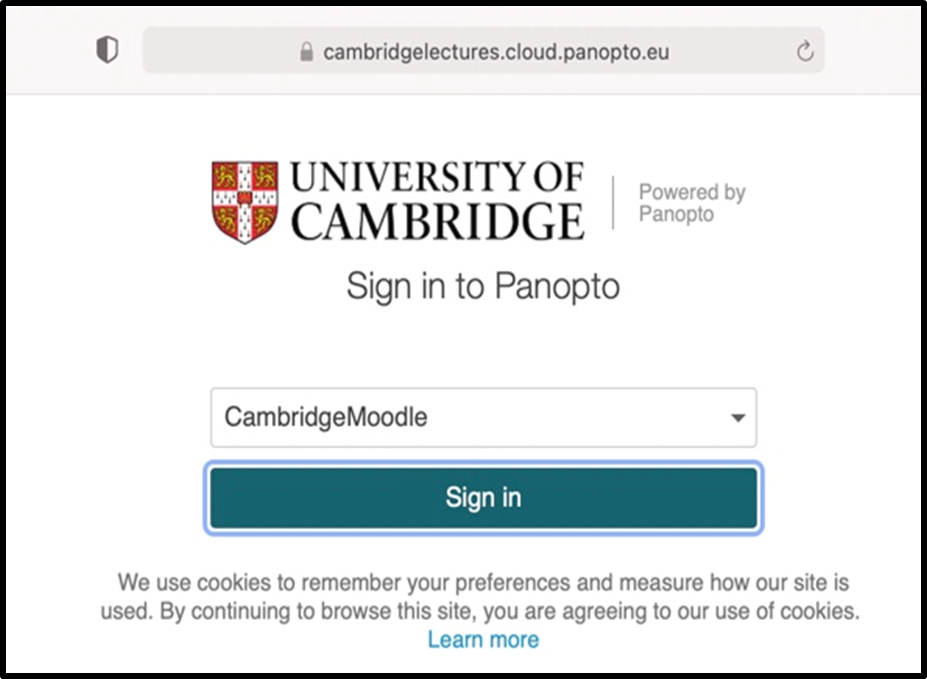
Please note, upon clicking the sign-in button for both option 1 and option 2, you will see the following sign-in windows for Moodle and Panopto. When you enter your Moodle login credentials, you will need to log in to Panopto by selecting the 'Raven' or a 'Friends' user.
Please note, if you are logging in with a different Moodle instance, you will need to select the appropriate Moodle instance from the dropdown list in the second window below. By default, it will show Cambridge Moodle. Other Moodle instances you can select to log in with are ICEMoodle and Cambridge School of Clinical Medicine.
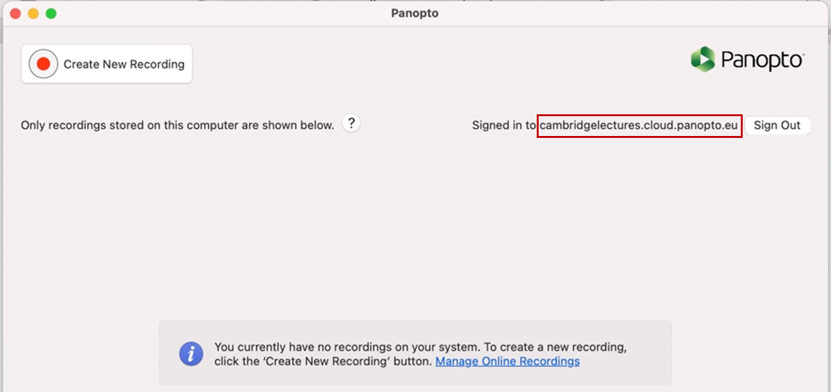
After you have signed in to Panopto, using option 1, the recorder window will confirm you have access to the CU Panopto server cambridgelectures.cloud.panopto.eu. This window can then be used to upload any offline recordings that you have sitting on your device. The offline recordings will be listed at the bottom of the window which can be uploaded by selecting the offline recording, a destination folder, and then by clicking the Upload button.
Option 2 – Sign in to Panopto to record online using the desktop recorder
-
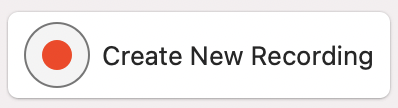
To open the Panopto desktop recorder window for online recording. Click> Create New Recording.
Sign in to Panopto using the Sign In button. Once signed in, you'll have the option of selecting My Folder or a Course Folder where the recordings will be uploaded. If you select a course folder, the links to the recordings will automatically be made available to the viewers in the course Panopto block in Moodle.
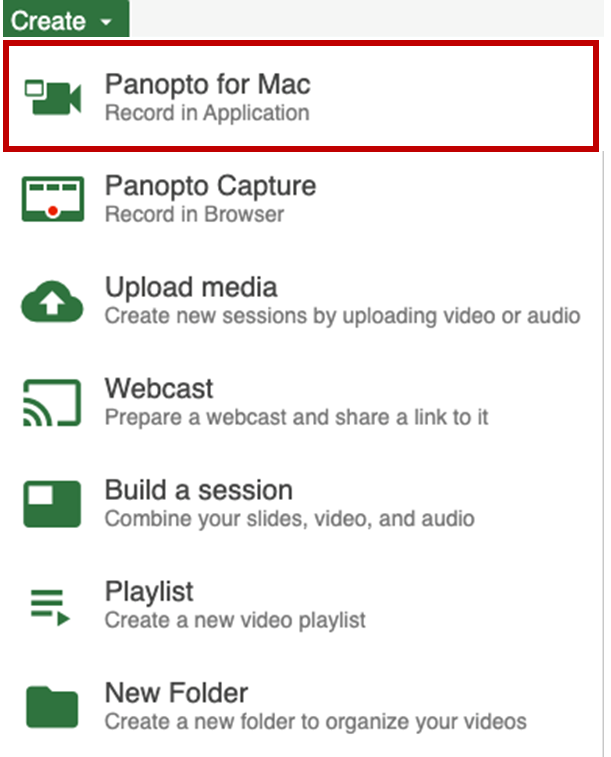
(You can also launch the recorder directly from Panopto: at the top of the webpage, click Create > select Panopto for Mac Record in Application.) Note this will not work if the Mac Panopto recorder is not installed on your computer.
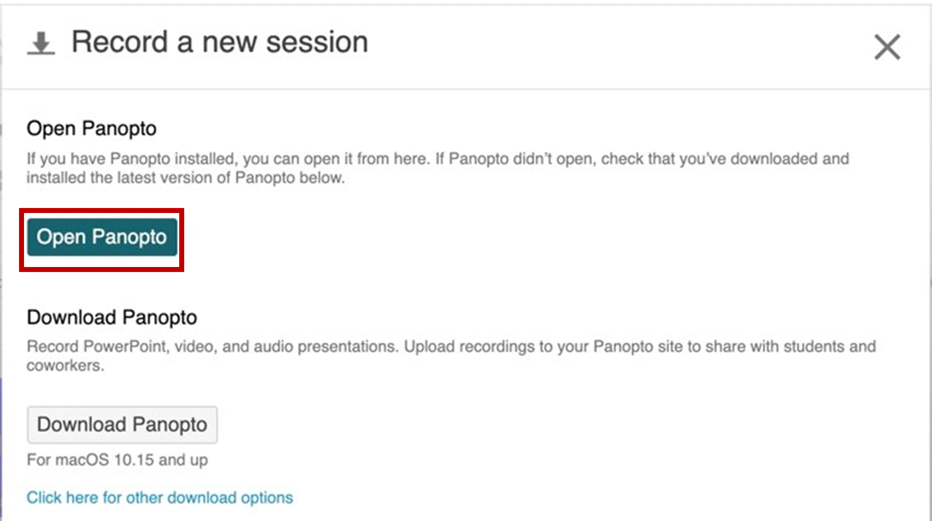
Select Open Panopto, it will open the Mac desktop recorder and automatically log you into Panopto. It will also select the course folder for you; you can change the folder before recording a session.
-
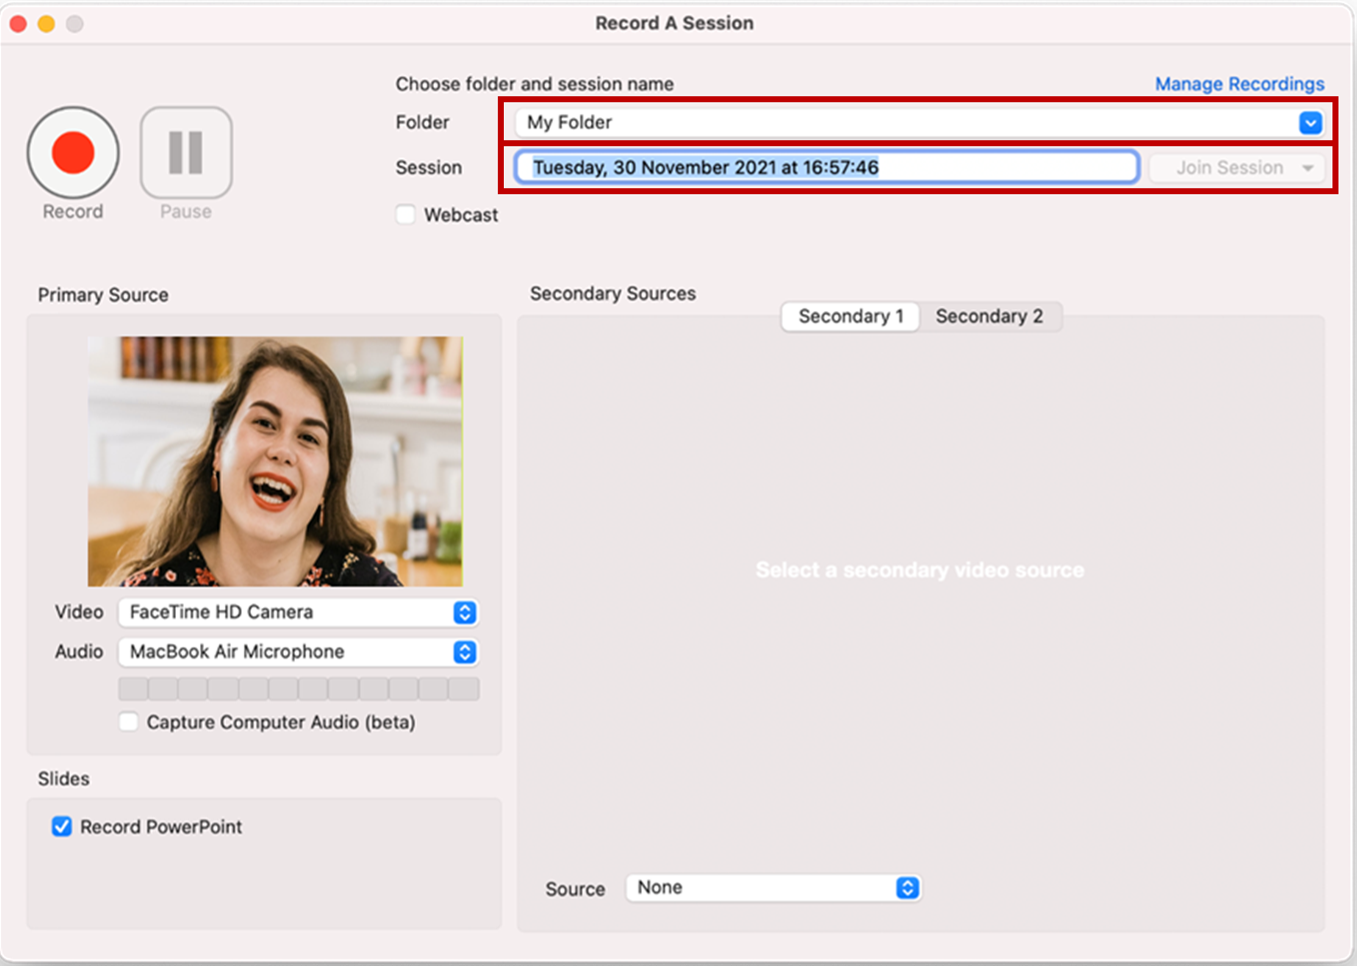
Under Choose Folder and Session Name, ensure the Folder is set to My Folder (select the folder using the blue dropdown arrow). When you have finished recording, the video will be uploaded to this folder, where it will only be visible to you. This ensures you can review and edit the video before sharing it more widely. If you select a different folder such as a course folder, the recording will be visible to a wider audience before you can review and edit it.
-
In the Session box, Panopto will provide by default the Day, Date, and Time of the session. You can delete the Day, Date, and Time and enter a name for the recording. You can also keep the Day, Date, and Time of the session and add the name of the session before or after it. You can edit this after the recording has been created and uploaded to Panopto.
-
Specify the sources you want to record:
-
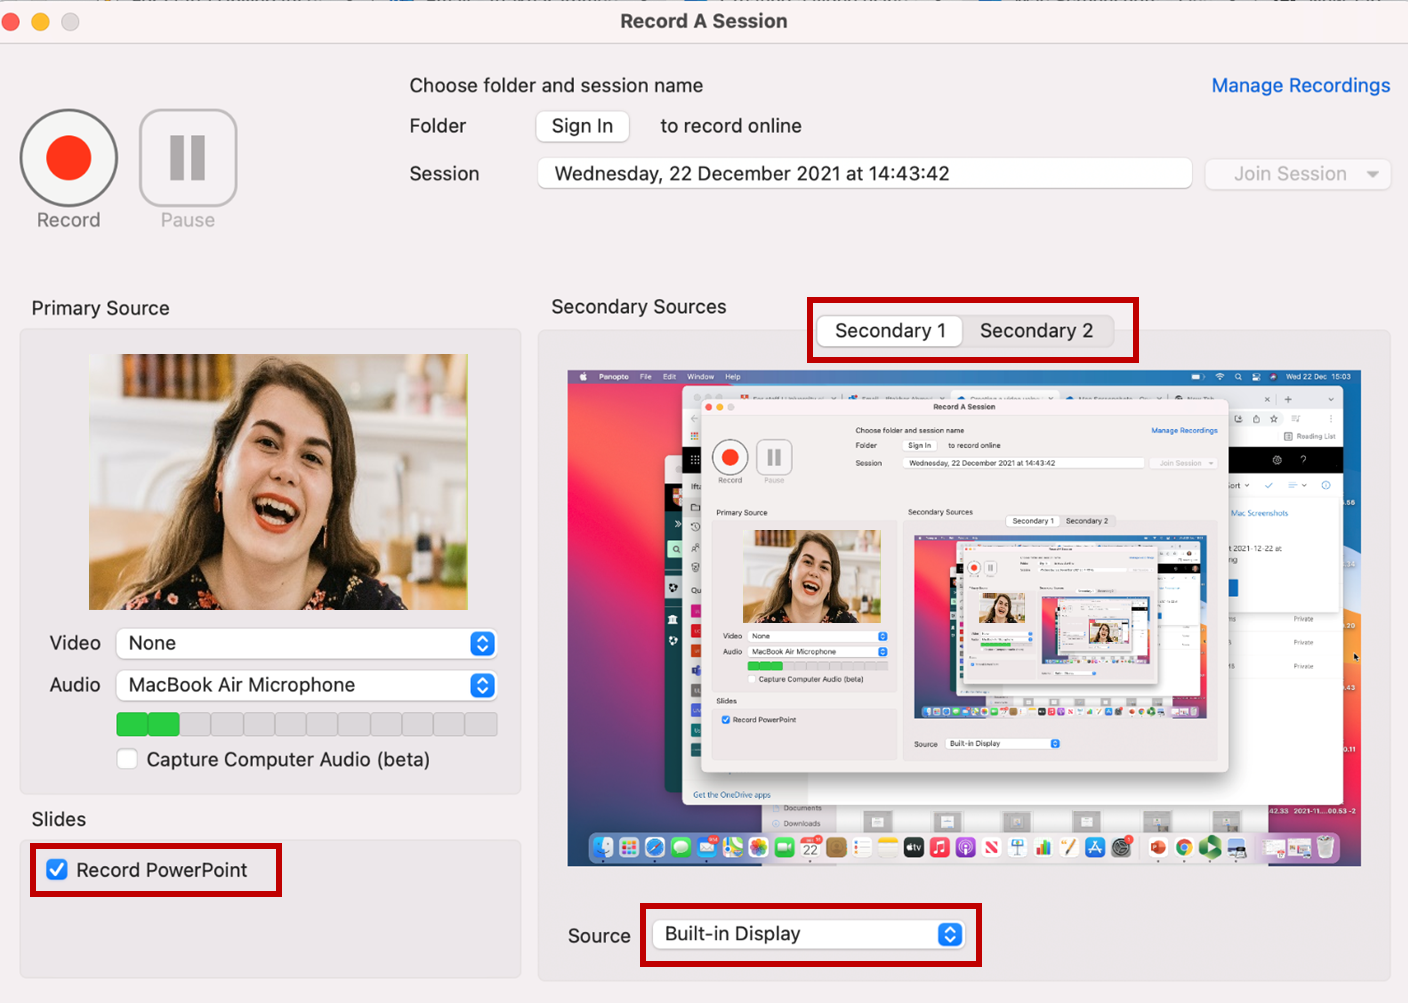
The Primary Sources include the single audio source and one video camera source. You do not have to include a primary video source (for example, if you want to create a recording that consists of only slides or your screen and audio).
-
The option Capture Computer Audio should be cleared unless you specifically need to capture computer audio. Select this option to record audio from presentation materials or applications (in addition to audio captured from the mic). To avoid computer audio also being captured by the mic and distorting the sound during playback, turn down the computer volume while recording; this does not affect the volume of computer audio during playback. Note that all computer audio, such as notification sounds, will be recorded when this option is selected.
-
You can also add two additional video sources, including a Powerpoint presentation, one or more screens, and one or more cameras (depending on what is connected to your computer). If you have two secondary sources, use the tabs above the preview to check each one. Note that Record PowerPoint means that any slides containing text (excluding images of text) will be indexed to create chapters and their content will be searchable, but that any cursor movements or animations are NOT captured. To include cursor movements or animations, use Built-in Display instead or in addition to capturing the Powerpoint.
When viewing a recording via Moodle, students can display the primary source video alongside one secondary source video or view a single video in full-screen mode. Students can switch between secondary source videos, but they cannot display multiple secondary source videos at the same time.
-
Click the red Record button to start the recording.

-
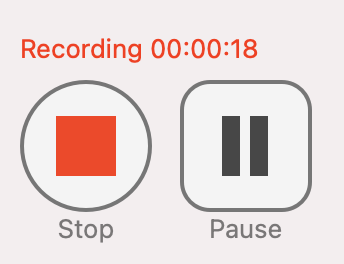
You can pause the recording as needed. Panopto desktop recorder continues to capture the selected sources while the recording is paused but marks the content as a cut. When editing a recording, you can include content from the paused section in the published video.
-
The recording can be paused by clicking the Pause button
-
When you have finished, click Stop. After stopping the recording you will see a summary of the recording. To save the recording and upload it to the Panopto folder you specified, click Done. If you weren't happy with it, you can delete the recording and start again.
For tips on how to create a better video, refer to Panopto's Recording Best Practices.
Important note on Panopto folders
If you selected a course folder rather than My Folder to upload your video to on completion, the video will be made available to students via Moodle as follows:
-
If the course folder is set to publish immediately the video will be available to students through the Moodle block straight away.
-
If the course folder is set to be available when approved by a publisher, this will require a teacher or 'publisher' from the course to approve the video. Warning, this will send out notification emails to all the creators (teachers) on the course to remind them to publish the recording.
-
You also have the option to set the recording to be automatically published on a specific date and time or set it to never.
To ensure the recording remains private until you are ready to share it with other teachers or students, ensure My Folder is selected. For more information on folder availability settings, see Publishing a video to Moodle.
For more detailed information on the Panopto desktop recorder, see the Panopto guidance (Windows, Mac). For guidance on reviewing and editing a video prior to publishing it to Moodle, see Reviewing and editing videos in Panopto.