This guide is for new users of University-managed macOS devices. These are known as University Managed Desktop (UMD) devices.
There are some simple steps to help you get set up as quickly as possible.
Before you start
If you're new to the University, you must collect your University IT account before setting up your new device.
Expect the setup to take between 30 minutes and 1 hour.
Initial setup
1. Unpack your new device and switch it on.
2. Select "English (UK)" as your language.
3. Select "United Kingdom" as your region.
4. Select "Set up as new" from the Transfer Your Data to This Mac screen.
5. Choose any of the accessibility options that you require or select "Not now".
6. Choose and connect to a University network such as UniofCam-Guest when prompted. You cannot connect to the eduroam wifi network for set up. If you are starting remotely, use your home wifi.
7. Your device will be enrolled into remote management during the initial configuration. This ensures that your laptop remains under the control of University Information Services (UIS) if the device is lost or stolen.
Before you can enrol your device, it needs to be updated to the latest version of macOS available. It can take around 30 minutes to complete the update
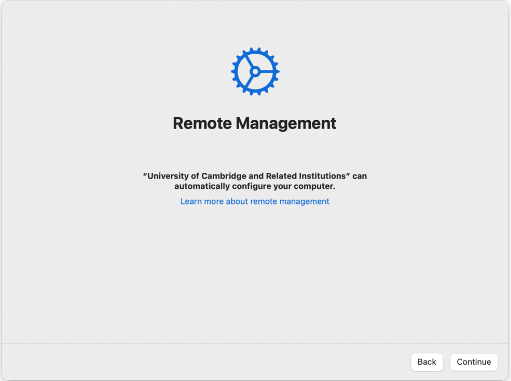
If you do not see a screen confirming that your device has been enrolled in remote management, please contact the Service Desk providing the following information:
- Device Serial Number
- Asset tag number (you may have a sticker with your device saying 'University Managed Desktop' followed by a service tag reference. Don’t worry if not.)
8. Authenticate with your @cam.ac.uk email address and University IT account password (formerly Raven).
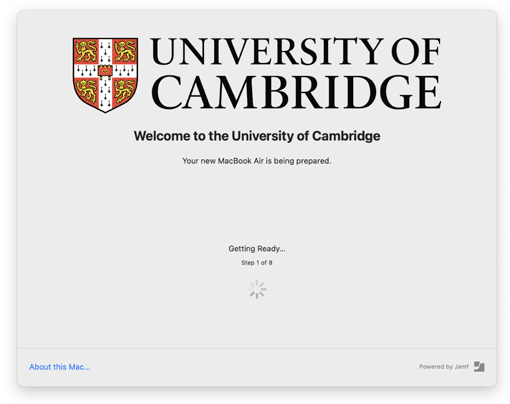
9. Setup Manager will appear with the message “Getting Ready…
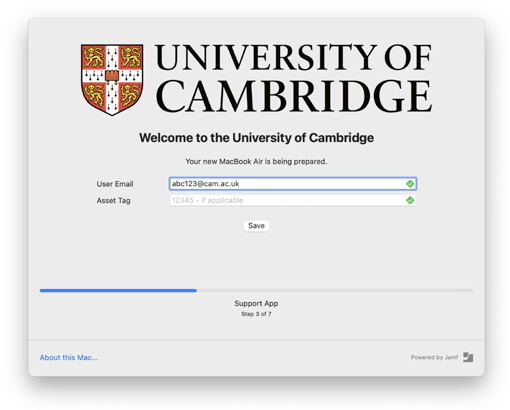
10. You'll see your email address is already populated on the next screen. Enter the asset tag number, if applicable, then select “Save”.
Standard Apps are being installed as the Progress bar shows. Once this is complete, select “Continue” or wait for it to progress automatically.
11. The full name and account name fields will be pre-filled. Enter a strong password, we recommend at least 16 characters. A phrase of unconnected words separated by another character, such as Tango-Teakettle-Barbecue is easy to remember but difficult to crack. See more password advice.
Select "Continue". The account will have local administrator rights.
12. We recommend that you enable Location Services.
13. FileVault Disk Encryption must also be enabled.. Select “Continue”.

14. We recommend that you enable Touch ID. This allows you to authenticate and unlock the device using a fingerprint. Follow the guide to enable it.
15. Choose your preferred display. Allows you to select either Light, Dark or Auto mode. Choose the colour scheme that you prefer.
After initial setup
Installing software
You can install software through the Self Service app found in the Applications folder. Find out more about installing software using the Self Service app.
If you need Adobe Acrobat Professional software, your manager will need to buy a licence first. You can then complete the general software request form and upload the purchase order. After this, you will see the software available for download.
If you need software that is not listed in the app, you can request it using the software request form.
Connecting to wifi
Set up your device to connect to eduroam wifi network. Automatically stay connected across most University buildings and some open spaces in Cambridge.
Setting up Outlook
- Download the Outlook app from the Self Service app.
- Go to Finder then Applications on a Mac. You should see Outlook in the list of apps.
- On the ‘Welcome to Outlook’ screen, enter your [your crsid]@cam.ac.uk and select "Connect".
- On the next screen your email address should be prefilled. Enter your University IT account password (formerly called Raven) password on the following screen.
- You’ll be asked to authenticate with the second-factor authentication method.
- Your email account should then load.
You can add a shared mailbox if you need access to one.
You will also need to create a new email signature. You can use the University standard email signature template if needed.
Setting up Teams
- Download the Teams app from the Self Service app.
- Go to Finder then Applications on a Mac. You should see Teams in the list of apps.
- On the sign in screen, enter your email address. Use your crsid@cam.ac.uk, not your @admin email address. Select "Next".
- On the next screen, enter your University account password (formerly called Raven).
Accessing your files and folders
OneDrive
- Download the OneDrive app from the Self Service app.
- Go to Finder then Applications on a Mac. You should see OneDrive in the list of apps.
- On the sign in screen, enter your email address. Use your crsid@cam.ac.uk, not your @admin email address. Select ‘Next’.
- On the next screen, enter your University account password (formerly called Raven).
Shared drives
Resources you have permission to access will be available via shared drives. You will need to ask your line manager or your local IT team if you have any questions about access.
To access shared drives, you must manually connect them to your Mac.
If you are not on the University network, you will need to be connected to the VPN to do this.
- Choose "Connect to Server" from the Go menu in Finder
- Enter: smb://blue.cam.ac.uk/group/
- Click “+” to save it as a Favourite
- Click “Connect “
- Enter your CRSid and University IT account password. Click “Remember this password in my keychain” to easily access the storage again
- Click “Connect”
When you sign out of your Mac, the shared drives will be disconnected. To reconnect, do the following:
- Choose “Connect to Server” from the Go menu in Finder
- Pick "smb://blue.cam.ac.uk/group/" from the list on favourites
- Click “Connect”
SharePoint
You may also have a SharePoint team site for storing shared documents that you can collaborate on with your team.
Find out more about SharePoint
Printing
To print from a macOS device to a University-managed printer you will need to have Print Deploy installed, and be on the University network, or connected to the VPN.
Setting up your device for remote working
You can access most of the University's systems and online resources using your University account (formerly Raven). You may need to use a VPN to access certain University resources when away from the University network. For example, the Cambridge Human Resources Information System (CHRIS) or the Drupal content management system (CMS).
There is a general purpose University VPN but some specific departmental resources may need you to use a Managed VPN. Check with your colleagues if you're unsure which VPN you should use.
Keeping your operating system up to date
You must install the latest versions of Apple software to keep your device secure. The University Managed Desktop (UMD) service will also work better on the latest software versions.
Get help
Our advisors are available 24 hours a day via live chat for any IT-related queries. You can find the 'Live chat' button at the bottom of the contact us page.