Before you start
These instructions are for setting up eduroam on macOS. You must be running Monterey (12), Ventura (13), Sonoma (14) or Sequoia (15) because older versions aren't receiving security updates anymore. However, we strongly advise upgrading to the latest macOS version your device can support as older versions may have incompatible software or drivers required to connect to the latest model access points.
Follow the instructions for:
You can check which version of macOS your machine is running by selecting the Apple menu (the apple icon) in the upper-left corner of your screen and choose 'About This Mac'. The window that opens includes the macOS name followed by its version number.
Make sure you are in a location where the eduroam wireless network is available.
Set up eduroam on macOS Ventura, Sonoma or Sequoia
Step 1: Connect to UniOfCam-Guest wifi network temporarily
You need to be online while you set up eduroam. You should connect via UniOfCam-Guest or another local wifi network if your College doesn't offer UniOfCam-Guest. Or you could use a wired connection.
Step 2: Create a network access token
Create a network access token for your Mac. If you've connected to eduroam previously we still recommend that you create a new network access token.
You need to create a separate token for each of your devices and for each service. For example, if you want to connect to eduroam and the UIS VPN from both your laptop and phone, you need to create 4 tokens.
Use a meaningful username following the format CRSid+laptop@cam.ac.uk. It may be helpful to add the year if you've created network tokens previously. For example, ab123+laptop2024@cam.ac.uk. You will need to use lower case.
Keep the window with the new network access token open as you will need this when you are asked to enter a username and password later.
Create a new network access token on the Networks Access Token website.
Step 3: Install the eduroam profile on your device
-
You will need to download the eduroam profile onto each of your Apple devices. This profile stops the Apple Keychain from trying to share your password between devices which can stop eduroam working.
Download the eduroam profile (6.6 KB).
-
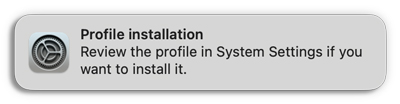
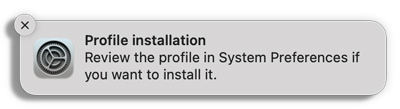
You should be prompted to save the file. Once you've saved it, double-click on the file to open it. You will see a notification saying "Review this profile in System Settings if you want to install it".
-
Open 'System Settings'. If you do not see the file here, you might need to click on it in your downloads to open.
-
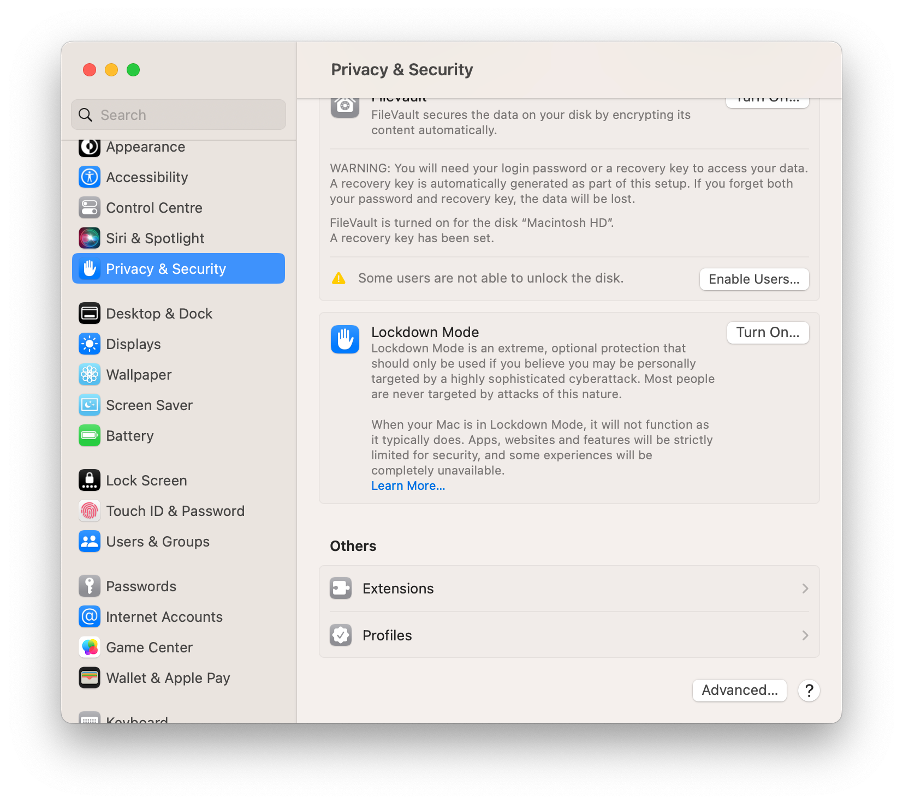
Select 'Privacy & Security' and then 'Profiles'.
-
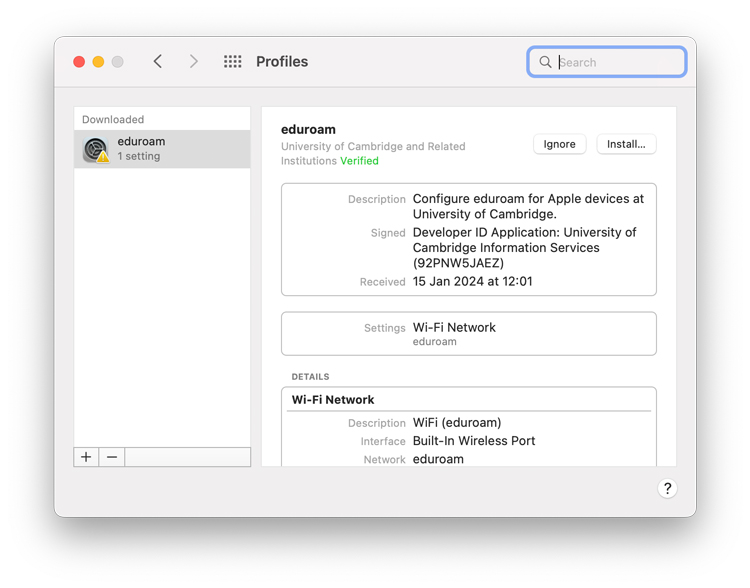
Select 'eduroam' in the 'Downloaded Profiles' list. If you do not see the file here, you might need to click on it in your downloads to open.
-
Select 'Install'.
-
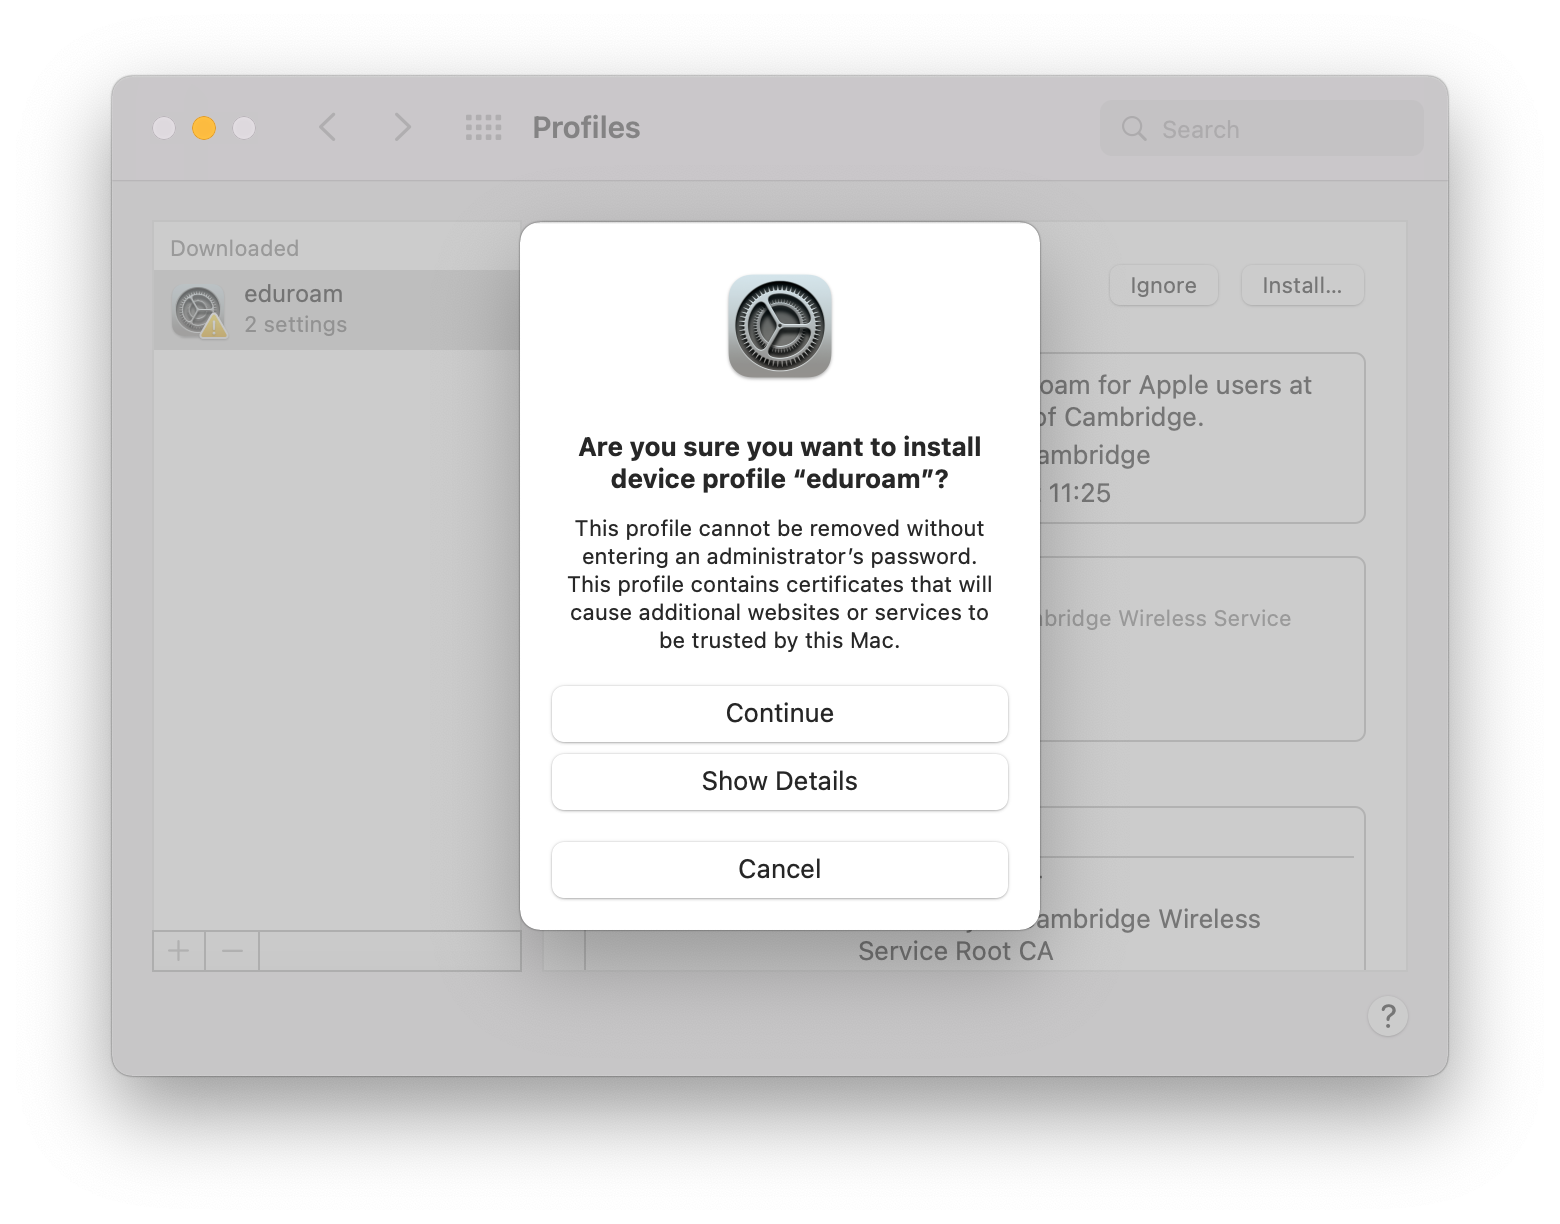
Select 'Continue' when prompted. You can select 'Show Details' before selecting 'Continue', if you want to view the details.
-
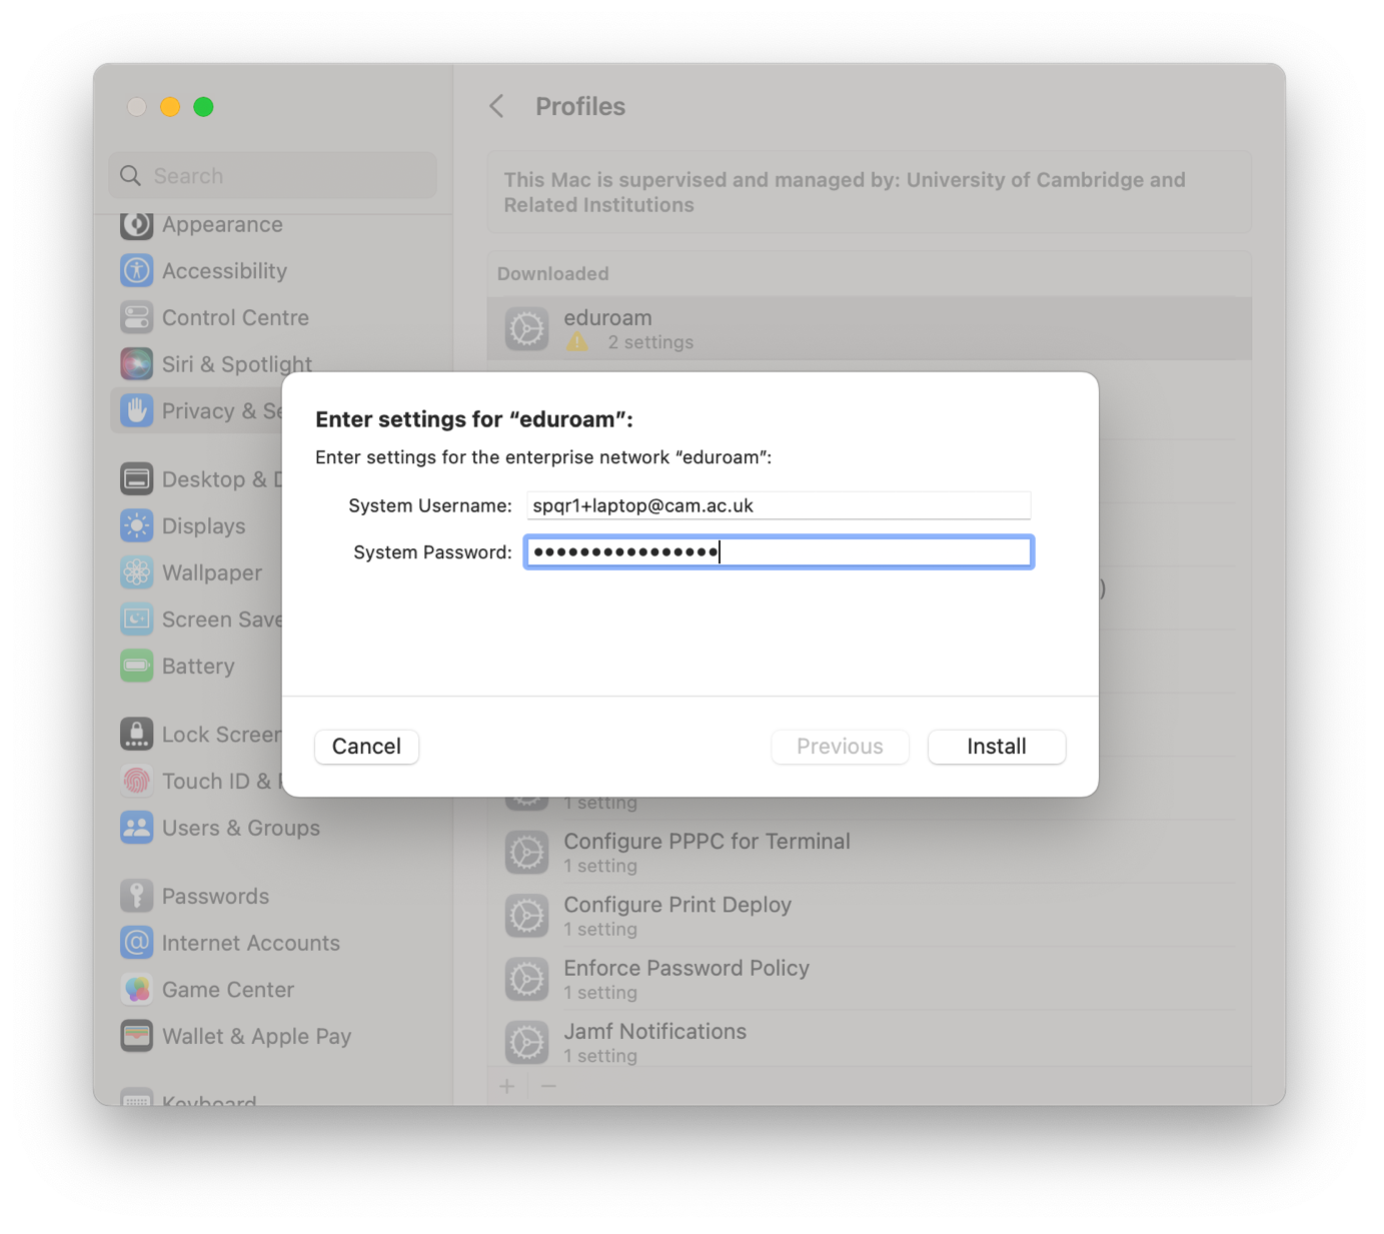
Enter the new network token username and password you created in step 2. Your username should be in the format CRSid+deviceYYYY@cam.ac.uk, for example, abc123+laptop2024@cam.ac.uk. Some browsers can add extra spaces when you copy and paste so if your password isn't working, try typing it instead.
Select 'Install'.
-
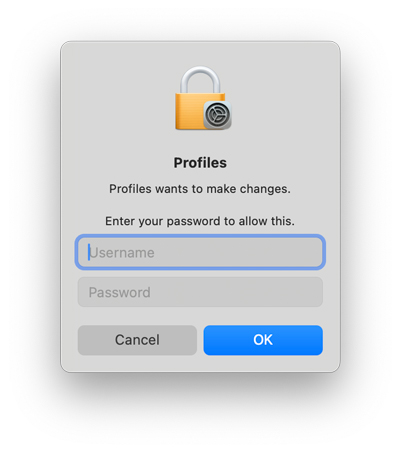
Authenticate via TouchID or the password you use to log into your Mac.
-
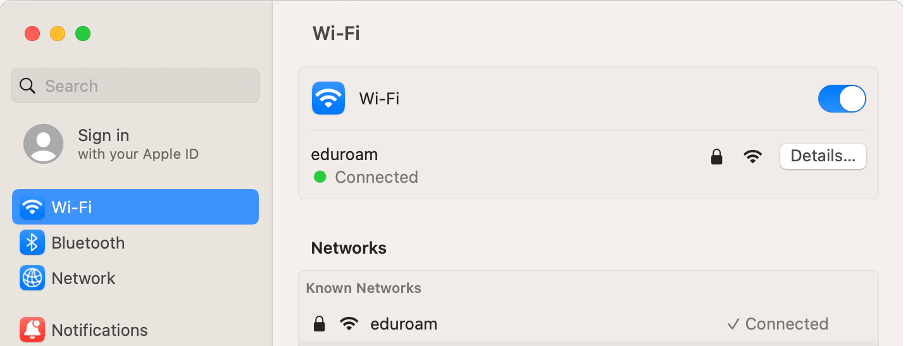
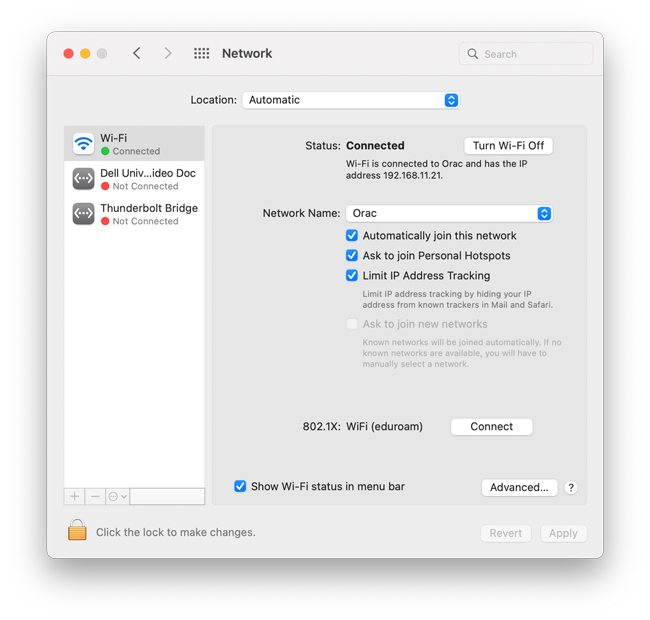
Your Mac should join eduroam automatically. To confirm this, select 'Wi-Fi' in 'System Settings' and check the network list. Confirm that eduroam has Connected status.

Step 4: Forget the UniOfCam-Guest network
Forget the UniOfCam-Guest network or your local College wifi network, if used during the set-up steps. This ensures you will connect to eduroam wifi network whenever in range.
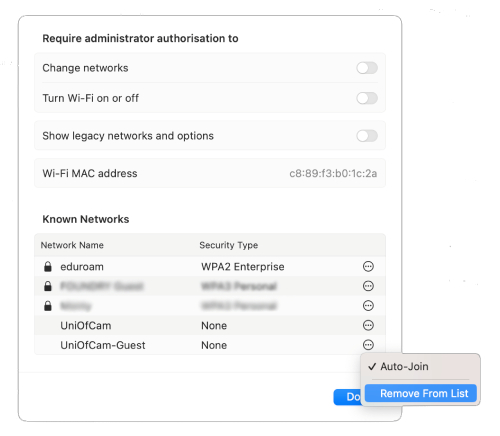
- While in 'Wi-Fi' and 'System Settings', scroll down and select 'Advanced'.
- Select the 3 dots next to UniofCam-Guest.
- Choose 'Remove From List', then select 'Remove' to confirm.
Get help
If you're still unable to connect, please look through our troubleshooting guide or report an issue with the Service Desk.
Set up eduroam on macOS Monterey
Step 1: Connect to UniOfCam-Guest wifi network temporarily
You need to be online while you set up eduroam. You should connect via UniOfCam-Guest or another local wifi network if your College doesn't offer UniOfCam-Guest. Or you could use a wired connection.
Step 2: Create a network access token
Create a network access token for your Mac. If you've connected to eduroam previously we still recommend that you create a new network access token.
You need to create a separate token for each of your devices and for each service. For example, if you want to connect to eduroam and the UIS VPN from both your laptop and phone, you need to create 4 tokens.
Use a meaningful username following the format CRSid+laptop@cam.ac.uk. It may be helpful to add the year if you've created network tokens previously. For example, ab123+laptop2024@cam.ac.uk. You will need to use lower case.
Keep the window with the new network access token open as you will need this when you are asked to enter a username and password later.
Create a new network access token on the Networks Access Token website.
Step 3: Install the eduroam profile on your device
-
You will need to download the eduroam profile onto each of your Apple devices. This profile stops the Apple Keychain from trying to share your password between devices which can stop eduroam working.
Download the eduroam profile (6.6 KB).
-
You should be prompted to save the file. Once you've saved it, double-click on the file to open it. You will see a notification saying "Review this profile in System Preferences if you want to install it".
-
Open 'System Preferences'.
-
Select 'Profiles'.
-
Choose 'eduroam' and select 'Install'.
-
Verify the profile and select 'Continue'.
-
Enter the new network token username and password you created in step 2. Your username should be in the format CRSid+deviceYYYY@cam.ac.uk, for example, abc123+laptop2024@cam.ac.uk. Some browsers can add extra spaces when you copy and paste so if your password isn't working, try typing it instead.
Select 'Install'.
-
Authenticate via TouchID or password.
-
Choose the 'Network preferences' pane.
-
If you see a padlock in the bottom left of the Networks preference pane you will need to authenticate with your admin user details. Click the padlock and enter your administrator username and password.
-
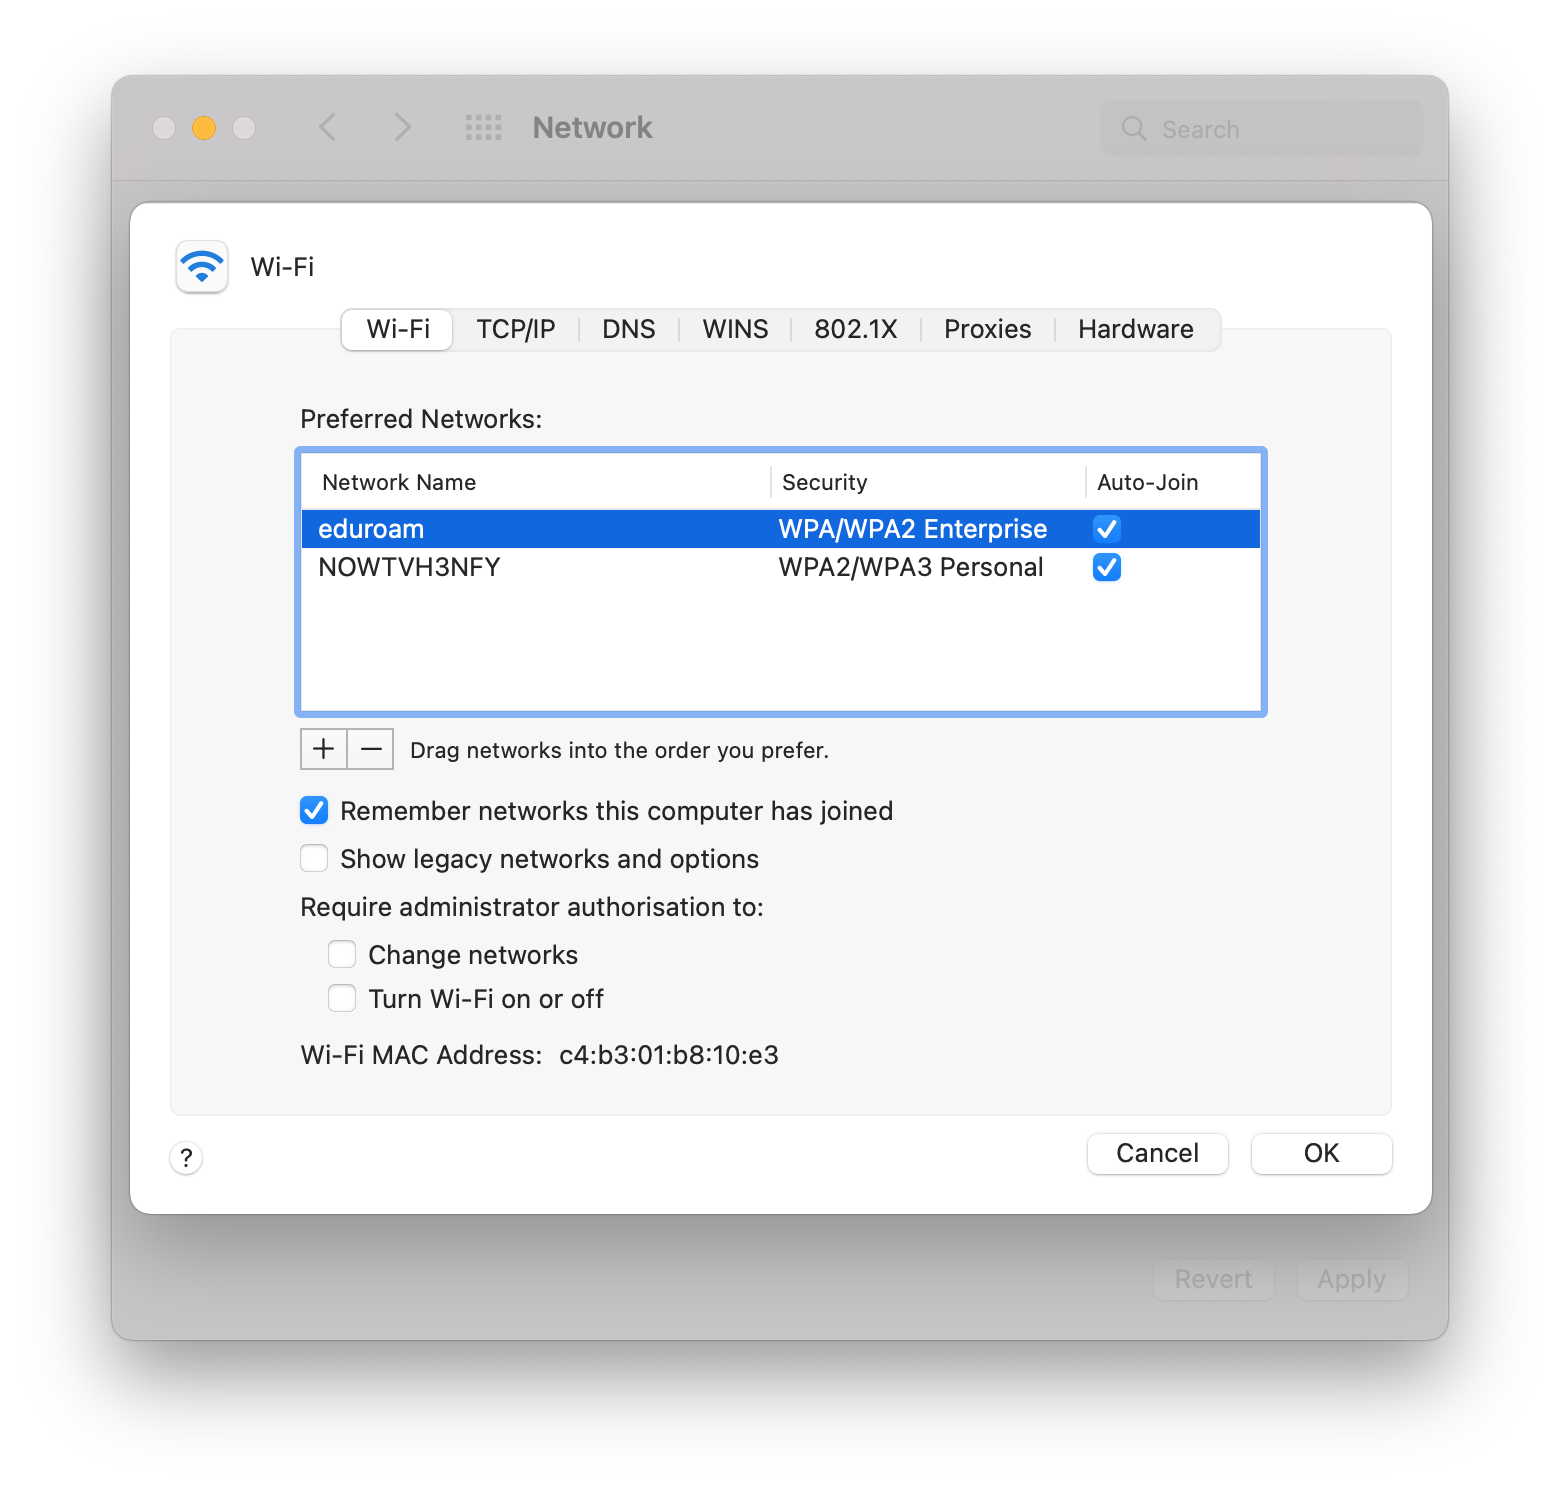
Select 'Wi-Fi' and then 'Advanced' in the bottom right corner.
-
Drag eduroam to the top of the list and select 'OK'.
-
Select 'Apply' and close 'System Preferences'.

Get help
If you're still unable to connect, please look through our troubleshooting guide or report an issue with the Service Desk.