Before you start
- You must be running Chrome OS 120 or above because older versions may not be receiving security updates anymore. We also strongly advise upgrading to the latest version your device can support to ensure your wireless drivers and other software are up to date.
- Make sure you are in a location where the eduroam wireless network is available.
- These instructions are for setting up eduroam on a Chromebook. If you have a Chromecast please follow the instructions for connecting to the UniOfCam-IoT network.
Step 1: Connect to UniOfCam-Guest wifi network temporarily
You need to be online while you set up eduroam. You should connect via UniOfCam-Guest or another local wifi network if your College doesn't offer UniOfCam-Guest. Or you could use a wired connection.
Step 2: Create a network access token
Create a network access token for your device. If you've connected to eduroam previously we still recommend that you create a new network access token.
You need to create a separate token for each of your devices and for each service. For example, if you want to connect to eduroam and the UIS VPN from both your laptop and phone, you need to create 4 tokens.
Use a meaningful username following the format CRSid+laptopYYYY@cam.ac.uk. It may be helpful to add the year if you've created network tokens previously. For example, ab123+laptop2024@cam.ac.uk. You will need to use lower case.
Keep the window with the new network access token open as you will need this when you are asked to enter a username and password later.
Create a new network access token on the Networks Access Token website.
Step 3: Download the eduroam installer
-
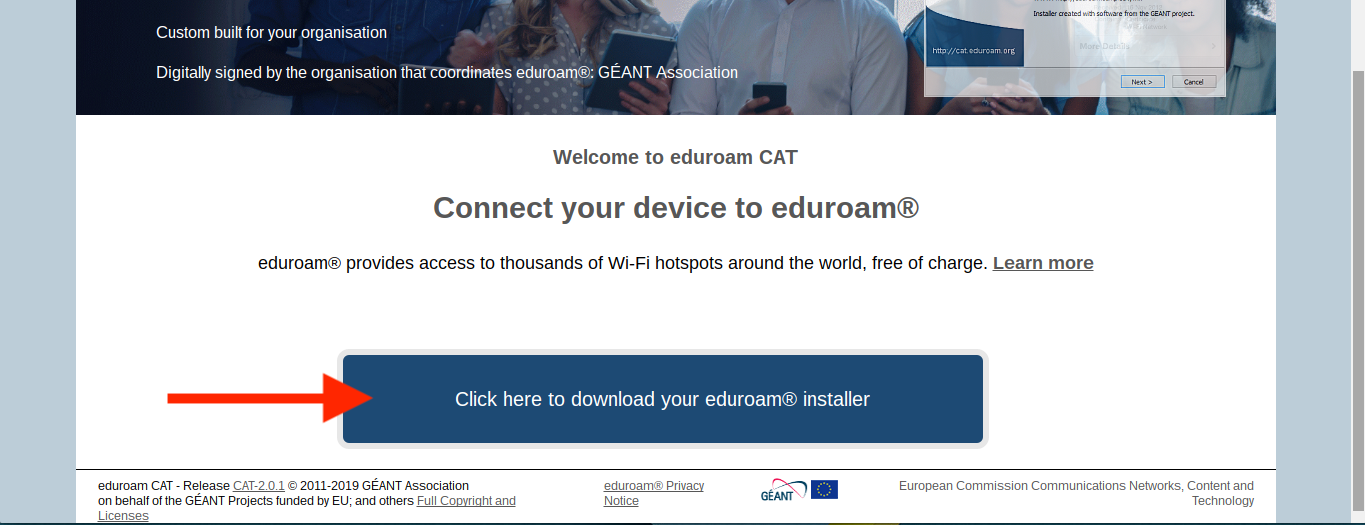
Visit eduroam's Configuration Assistant Tool website: https://cat.eduroam.org/. Select "Click here to download your eduroam installer".
-
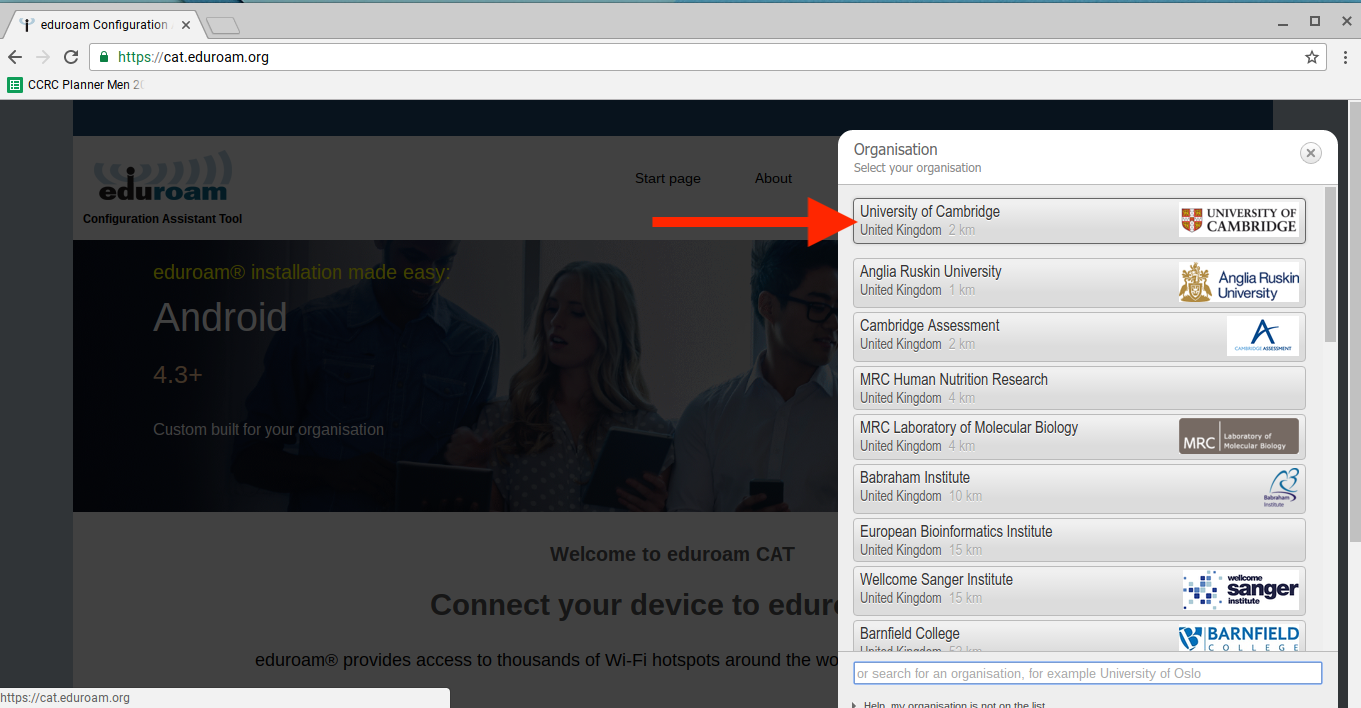
Select "University of Cambridge" from the list of organisations. You can type "University of Cambridge" to find it.
-
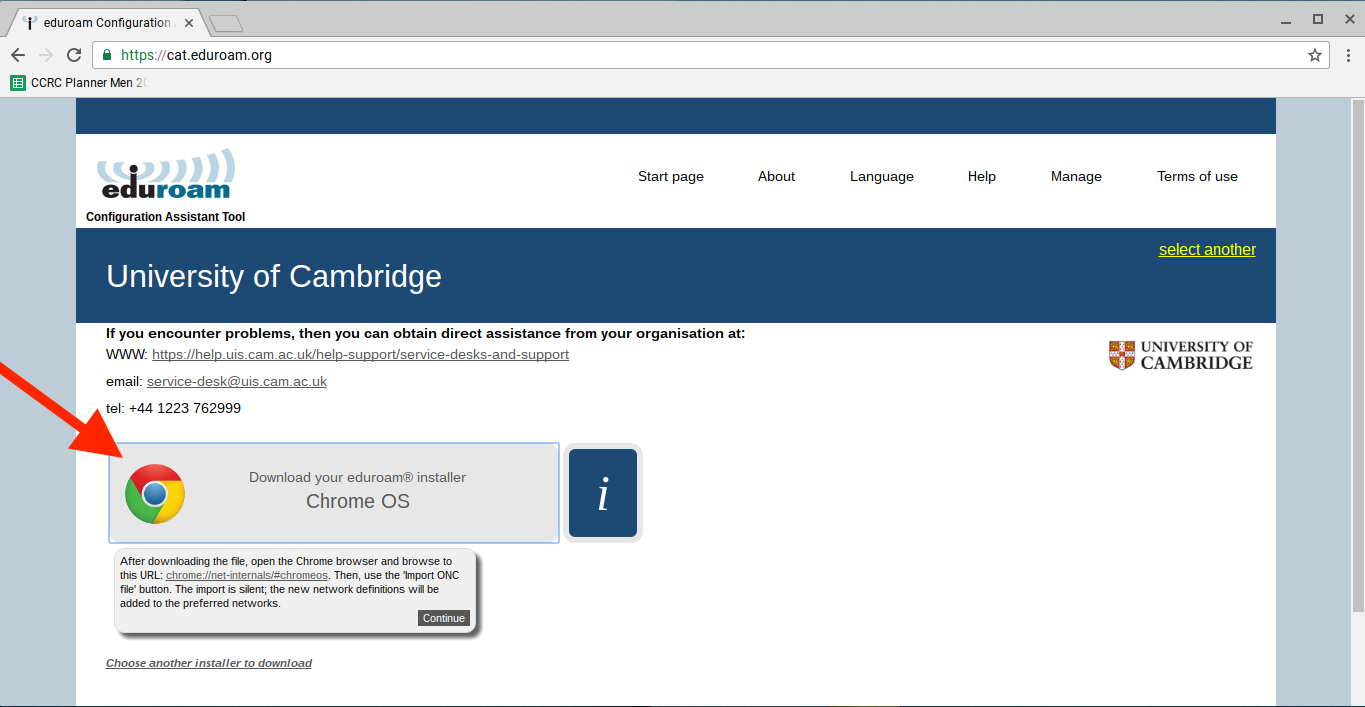
Your device type will be detected and the Chrome OS installer download link should appear.
Select 'Download your eduroam installer Chrome OS'.
-
The installer will then be downloaded to your device. Now open the Chrome browser and type, or copy and paste, "chrome://network#general" in the address bar.
-
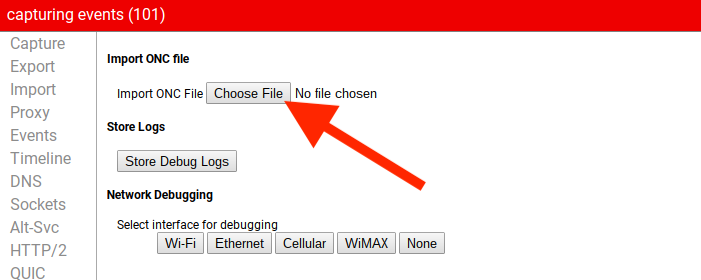
Select the 'Choose File' button under 'Import ONC file'.
-
Select the .onc file you downloaded from the eduroam site - "eduroam-chromeos-UoC-eduroam_public_CA.onc"
-
If prompted select EAP type as “PEAP” and Phase 2 Authentication as “MSCHAPV2”.
-
You won't see any confirmation that the import has been successful, but the settings should have been updated.
You should now be able to connect to eduroam by selecting 'Settings', then 'Wi-Fi', then choose eduroam.
-
When asked for your username, enter the username of the network access token you created earlier. This should be in the format CRSid+deviceYYYY@cam.ac.uk, for example, abc123+laptop2024@cam.ac.uk.
Enter the password for the network access token you created.
Step 4: Forget the UniOfCam-Guest network
Finally, forget the UniOfCam-Guest network or your local College wifi network, if used during the set-up steps. This ensures you will connect to eduroam wifi network whenever in range.
- Select 'Settings'.
- In the 'Network' section, select 'Wi-Fi'.
- Select 'Known networks'.
- Find 'UniOfCam-Guest', then select the 3 dots for more options. Select 'Forget'.
Get help
If you have issues connecting your device, the Chrome OS software must be fully up to date.
If you're still unable to connect, please look through our troubleshooting guide or report an issue with the Service Desk.