Before you start
- Only the versions of Android still receiving updates from Google (currently version 12 and above) are supported on University Wireless. You can check which version of the Android operating system you have by going to Settings > About Phone. Older Android software versions no longer receive security updates and may have incompatible software or drivers.
- If you have a new Android phone, please set up your connection to eduroam using the instructions below instead of copying them over from your old device.
- Make sure you are in a location where the eduroam wireless network is available.
- You might find it easier to open these instructions on a different device than the one you are setting up. This allows you to refer to the instructions while you’re going through each step.
Step 1: Connect to UniOfCam-Guest wifi network temporarily
You need to connect to an existing internet connection on your Android device to download the geteduroam app. You can connect via UniOfCam-Guest or another local wifi network if your College doesn't offer UniOfCam-Guest. Or you can use your mobile data.
Step 2: Forget eduroam in your wifi settings if you've connected to it previously
- Go to 'Settings' and select 'Wi-Fi'
- Under 'Available Networks', tap and hold 'eduroam'.
- Tap 'Forget Network' on the pop-up menu.
Step 3: Create a network access token
Create a network access token for your Android device. If you've connected to eduroam previously we still recommend that you create a new network access token.
You need to create a separate token for each of your devices and for each service. For example, if you want to connect to eduroam and the UIS VPN from both your laptop and phone, you need to create 4 tokens.
Use a meaningful username following the format CRSid+phone@cam.ac.uk. It may be helpful to add the year if you've created network tokens previously. For example, ab123+phone2024@cam.ac.uk. You will need to use lower case.
Keep the window with the new network access token open as you will need this when you are asked to enter a username and password later.
Create a new network access token on the Networks Access Token website.
Step 4: Install the geteduroam app
-
Install the geteduroam app. If you've previously installed the geteduroam app then you can skip this step if the app software is up to date. If you used the Android Configuration Assistance Tool (CAT) previously please delete this and install the geteduroam app.
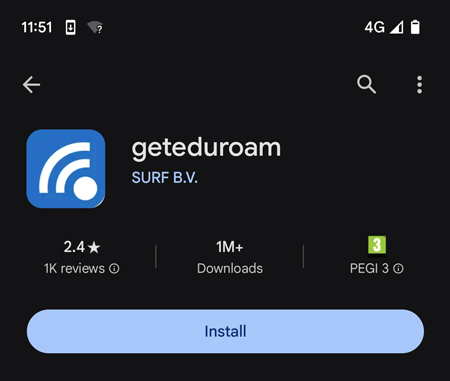
Open 'Play Store' from your Apps list and search for "geteduroam". Select ‘Install’.
Cannot install the app? You can connect to eduroam using the manual instructions if your device cannot connect using the geteduroam app. You may need to do this if your device is more than 5 years old.
-
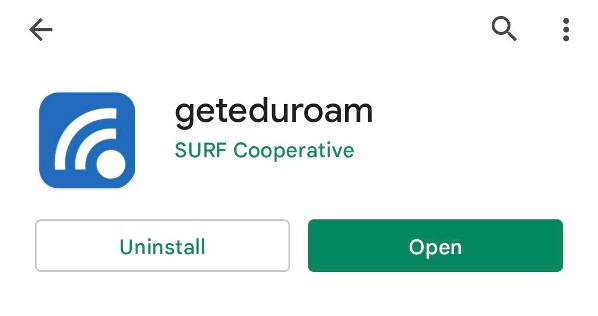
Select ‘Open’ once the app has completed the installation.
-
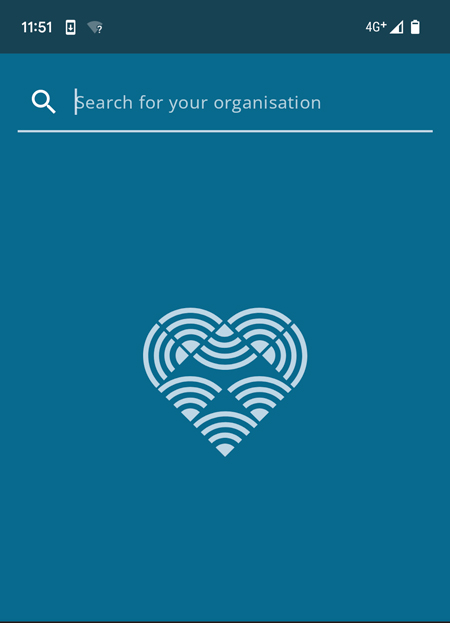
In the ‘Select an institution’ search box type "University of Cambridge".
-
Select ‘University of Cambridge’ from the drop-down list and then select ‘Next’.
-
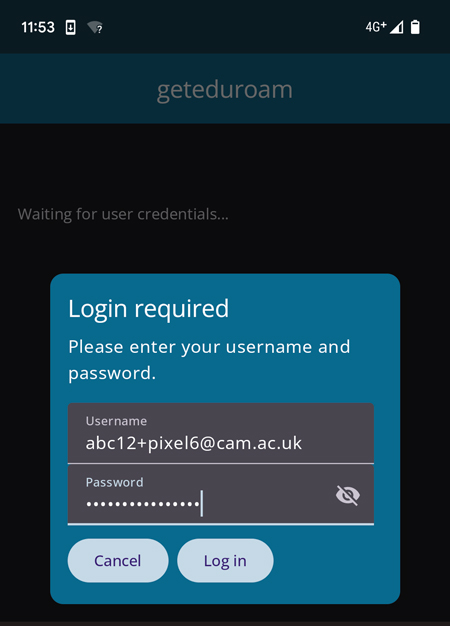
Enter the network access token username and password you created earlier. Your username should be in the format CRSid+deviceYYYY@cam.ac.uk, for example, abc123+phone2024@cam.ac.uk. Select ‘Connect to Network’.
If you receive an error saying that a Screen lock is required then you will need to set one (even if only temporarily while completing this process). Go to Settings > Security > Screen lock (or similar) and set a PIN, Pattern or another authentication mode. Once this is done the app should complete the installation of the certificate (you will be prompted for the new Screen lock authentication details).
-
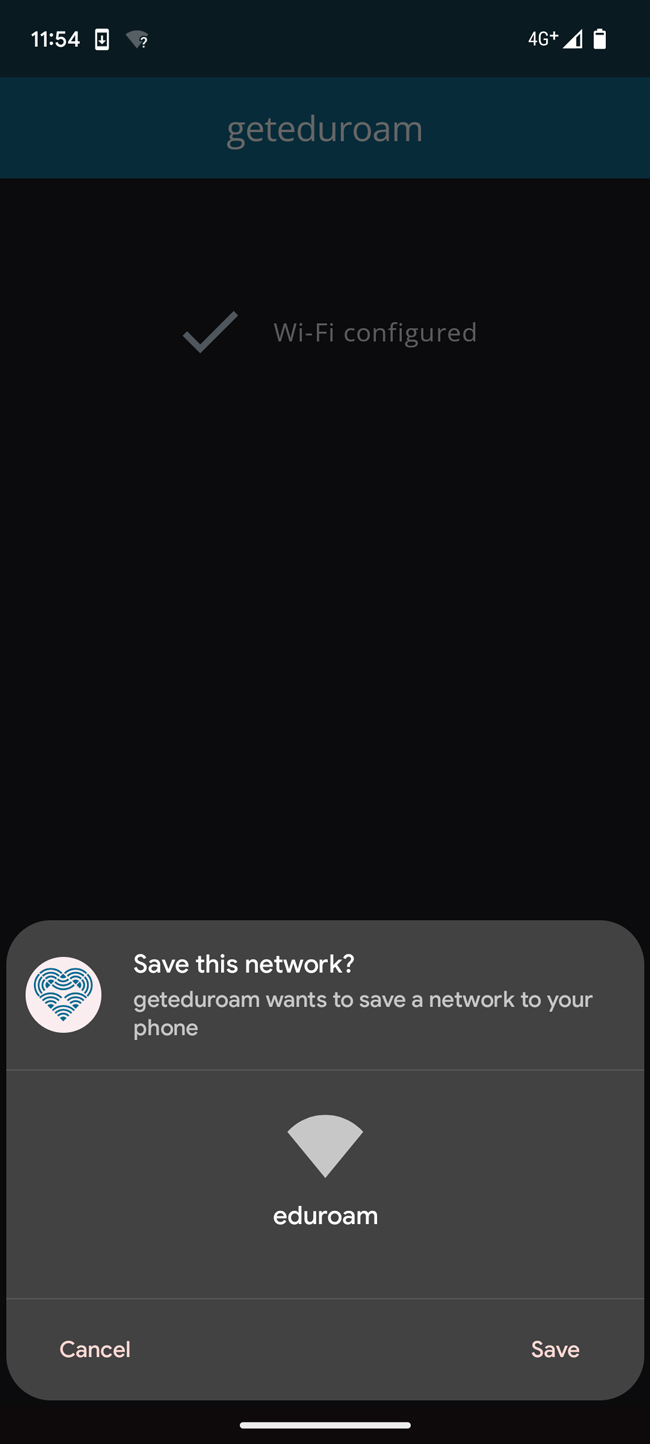
You should see a screen which says "Wi-FI configured" and a pop-up message asking if you want to "Save this network".' Select 'Save'. You can then close the geteduroam app, and if you wish to you can delete it from your device.
-
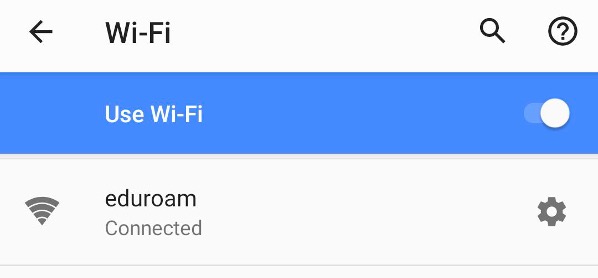
Your device should now be connected to eduroam. You can check this by navigating to your network settings > Wi-Fi.
-
Select the cog next to ‘eduroam’ and toggle the 'Auto-connect setting' on to ensure your device automatically connects to eduroam. Disable this setting for UniOfCam-Guest if you used it while setting up eduroam.


Step 5: Forget the UniOfCam-Guest network
Finally, forget the UniOfCam-Guest network or your local College wifi network, if used during the set-up steps.
Your device should now automatically connect to eduroam wifi whenever an access point is in range.
Get help
If you're still unable to connect, please look through our troubleshooting guide or report an issue with the Service Desk. You can also try to configure your Android device manually.