This page covers how to:
Sort the incident list
When viewing your list of incidents, there are many ways you can sort the list to ensure that it best suits your needs for your own working practices.
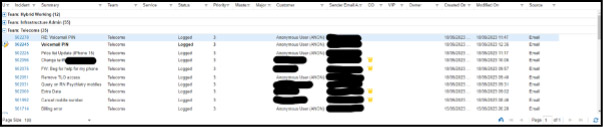
The list can be sorted either ascending or descending on any of the available column headers such as
- Incident Number
- Team
- Service
- Status
- Created On
- Modified On
Simply clicking the relevant column header will sort the list by that field in ascending order.
Click on the column header again to switch to a descending order.
The incidents in the list can also be grouped by any particular column, to do so just click on the column header and select 'Group By This Field' from the resulting menu. This is particularly handy if you are a member of multiple Teams as it allows you to separate the tickets by Team.
Pin an Incident to your Watch List
If you need to keep a particularly close eye on a specific incident or need to be able to refer back to it, you can pin this incident to your Watch List. This means it will be easily accessible for you until such time as you remove it from your Watch List.
To pin an incident to your Watch List, open the incident and select the pin icon near the top left of the incident window.

To view your Watch List, select the drop-down arrow on the button in the top-right corner of the screen. This will open your Watch List as a drop-down menu below the button.
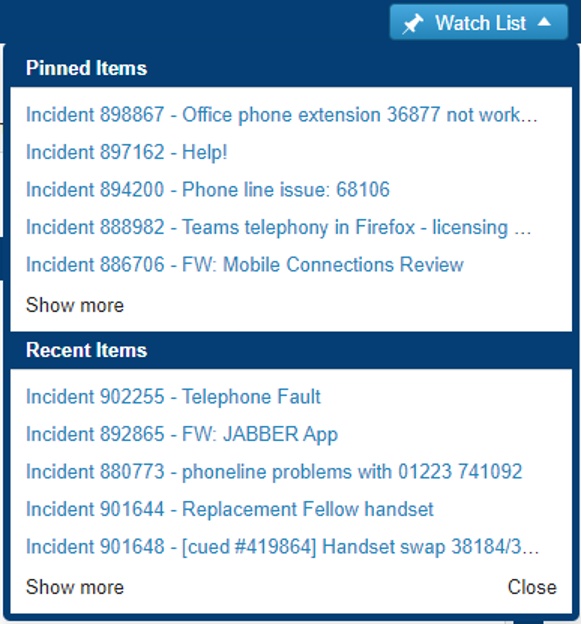
The Watch List is split into 2 sections, at the top are the items you have pinned to your Watch List and at the bottom are the most recent new incidents you have viewed.
Selecting either of the 'Show more' links will expand the relevant section of your Watch List.
Selecting 'Close' will close the Watch List window.