Important Information
There is currently a bug which means some users are seeing the error message 'No VPN shared secret was provided'. This prevents connections using the standard VPN profile. It mainly affects iOS 14 and iPadOS 14 but users on other iOS versions have reported the same issue. We've reported it to Apple and hope it will be fixed soon.
In the meantime, please follow our workaround instructions for setting up the VPN if you see the shared secret error message.
Before you start: create a Network Access Token
- Visit the UIS Network Access Tokens site.
- Create a Network Access Token for using the VPN on your device, and keep the window/tab open in readiness for when you'll need to refer to the username and password.
Setting up the UIS VPN on your iPhone or iPad
1. Using your iPhone or iPad, collect your network access token from the UIS Tokens Service. Tap and hold the token, and then select 'Copy'.
2. Use Safari to download the VPN configuration file (other browsers won't work). Select 'Download' to confirm the download.

3. The configuration profile has now been downloaded to the Files app.
Open the Files app and then open the Downloads folder. Select the downloaded VPN configuration profile and you will be asked to 'Review the profile in the Settings app if you want to install it'. Select 'Close'.

4. Open 'Settings' on your device and then select 'Profile Downloaded'.

5. Review the profile and then tap 'Install'. You may need to enter your passcode for your device.

6. Read the warning and tap 'Install' and then 'Install' again to confirm.

7. You'll see confirmation that the profile has been installed. Click 'Done'.

8. Open 'Settings' on your device, then tap 'General' and 'VPN'. Tap on the 'i' next to 'Cambridge VPN'.

9. Tap 'Edit' in the top right corner.

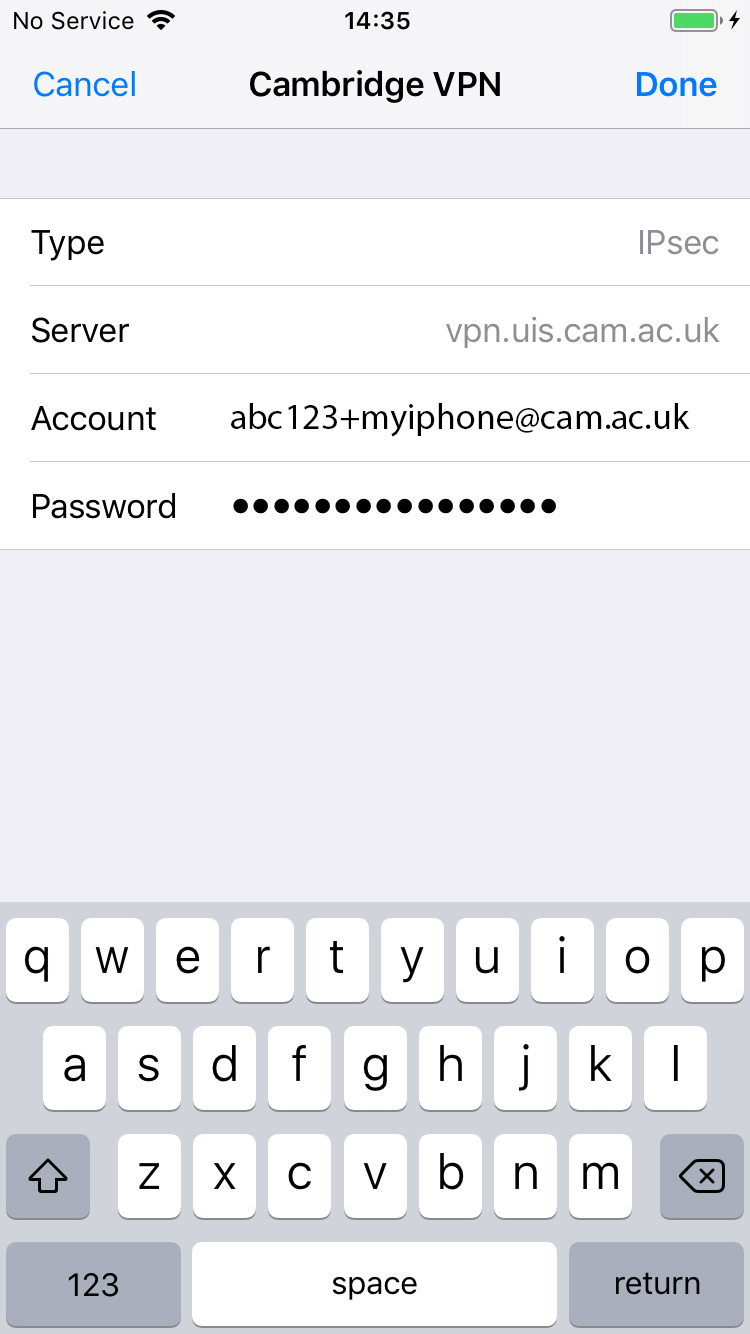
10. Enter the username for the Network Access Token you created for this device – for example, CRSid+device@cam.ac.uk – for the 'Account' username, and manually type in the password for this Network Access Token into the field for the 'Password'. Tip: Don't copy and paste the username and password because this can lead to extra spaces being added.
Then tap 'Done'.
11. To connect to the VPN, return to the main settings page and slide the VPN slider to the right.
The VPN will connect, and display a VPN icon in the status bar at the top of the screen.

12. To disconnect, return to 'Settings' and slide the VPN slider to the left.