These instructions are intended for configuring the UIS VPN for macOS Monterey (12) and later
Older OS Versions
The ACN VPN service is not supported on versions of macOS older than macOS Monterey (12). Please consider upgrading the operating system to a supported version. For more information please contact UIS Service Desk
Create a Network Access Token
- Visit the UIS Network Access Tokens site.
- Create a Network Access Token for using the VPN on your device, and keep the window/tab open in readiness for when you'll need to refer to the username and password.
Install and configure the VPN
- Download the VPN Configuration profile.
- Find the downloaded profile in your Downloads folder and double-click it to open it
- Open System Preferences and choose the Profiles pane
- Review the downloaded profile then click Install.
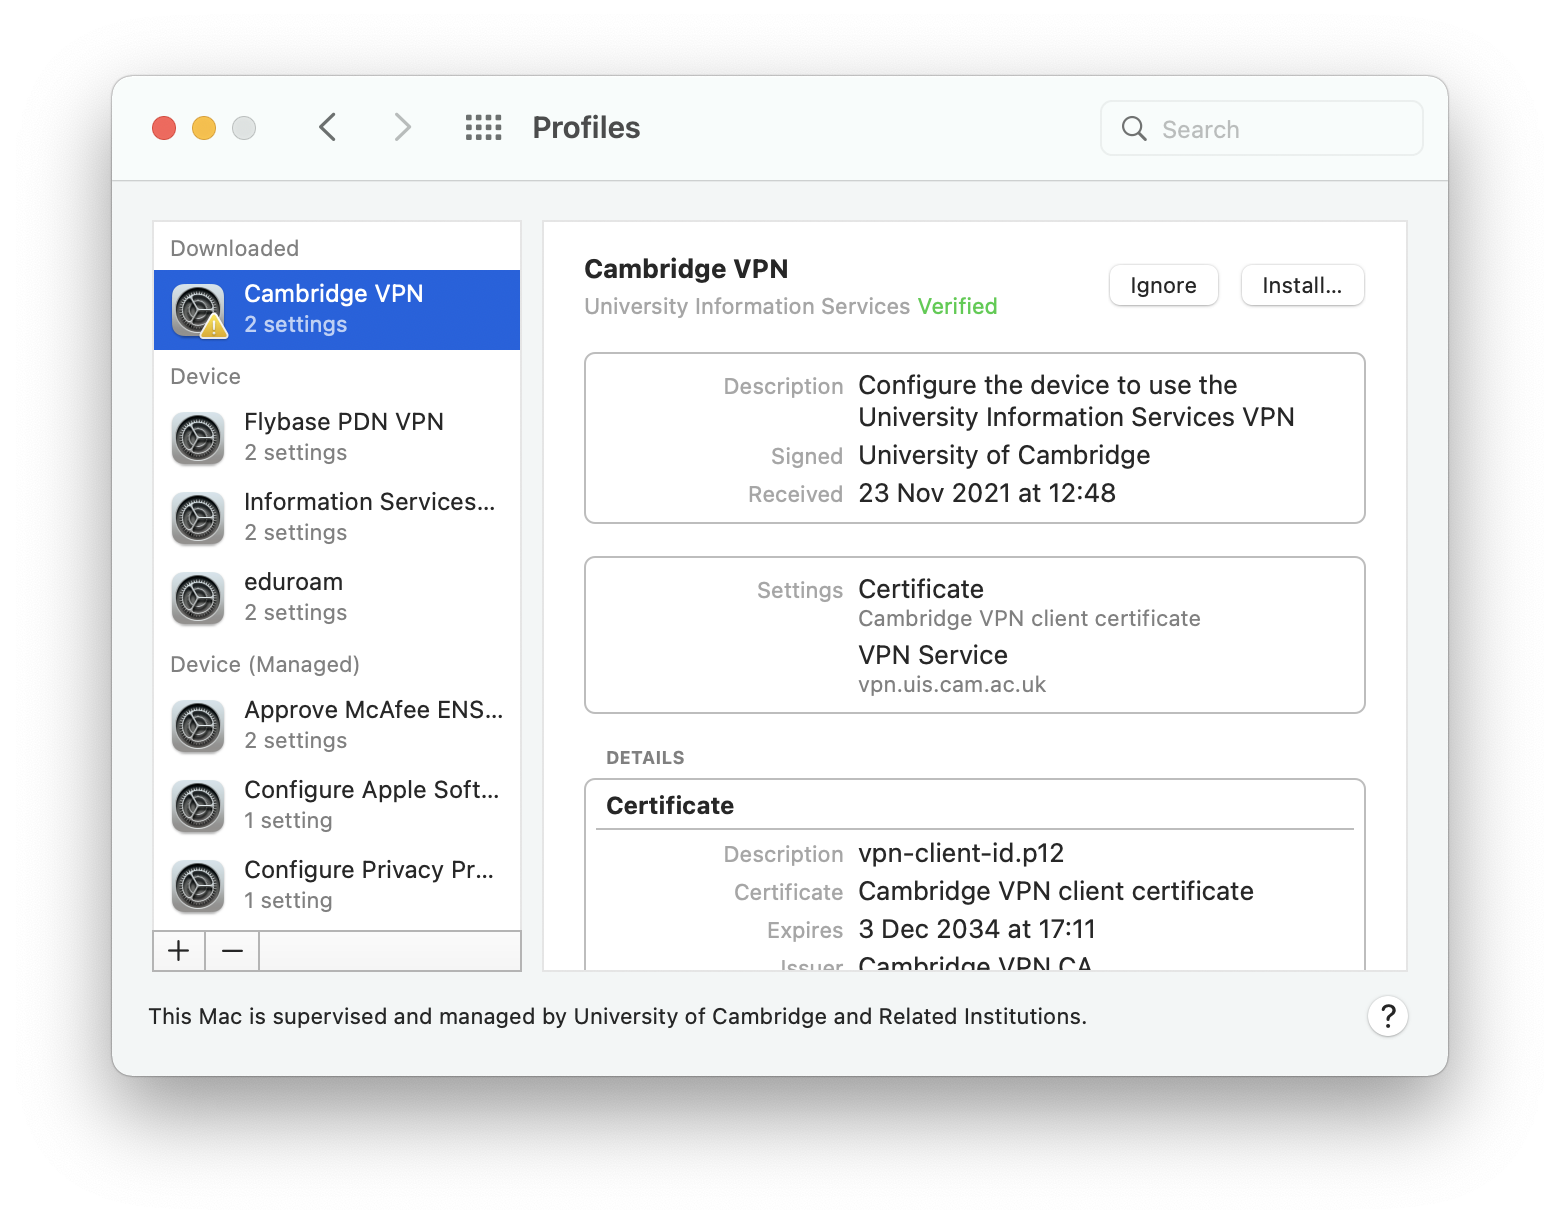
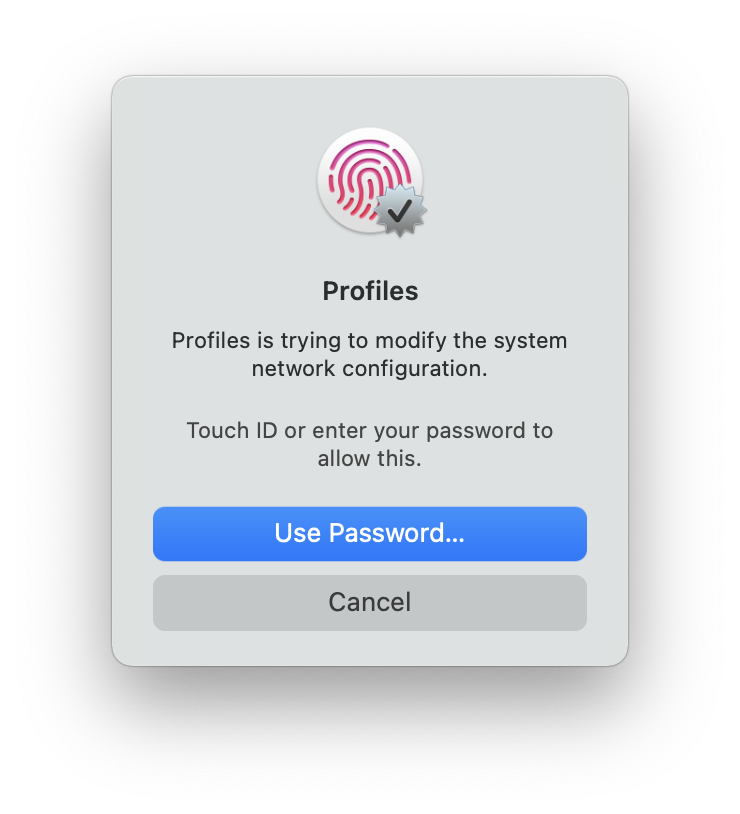
- Authenticate via TouchID or enter your password to install the profile.
6. Select View > Network from the menu bar in System Preferences
7. From your network list choose: Cambridge VPN.
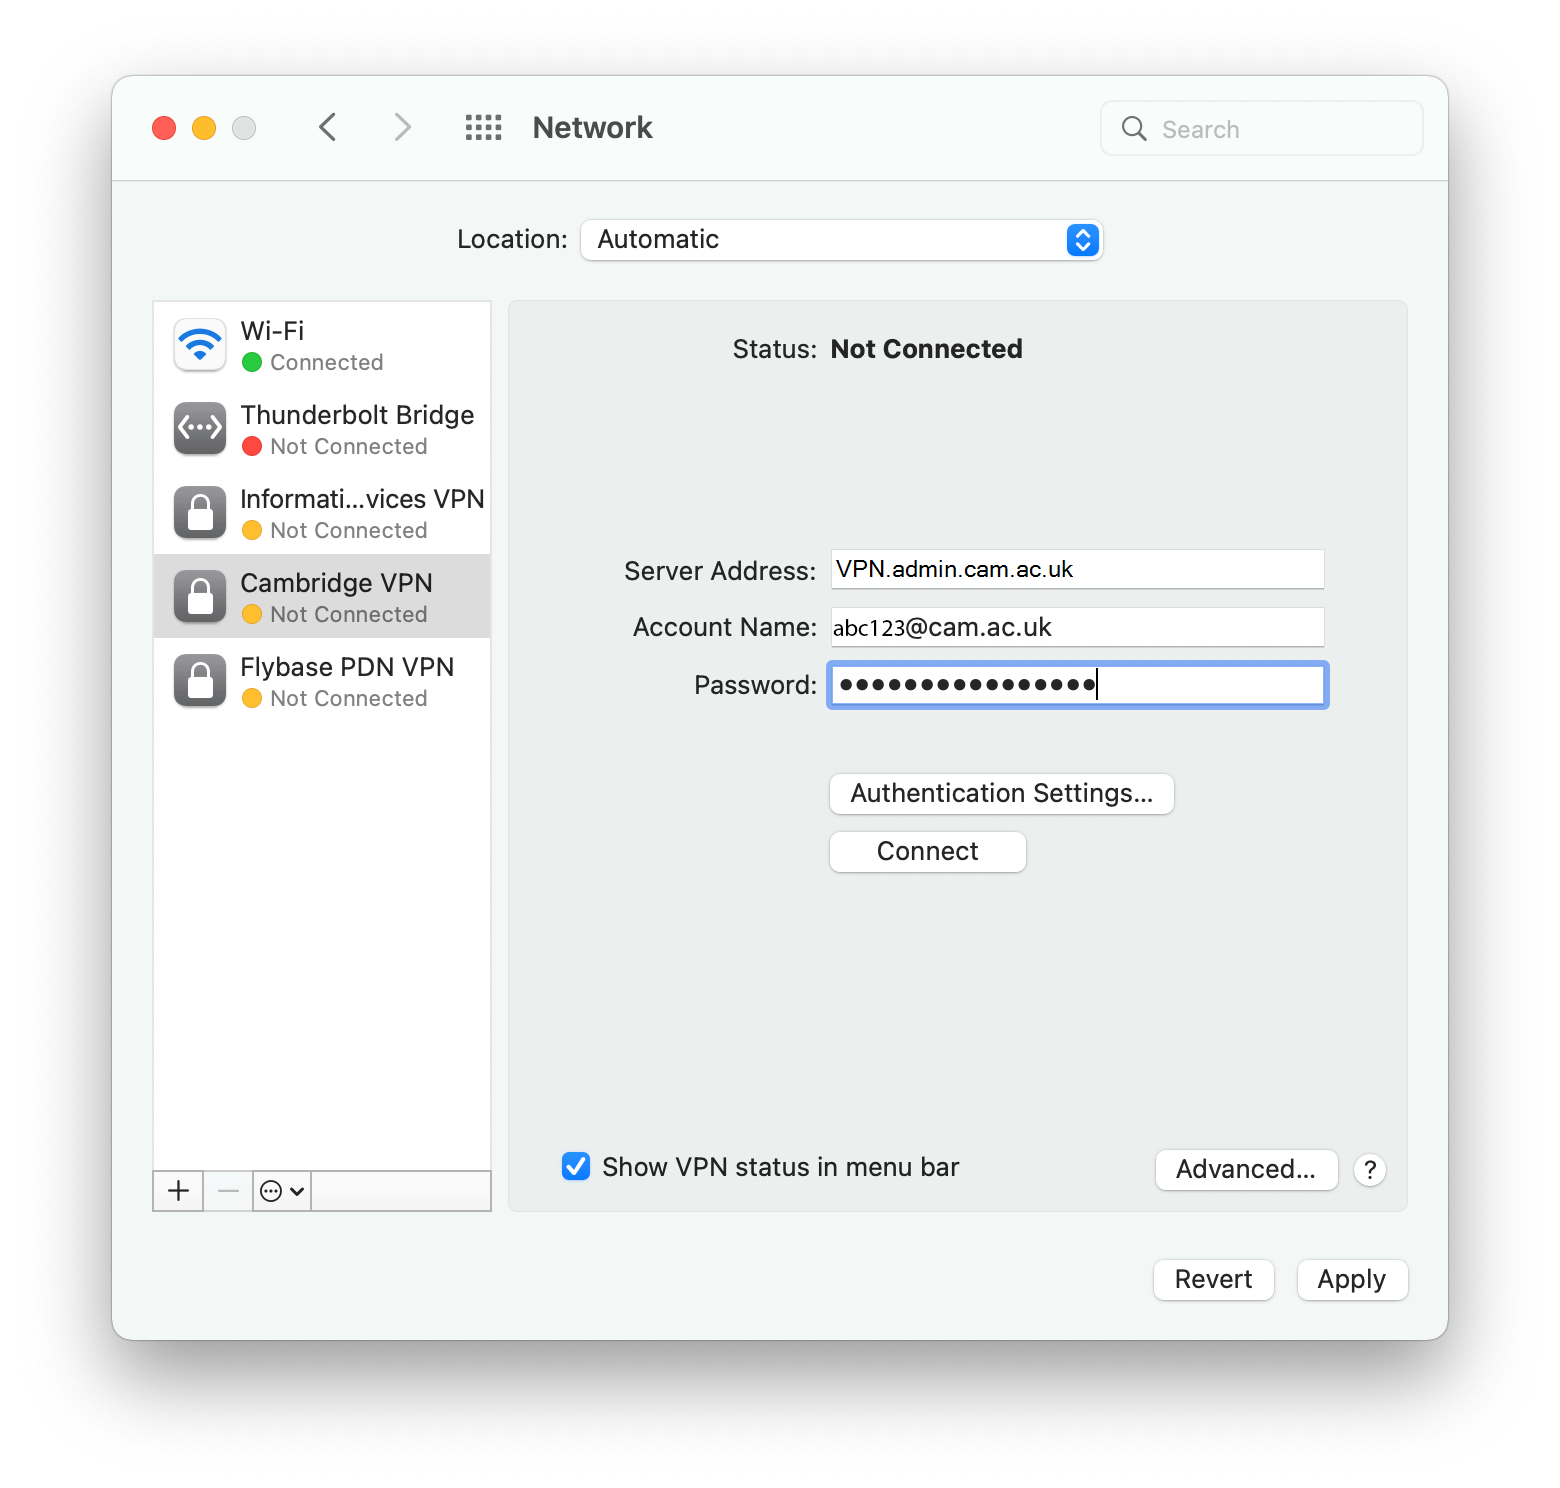
8. Fill in your Network Access Token username and password in the Account name and Password boxes. Tip: we recommend typing them in manually and not copying and pasting, because this can sometimes lead to extra spaces being added.
9. Click Apply to finish the installation.
10. Tick Show VPN status in menu bar
11. Quit System Preferences
Using the VPN connection
To start the VPN connection, either choose:
- Connect University Information Services VPN from the VPN menu bar item
- or Connect from the interface in the Networks System Preference.
When you have finished using the VPN, choose Disconnect from either of the locations listed above.
Removing the VPN
- Open System Preferences and choose Profiles.
- Select the University Information Services profile and click -
- Authenticate with an admin username and password when prompted.