Supported Operating Systems
Windows 8, 8.1, 10 and 11, 64-bit
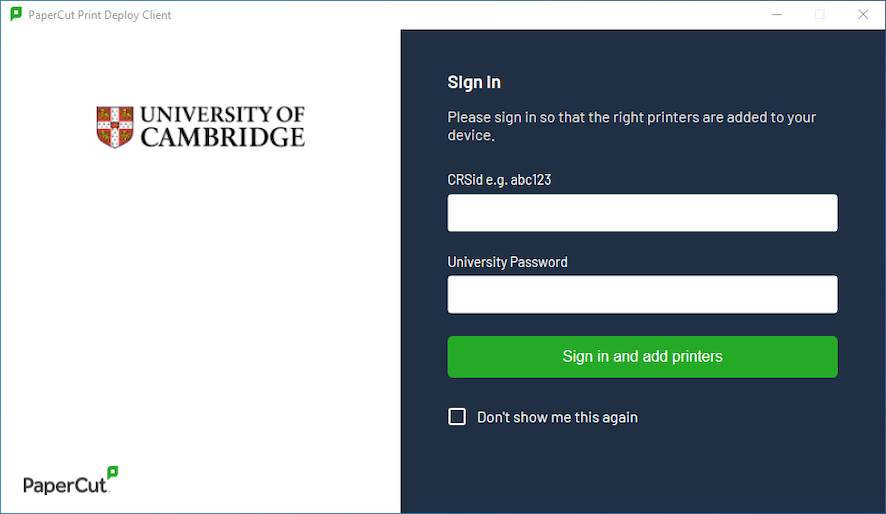
Install Print Deploy Client
Download, unzip and install the Print Deploy Client. It’s important not to rename the downloaded file.
When prompted login with your CRSid and University account password (formerly Raven).
Note: If you are a University Library reader use your library card barcode and UL password.
After you’ve successfully signed in some printers may automatically install, these are printers managed by your local Institution.
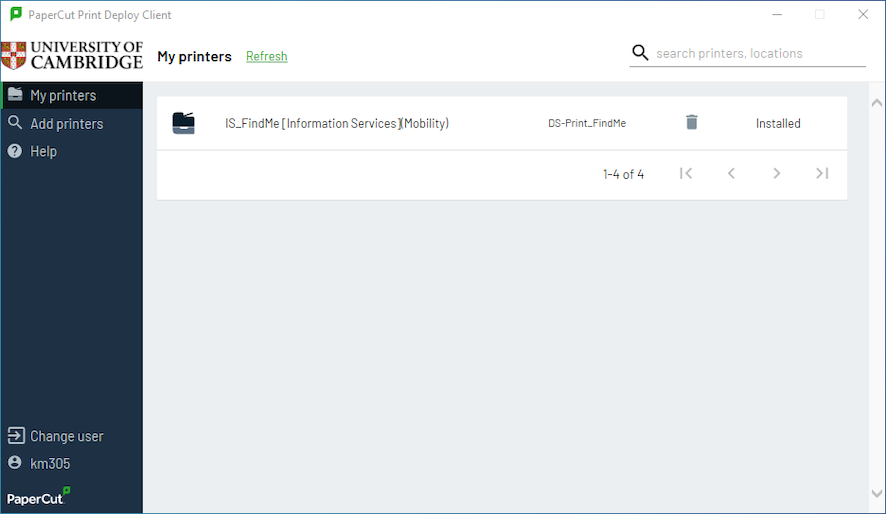
By default, the DS-Print_FindMe printer is configured to print to Sharp and Konica printers in institutions that participate in the Common Balance credit scheme. This printer is best for users who want to pay for their printing using the Common Balance. If you want to pay using your Local Balance install one of the institutional printers from those available in the list. Institutional printers will debit from the institutional Local Balance. If your Local Balance runs out you will then be debited on your Common Balance, if the institution participates in this scheme.
Install additional printers
To search and install additional printers, select the Add printers tab in the left-hand menu.

Printers indicated as installed are available for you to print to from any of your applications within Windows.
To add or remove printers in the future, right-click the Print Deploy icon located in the taskbar, and select View my printers.