Configuring the UIS VPN for Windows 8 and 8.1
Before you start, you will need to know:
- your Network Access Token username and password
– create your token on the UIS Network Access Tokens site and keep the window or tab open, in readiness for when you'll need to copy the username and password.
- If you have been advised to use a Managed VPN, rather than the general University VPN service, you will need the VPN server hostname. Available VPNs and their server hostnames are listed on the Managed VPN page.
Please be aware that traffic over the VPN is recorded and logged, for security purposes
Setting up the VPN
- From the Start screen press the Windows key + W
- Windows 8 - select Apps from the options below the search box
- Windows 8.1 - select Everywhere from the drop down list
- Search for then select Control Panel
- From the View by drop down list (top right) select small icons
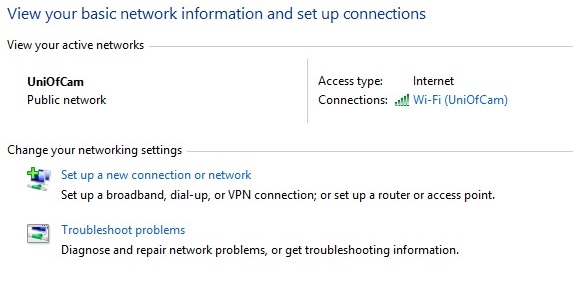
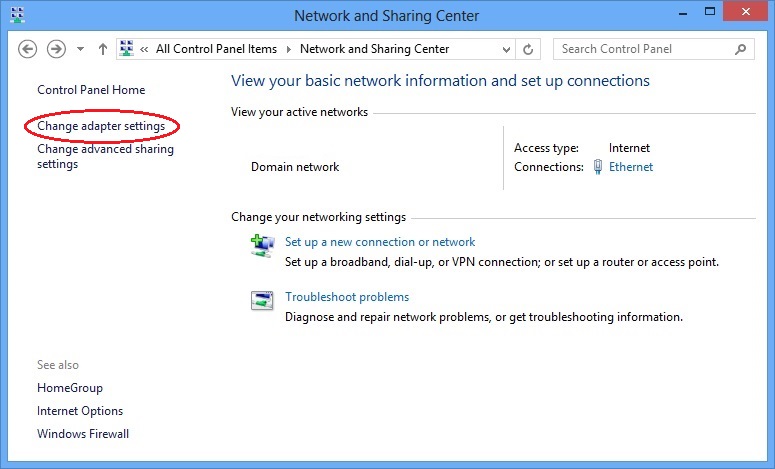
- Select Network and Sharing Center
- Select Set up a new connection or network
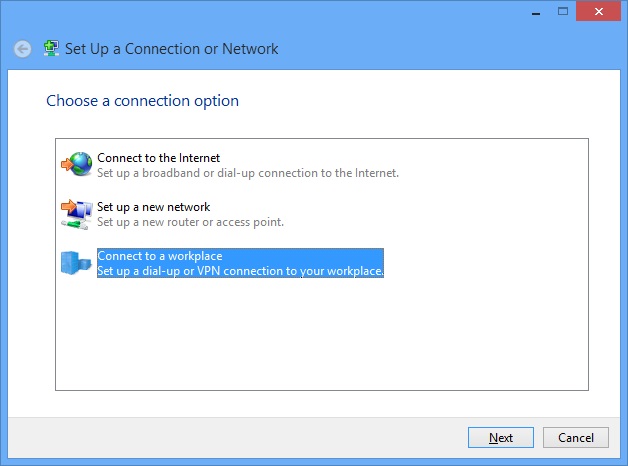
- Select Connect to a workplace
- Select the Next button
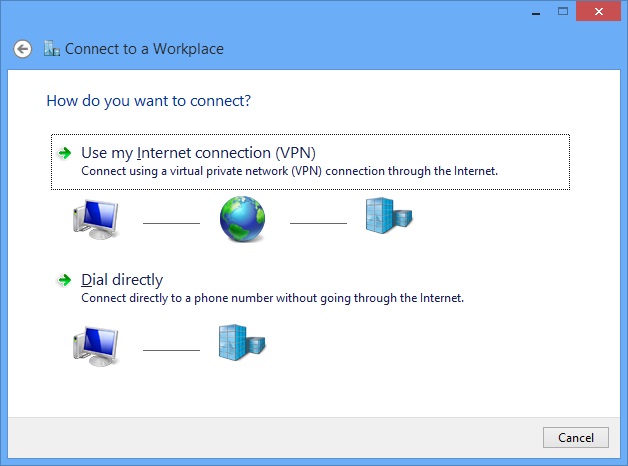
- Select Use my Internet connection (VPN)
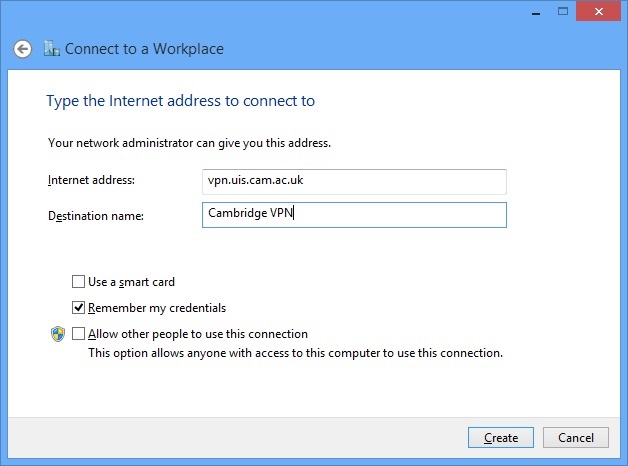
- In the Internet address box enter vpn.uis.cam.ac.uk
Alternatively, if you are using an institutional Managed VPN, enter the VPN server hostname here instead.
- In the Destination name box enter Cambridge VPN
- Tick Remember my credentials
- Select the Create button
- A dialog box will appear titled Creating the Connection
- Click away from the Networks side bar to close it the setup is not complete
- If the Network and Sharing Center window is no longer open, press the Windows key + W
- Windows 8 - Select Apps from the options below the search box
- Windows 8.1 - select Everywhere from the drop down list
- Search for and click on Control Panel
- Select Network and Sharing Center
- Select Change adapter settings
- A new adapter, called Cambridge VPN, will now be present
- Right click on the adapter and select Properties
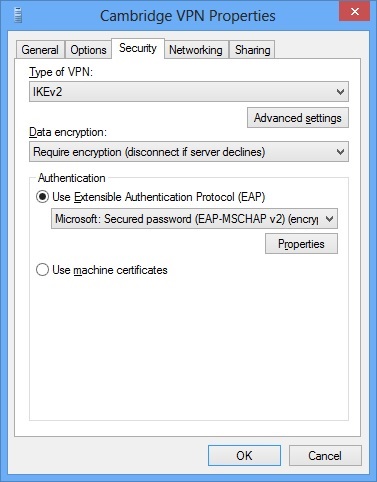
- Select the Security tab
- Under the heading Type of VPN select IKEv2 from the drop down list
- Under the heading Data encryption select Require encryption (disconnect if server declines)
- Under the heading Authentication select Use Extensible Authentication Protocol (EAP)
- Select the OK button
- Close any remaining Network Connections windows
Connecting
- To connect to the VPN press the Windows key + W and search for Network
- Select Connect to a network
- On the Networks bar select Cambridge VPN then the Connect button
- If you haven't done so already, create a Network Access Token on the UIS Network Access Token site, and keep the window/tab open so you can refer to the username and password.
- In the Username box, type your Network Access Token username, usually in the form CRSid+your chosen suffix@cam.ac.uk (e.g.
abc123+worklaptop@cam.ac.uk).
- In the Password box, type your 16-character Network Access Token password.
Tip: Don't copy and paste the username or password because this can lead to extra spaces being added, which results in an error.
- Select the OK button.
- On the Networks side bar Cambridge VPN should appear as Connected.
Disconnecting after use
- Disconnect from the VPN connection when your work is complete by pressing the Windows key + W and searching for Network
- Select Connect to a network.
- On the Networks bar select Cambridge VPN then the Disconnect button.