Preparing to migrate
You will need
Please check the network requirements before following these instructions.
- Dell device with TPM 2.0
- UIS Imaged USB – Available from UIS on request
Or
- Department Imaged USB
Requires: Dell Image Assist ISO
Windows 10 WIM
PowerShell Autopilot script
- Dell drivers for the device
- Device BIOS Password
- Internet connection
Dell Device with TPM 2.0
For Windows Autopilot Configuration your device it will need to support TPM 2.0 and device attestation.
How to Enable the TPM (Trusted Platform Module) | Dell UK
Upgrading your device’s TPM
Some devices with TPM 1.2 can be upgraded to 2.0.
- Dell Computers That Can Upgrade from TPM Version 1.2 to 2.0 | Dell UK
- Dell TPM 2.0 Firmware Update Utility | Driver Details | Dell UK
UIS imaged USB
Available from UIS on request
Please contact servicedesk@uis.cam.ac.uk
Ensure that the device you are about to image is not already in the Intune tenant.
In the USB partition you will need the following:
- In the ‘Dell_Images’ folder: A Windows .wim file.
- In ‘Dell_Driver_Packs_Local’ folder: The relevant Dell driver family pack (these can be downloaded from Dell). Ensure you download the driver pack related to the version of Windows you are using (currently Windows 10 22H2). After downloading the correct driver pack do not unzip the contents.
Dell Image Assist ISO, Windows 10 WIM and provisioning script
These can be downloaded from the UMD Sharepoint site.
Dell drivers for the device
These can be downloaded from Dell.
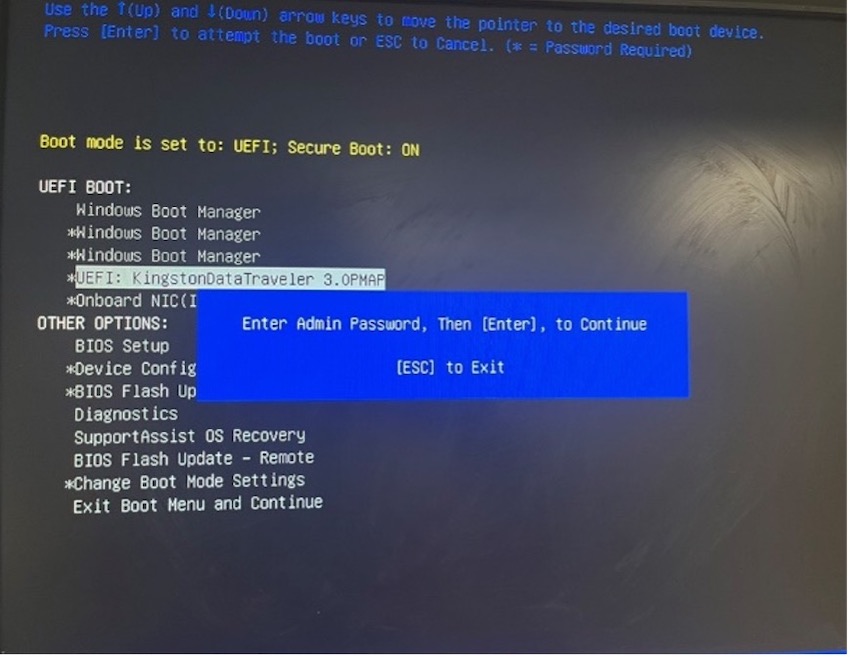
BIOS Password
If you do not know your MCS device’s BIOS password please contact servicedesk@uis.cam.ac.uk
Imaging your device to a UMD device
Booting the USB
Turn on the machine and press F12 on the Dell screen to enter the boot menu.
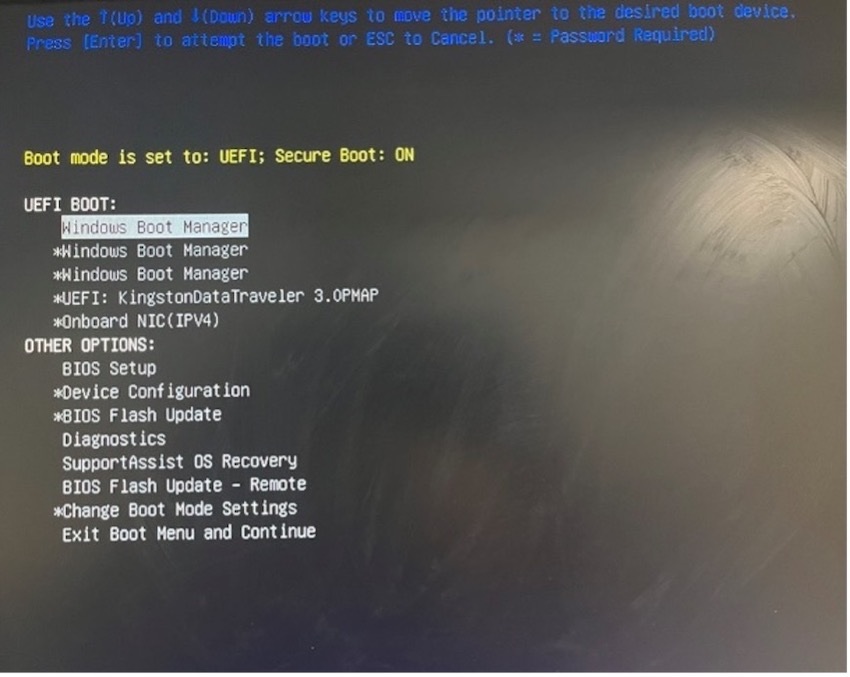
Select the USB boot stick.
Troubleshooting
If the USB is not shown on the boot menu
- Reset BIOS to factory settings (you may have to enter the BIOS password if the device is already managed by UIS). This will reboot the machine.
- Change the SATA operation from RAID to AHCI in the BIOS.
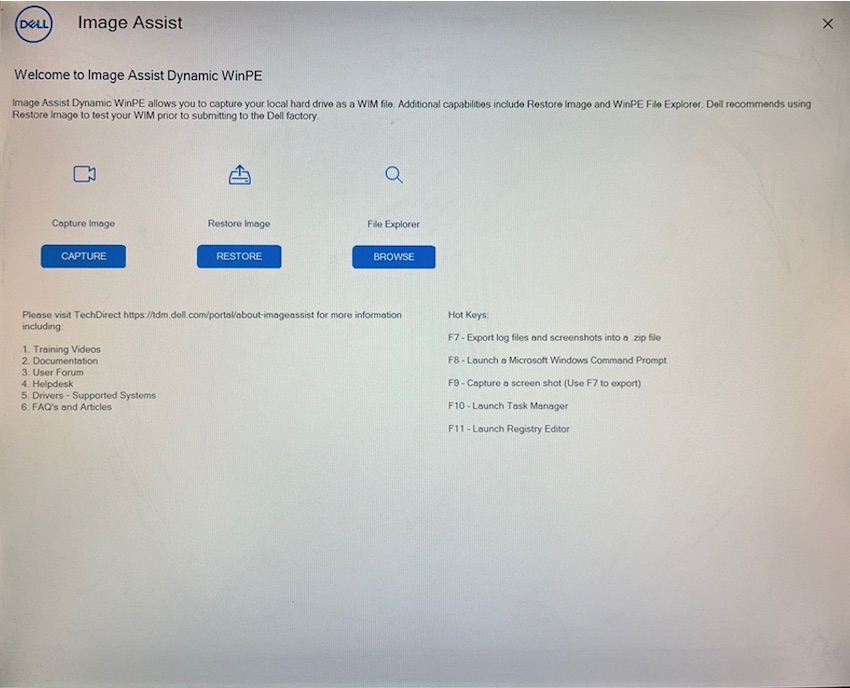
Dell Image Assist
Dell’s Image Assist will load after a few moments.
Select ‘Restore’.
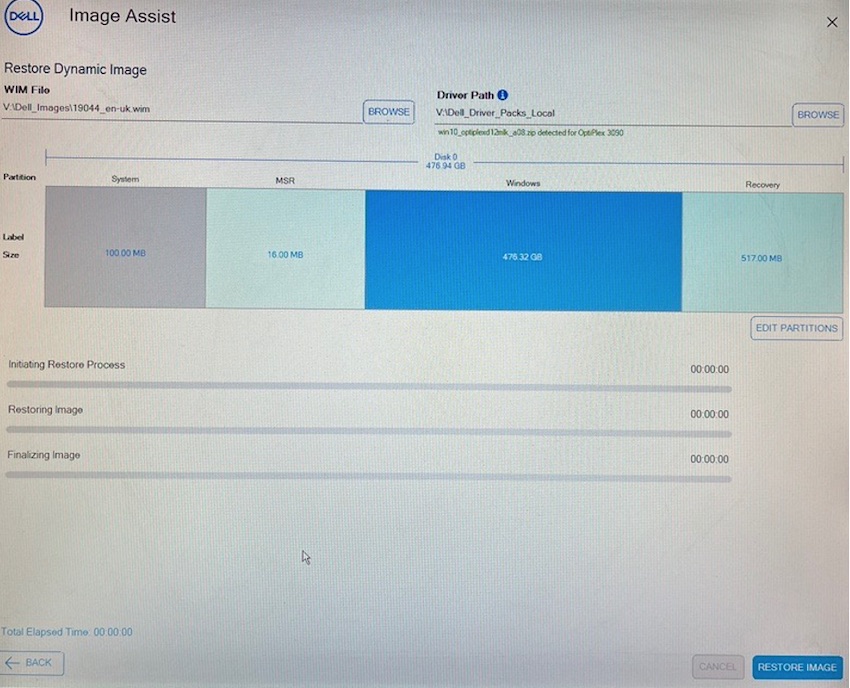
Using the UIS imaged USB
The WIM File and Dell driver should be found automatically.
Using a department USB
You will have to manually ‘Browse’ for the WIM file and the ‘Driver Path’
Select ‘Restore Image’.
Once complete select ‘restart the device’.
Adding the device to Intune
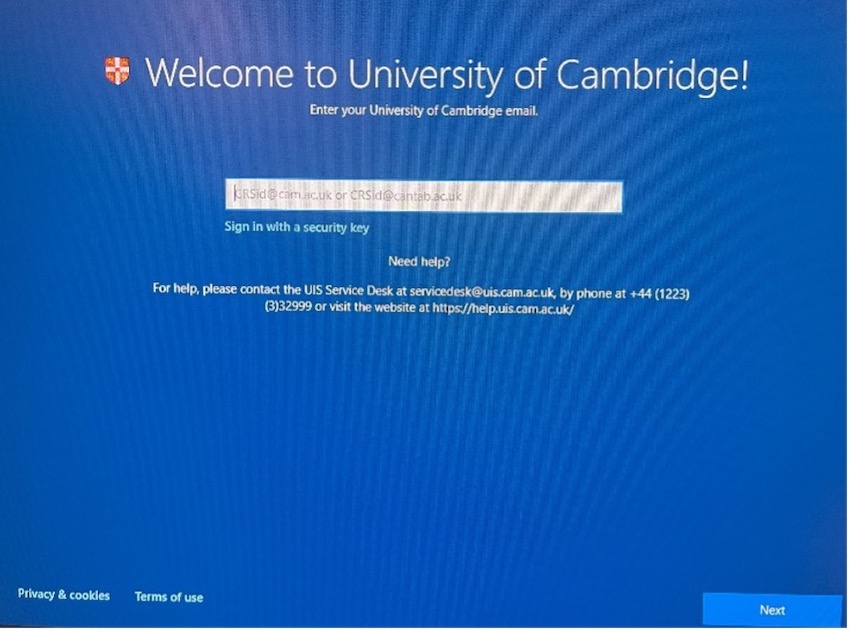
When the device boots, you will get to the language selection page or keyboard selection page or ‘Welcome to University of Cambridge’.
Press the Windows key 5 times to enter the pre-provisioning process.

Press ‘shift F10’ to open a command prompt, or ‘shift, fn, f10’ depending on your keyboard.
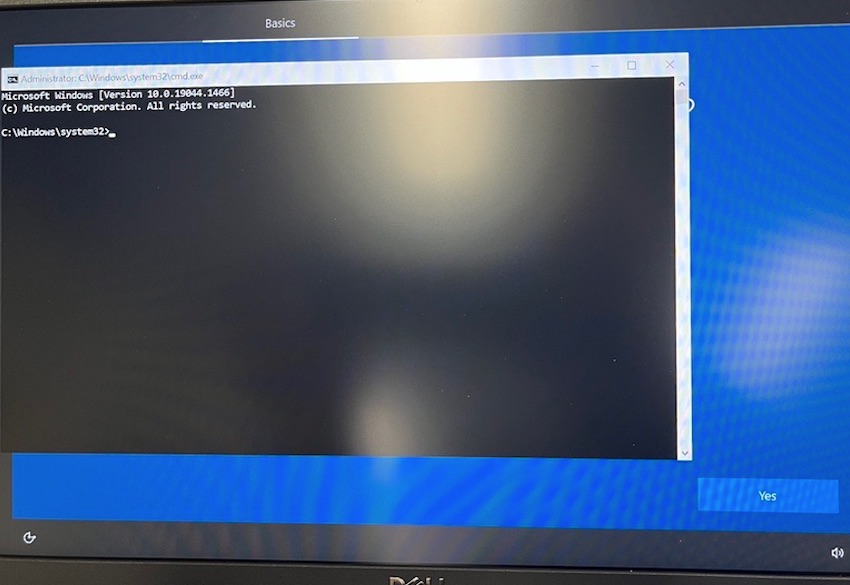
Type ‘explorer’ to open Windows Explorer.
Using the UIS imaged USB
Navigate to the ‘UIS’ folder on the USB drive.
Open ‘UMD ACAD Build.txt’ in Notepad.
Using a department USB
The script is available to download from the UIS website.
Copy the PowerShell script
- Type ‘powershell’ in the command line to start PowerShell.
From this point onwards your device needs to be connected to the internet.
- Paste the PowerShell code. This will upload the Hardware ID hash to the Intune tenant.
- Allow all requested changes.
- You will be prompted to login to your Microsoft account using your @cam.ac.uk credentials and your university password.
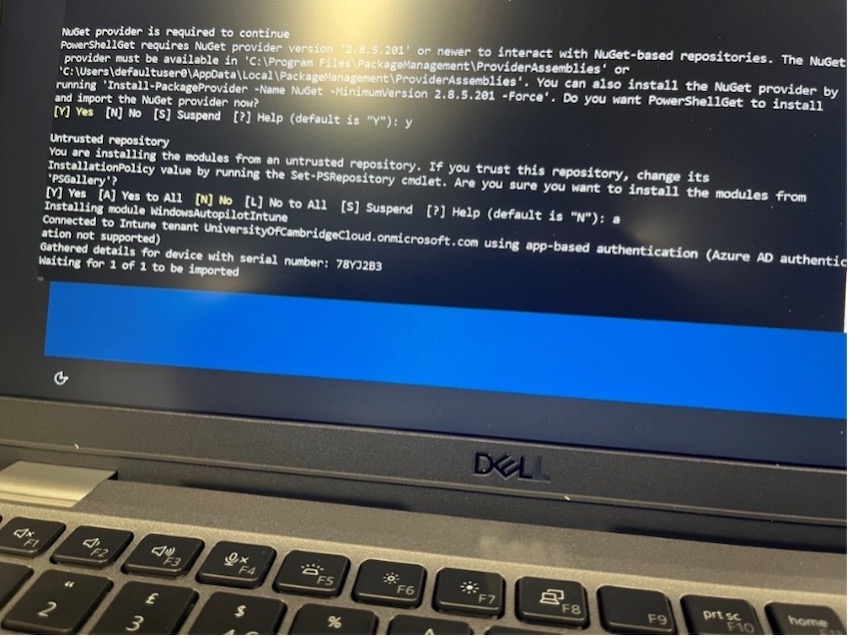
Close the command prompt when the upload has completed successfully.
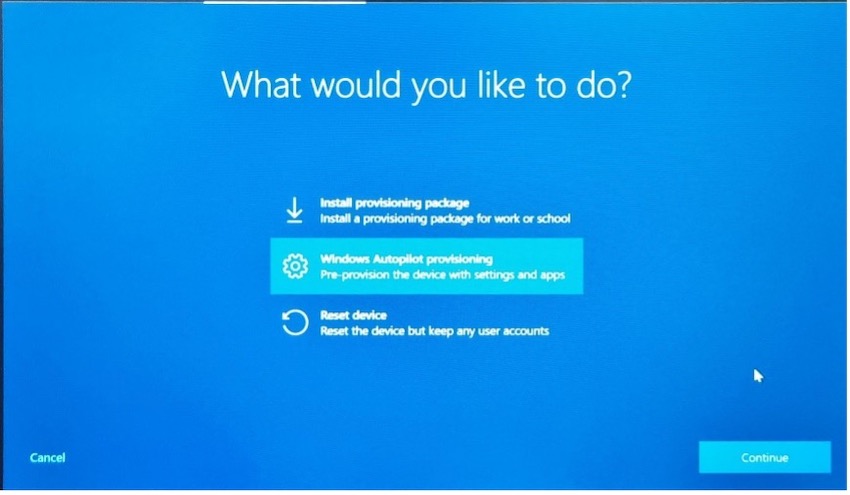
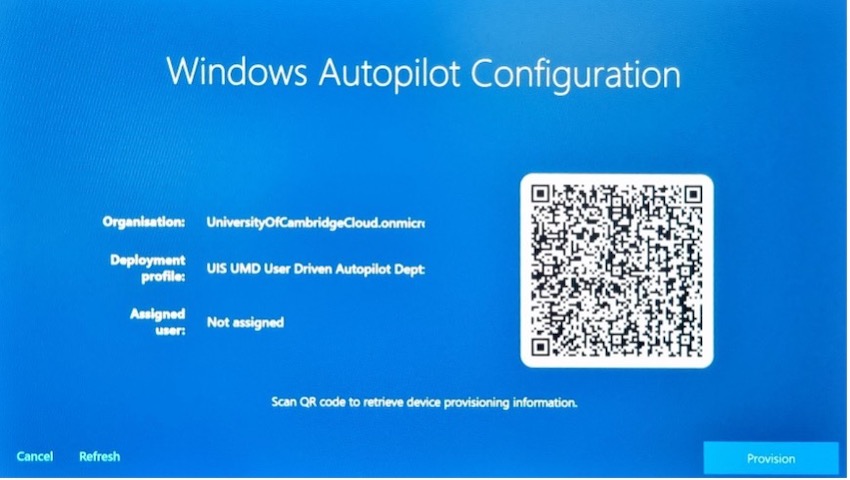
Windows Autopilot Select ‘Windows Autopilot provisioning’ then ‘Continue’.

Click Provision when you see the below screen.
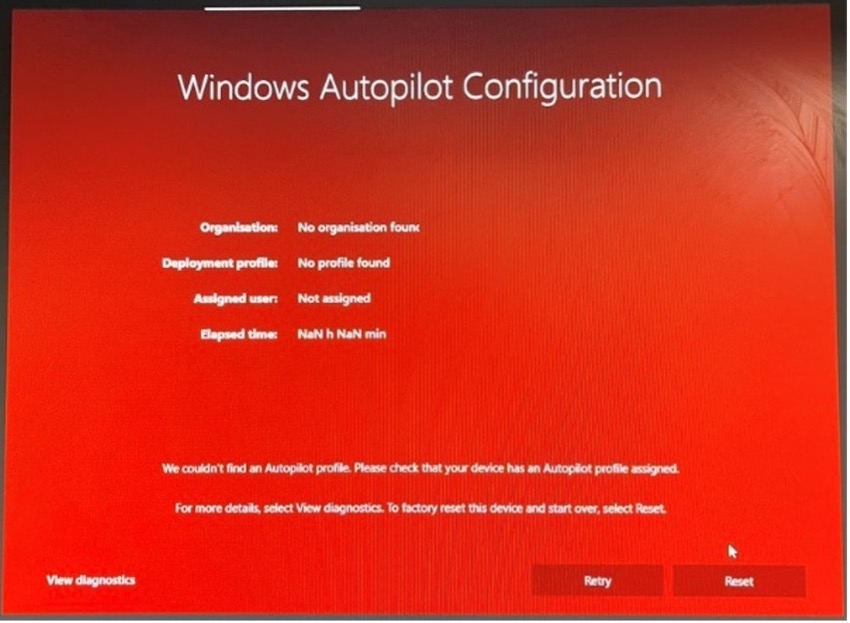
The device will enter the pre-provision stage. If you see a red screen immediately with ‘No profile found’, then wait a few minutes and click Retry.
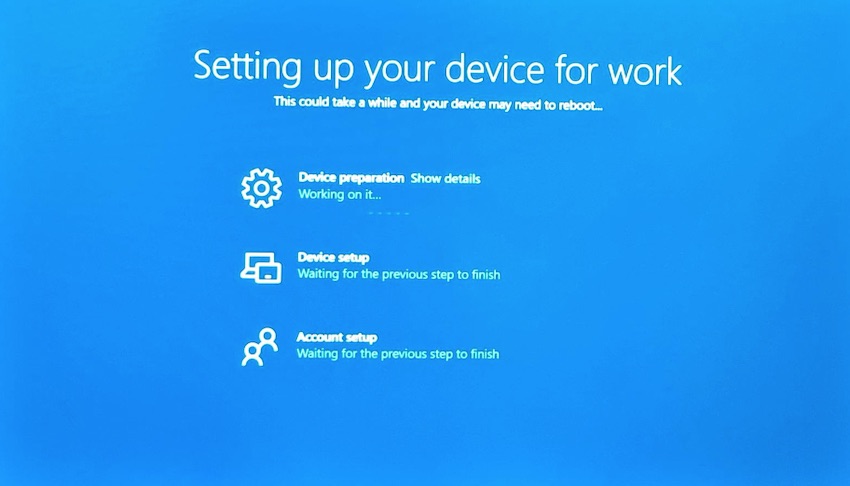
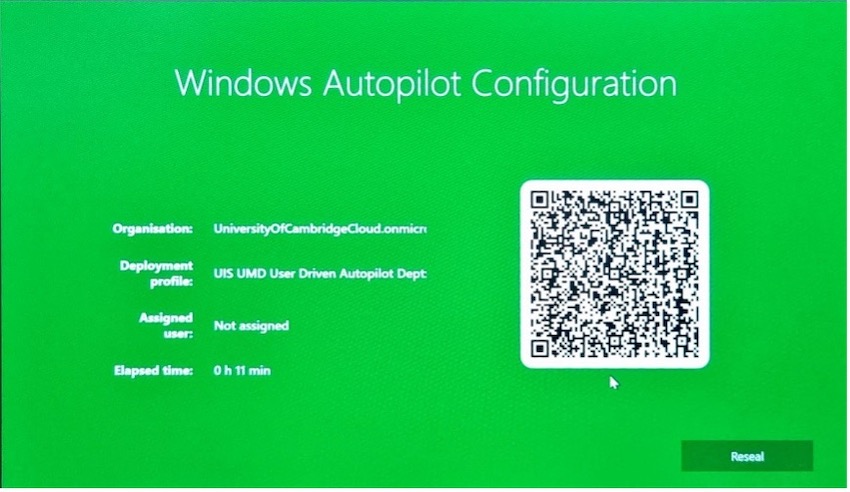
Once complete, you should see the below green screen which shows the pre-provision has been successful.
Select Reseal which will shut the laptop down.
Turn the device back on.
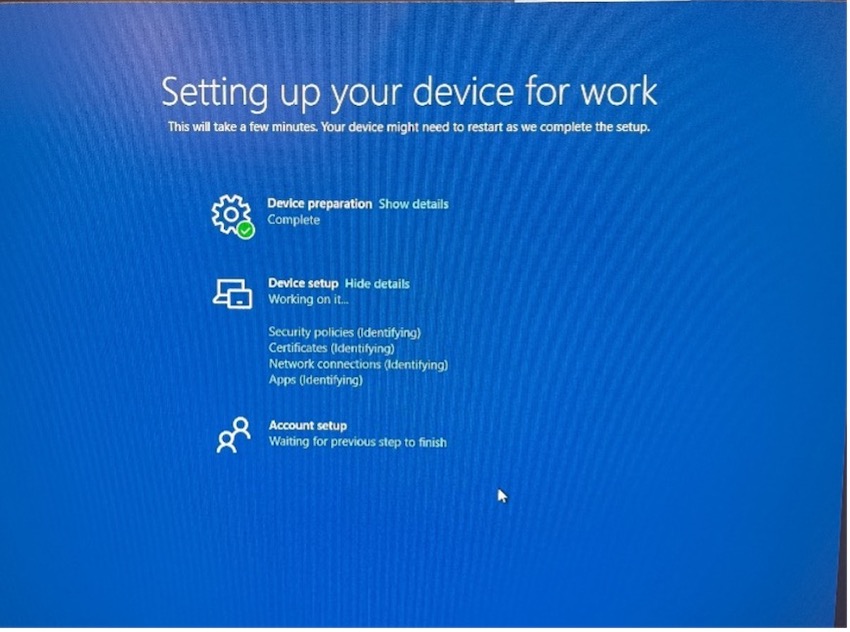
Login at the ‘Welcome to University of Cambridge!’ page.
There will be some additional set up after. Then the device will login.
Please leave the device on for extra software installation.
You may run Windows Updates and Dell Command Update.