The Resources section allows you to add and edit a room, workspace and equipment resource which are specialised mailboxes that can be booked through Outlook calendars.
A grid of all resources available for your institution is displayed.
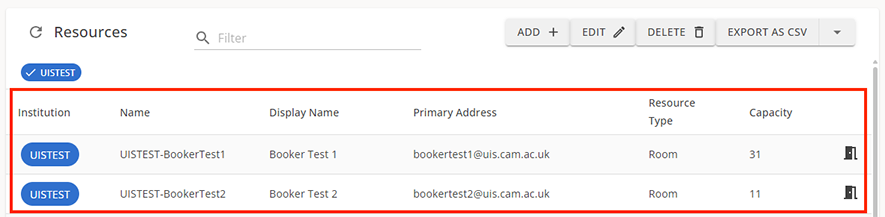
This list shows the:
- institution the resource belongs to
- main identifier of the resource, in most cases the same as display name
- display name of the resource
- primary email address
- type of resource the mailbox is setup as
- number of people that can use the resource (rooms and workspaces only)
There are three different types of resource mailbox available – room, workspace and equipment.
- A room is any shared space that you wish to be bookable.
- A workspace is a shared office space, for instance a cluster of hot-desks or a shared working space. Workspaces can be booked by multiple people at once without conflict, up to the capacity set for the space.
- Equipment is anything shared in your institution such as laptops and projectors.
Create a new resource
Select ‘Add’ to create a new resource and open a drawer. Along the top of the drawer are three tabs – ‘Resource details’, ‘Booking approval settings’ and ‘Location information’. The 'Resource details' tab is automatically selected when the drawer opens.
Resource details
- Select the type of resource you want to create from the dropdown. There are three options – Room, Workspace and Equipment.
- Enter a display name for your resource and email address for your resource. All resource display names are automatically prefixed with the institution code of the institution they are created in, and this prefix is shown prepopulated in the “Display name” field. The display name must also be unique across the University.
- Set the capacity of the resource, if applicable. It is important to set this field for workspaces, as it is used in bookings. Each time a workspace is booked, the capacity is reduced until the maximum number of bookings has been reached. For other resources this can be left blank. Phone number, Estates room ID, display device name, video device name and wheelchair accessibility can be also be set. Estates room ID is the code used by Estates Division to identify the space. If you don’t know this, leave the field blank. Room list is a dropdown of specialised distribution groups that group rooms together. These are normally buildings and are used in Outlook to help users find rooms. Display and video device names can be used to detail any AV equipment present in the room or workspace. These fields are not applicable for equipment resources and can be left blank.
Booking approval settings
In this tab you can set the booking permissions for the resource mailbox to control which users can book it.
The options are:
- Auto accept group – Set this group to allow a set of users to book a resource without approval. When a group is selected, the members of this group receive an auto-acceptance email from the mailbox after sending a booking request. If this group is set for a workspace, the remaining capacity is reduced with each booking until the maximum number of bookings has been reached. If you don’t want to set this group, select the ‘None’ option.
- Booking approvers – Set this group if approval is required to book a resource. If this group is set, an email will be sent to the group members every time the resource is booked to approve the meeting request. Only one person has to approve the request. If you don’t want to set this group, select the ‘None’ option.
- Booking requestors – Set this group to identify users whose resource bookings require approval by the ‘Booking approvers’ group. If you don’t want to set this group, select the ‘None’ option.
Please note only mail-enabled security groups can be used to set the above booking approval options.
In this tab further booking options can be set – whether recurring bookings are allowed, restrict bookings to work hours only (08:00 – 17:00), maximum booking length and how many days in advance the resource can be booked.
Location information
In this tab further details on the location of the resource can be set. Once you have filled all desired fields, select ‘Create resource’ to finalise the resource details.
Microsoft advise waiting 24 hours after creating a resource before using it to allow the mailbox to provision. Details of the new resource may not be visible during this time.
Edit a resource
You can select ‘Edit’ or double-select an entry to edit. A drawer will open with details of the resource.
All fields available in ‘Create resource’ are editable. Mandatory fields are marked with an asterisk.
Select on ‘Apply Changes’ to save. Note the saving process may take a while depending on the settings selected. The save is complete once the drawer has disappeared.