Instructions for moving your personal files off the M: drive on to your personal OneDrive filestorage using the automated tool to do it for you.
Before you start
You must be logged in to your managed UAS Desktop on your work computer. Either:
-
In the office: log in to you work PC/laptop while it is connected to the University of Cambridge network (i.e. the ACN Network), or
-
Working remotely: log in via the ACN Remote Access Service.
See: Remote access when working away from the University.
1: Move your data to OneDrive using the migration tool
-
Click here to download the Sharepoint Migration Tool (spmtsetup.exe file)
-
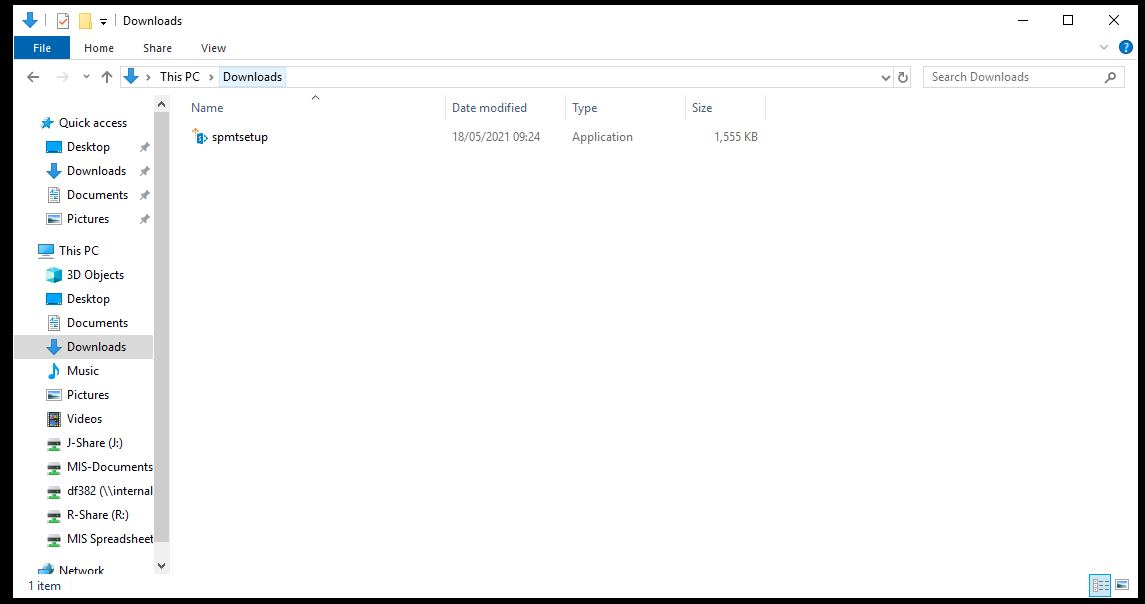
Navigate to the downloaded spmtsetup file and double-click to run it (it's probably in your Downloads folder):
-
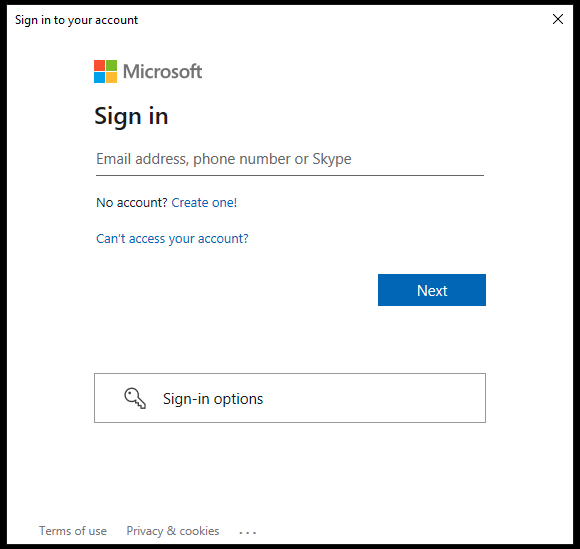
Sign in to your University Microsoft account with your CRSid and Raven password and enter the two factor authentication code if prompted:
-
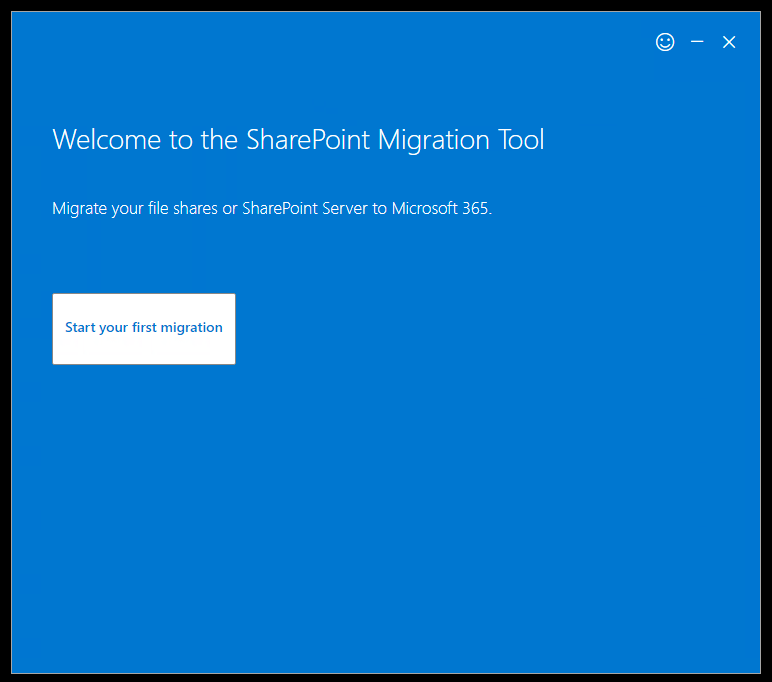
Click the Start your first migration button:
-
Select the File Share option:
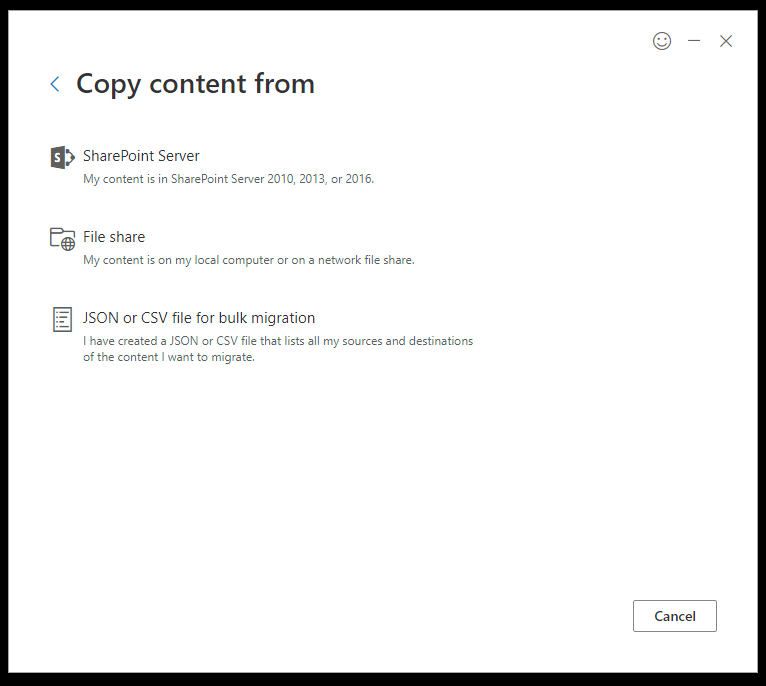
- Select Choose Folder and locate the M: drive...
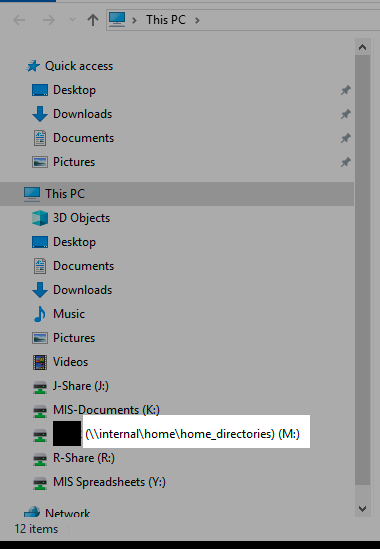
...and check that the Migrate selected folder and folder contents is selected before clicking the Next button:
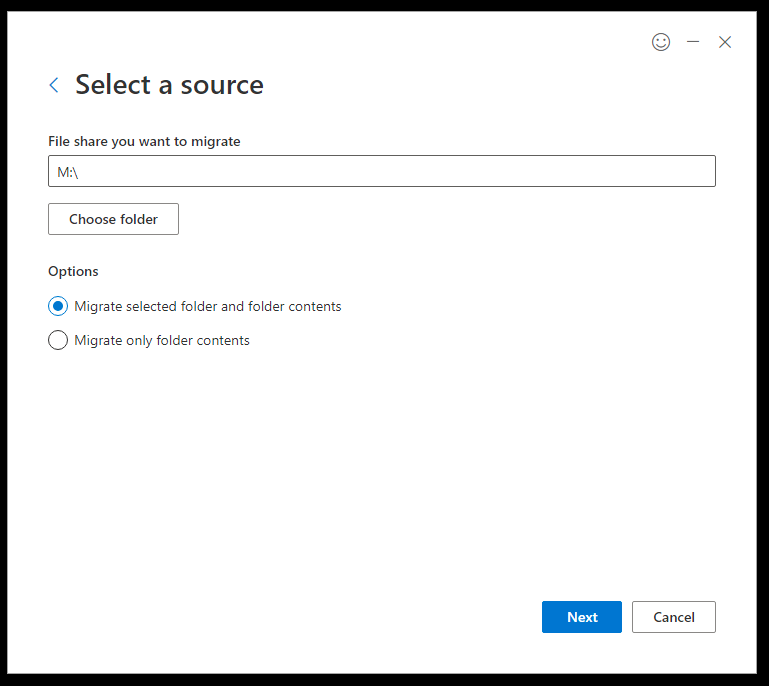
-
Select OneDrive:
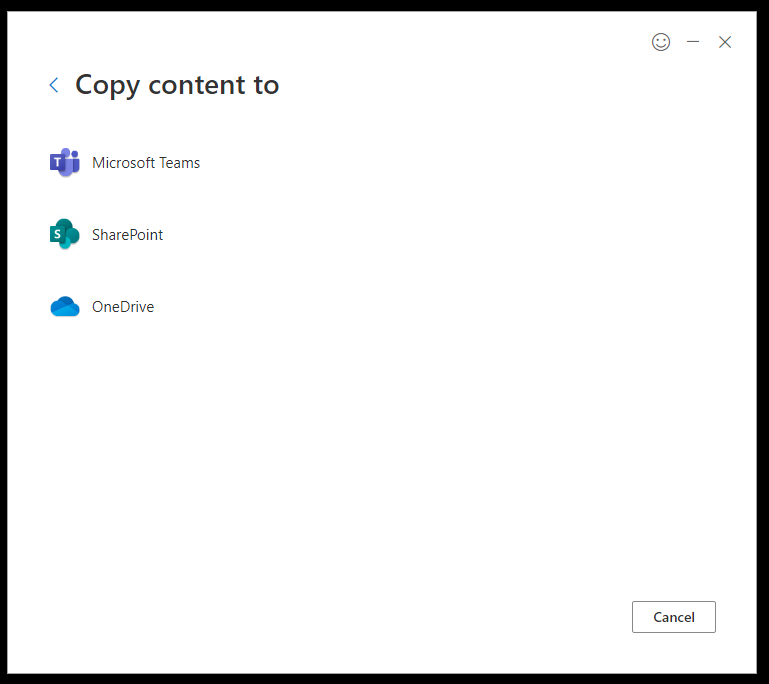
-
Enter your CRsid@cam.ac.uk email address (not your @admin.cam.ac.uk address) in the Select a OneDrive destination field.
-
Select Next, and Next again on the succeeding screen.
-
Review the migration and rename it if you like. Once confirmed, click Next to continue.
-
Finally, select the basic settings you want to apply and select Migrate to start the migration process:
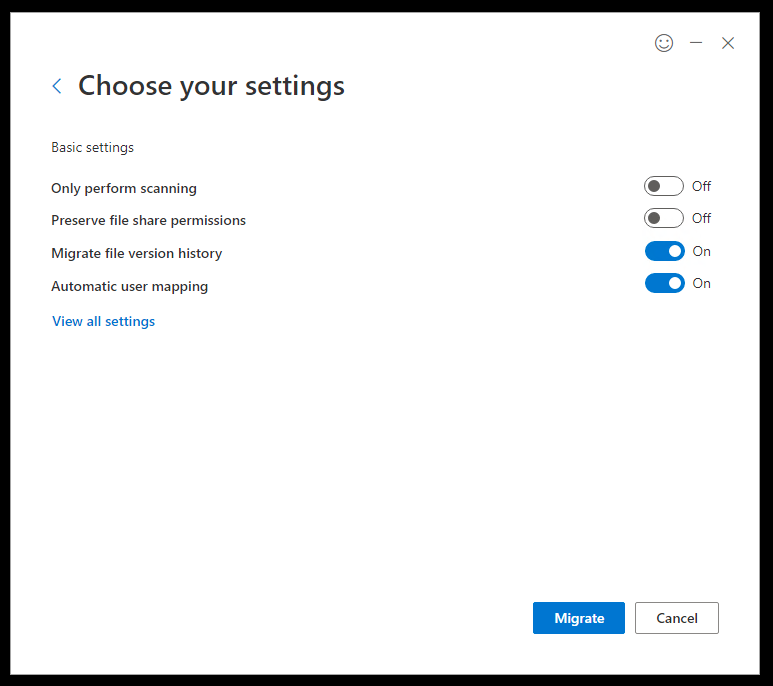
- The tool will now copy your M: drive data to your OneDrive and you will be notified when it is finished. Please check to see that everything is as expected.
2: Remove your M: drive mappings to prevent file sync problems
Once your confident your M:Drive data has been migrated to OneDrive you must to remove the M: drive mapping from the File Explorer under your profile.
- Navigate to File Explorer and then to the J: drive:
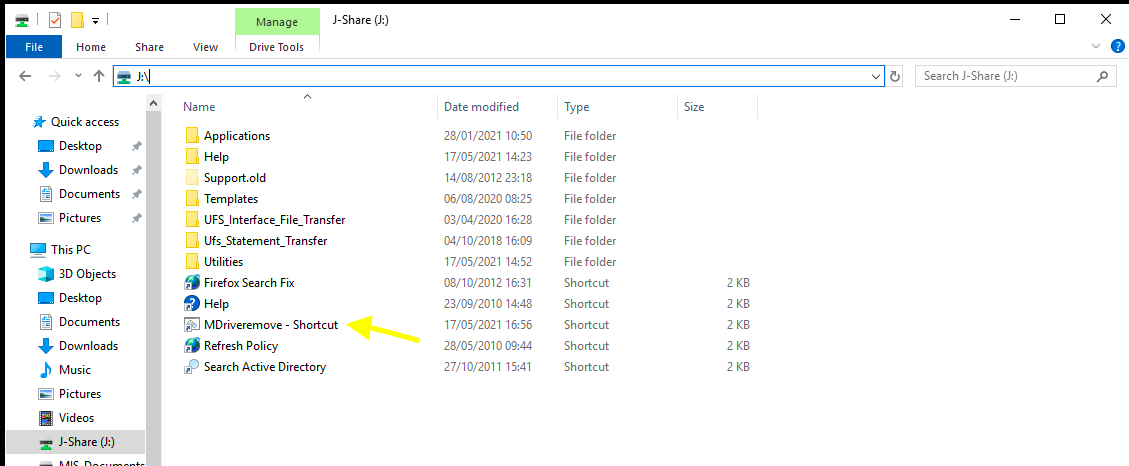
- Double-click the MDriveremove-Shortcut and follow the prompts.
- The M: drive mapping will be removed from your profile over night to prevent you accidentally making changes that will not be synced to your OneDrive.
