After graduating, you may want to keep your student emails. Follow these instructions to move the contents of your student mailbox (CRSid@cam.ac.uk) to another email account, for example, your new alumni mailbox (ID@cantab.ac.uk):
What options do I have?
There are two methods you can use, but we advise deciding which is best depending on how big your mailbox is (or how much of it you want to keep):
- Export/import – this is recommended for moving large amounts of data, e.g. the entire contents of your mailbox
- Drag-and-drop/Move to folder – this is easier if you only want to keep a small amounts of data, e.g. just your most important emails
Method 1: Export/import by creating an Outlook Data File (.PST)
- Set up the Outlook client to connect to both the source and target mailboxes.
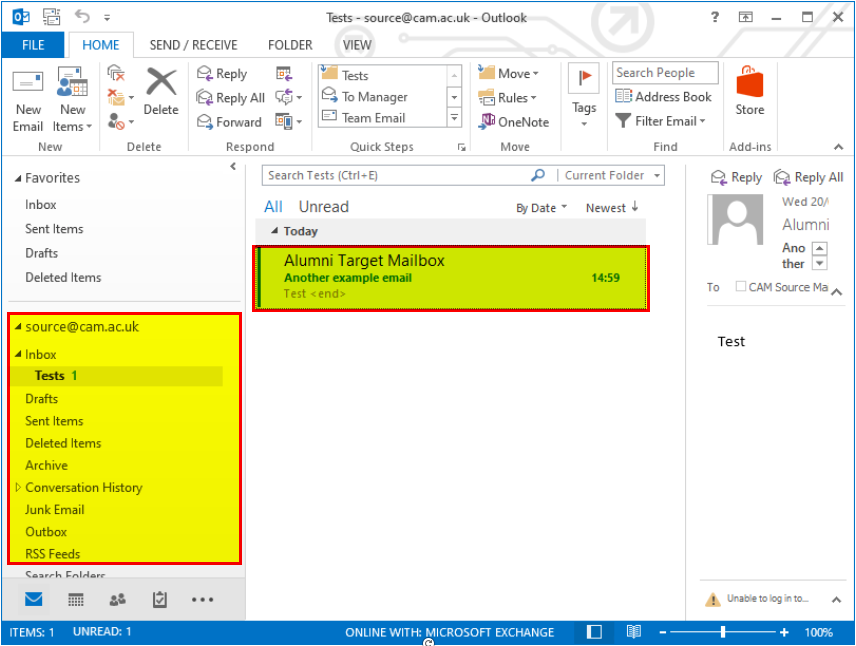
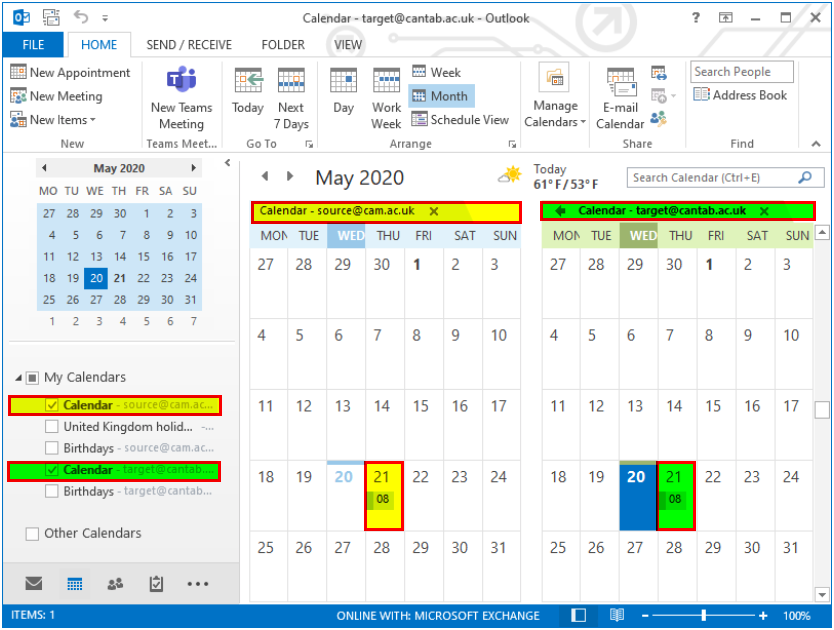
Confirm you can see both mailboxes and the content of the source mailbox, including any sub-folders and calendar entries, e.g.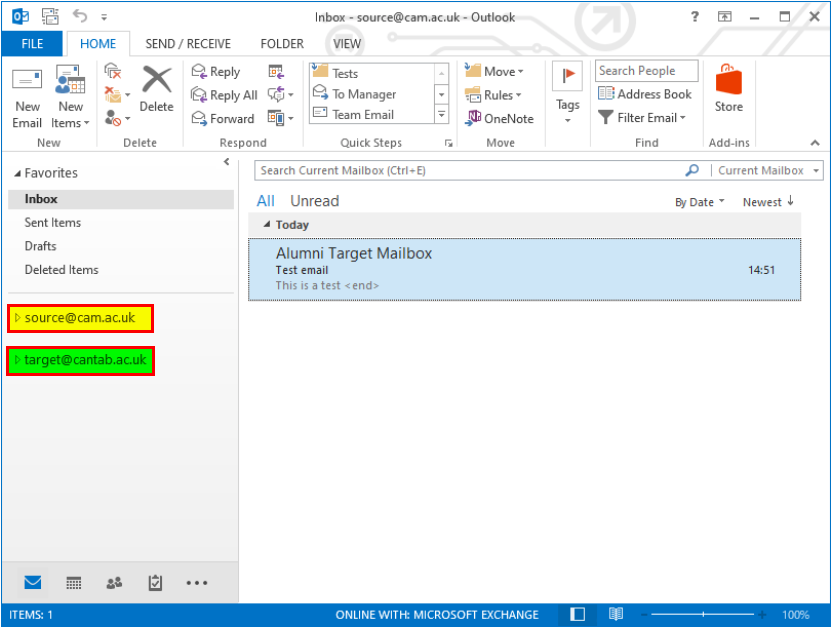
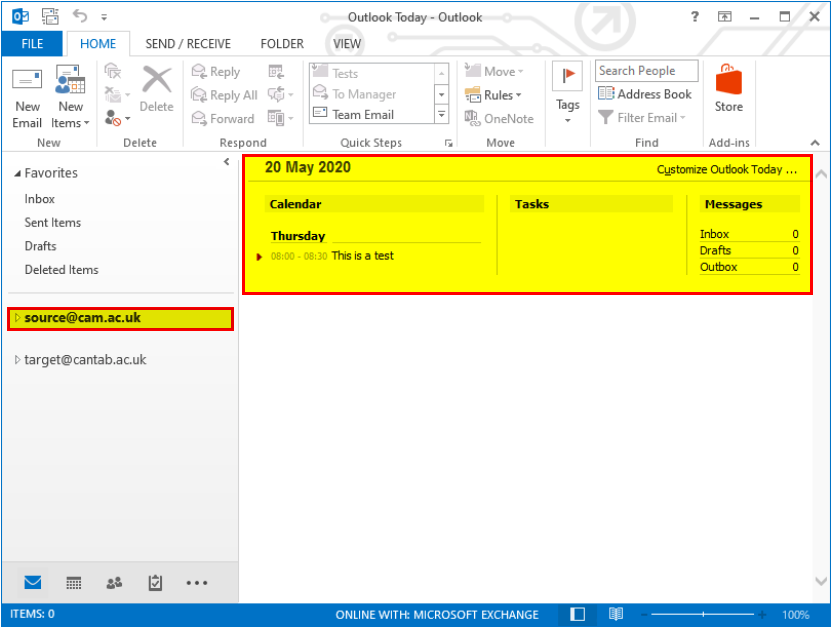
- As you can see in this example, the target mailbox (e.g. ID@cantab.ac.uk) is empty:
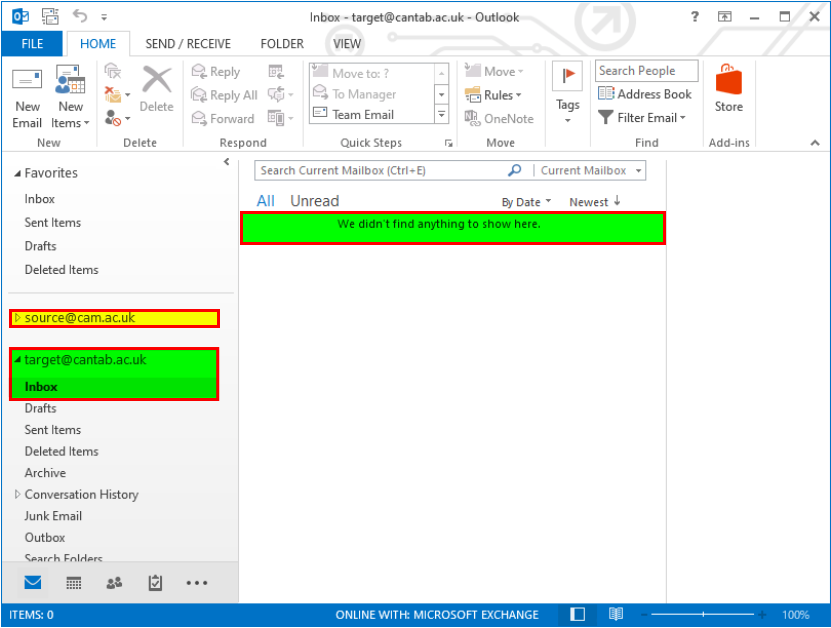
-
IMPORTANT: Before continuing, make sure that there is enough storage space for the export file to be created; it will be slightly larger than the size of the mailbox. See: What's the size of my mailbox?
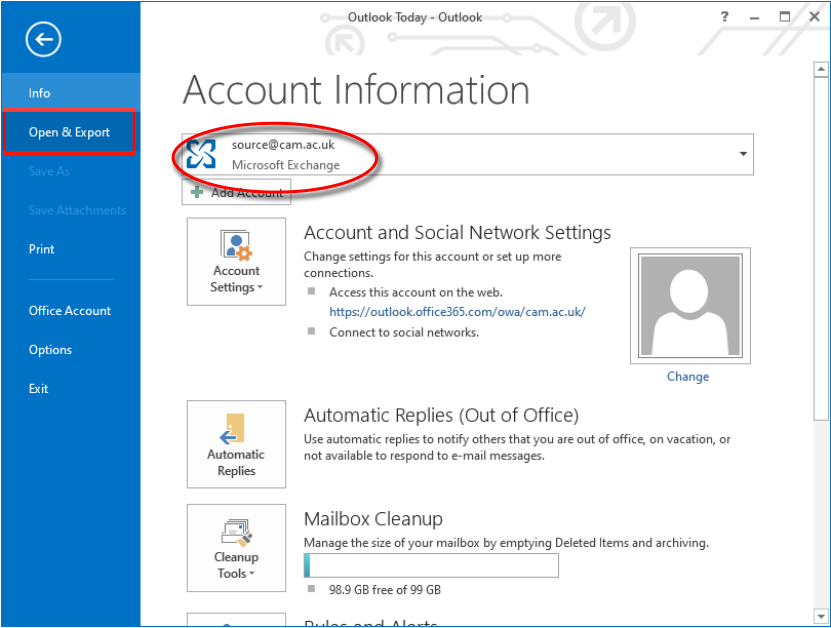
Highlight the source mailbox (e.g. CRSid@cam.ac.uk) and click the File tab to open the Account Information page, then click Open & Export:
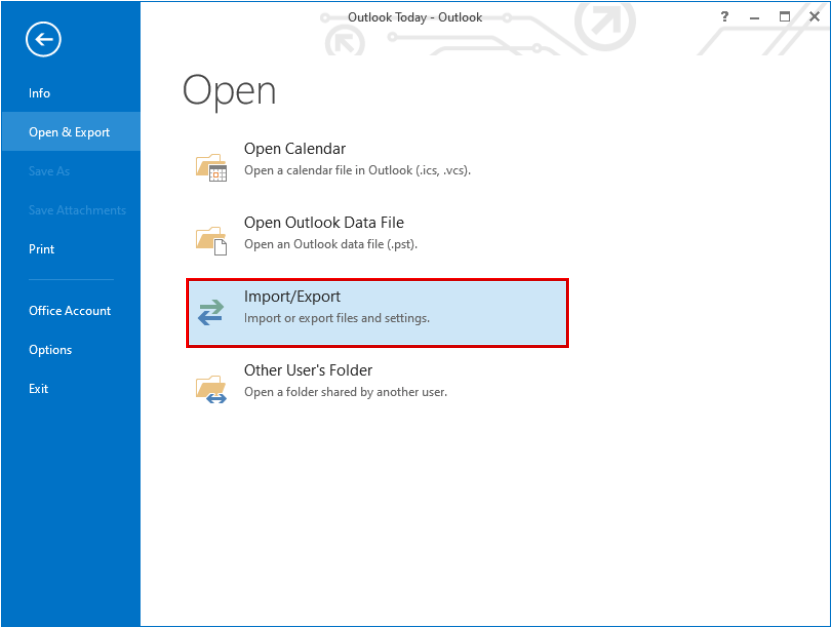
- The Open page will open. Click Import/Export:
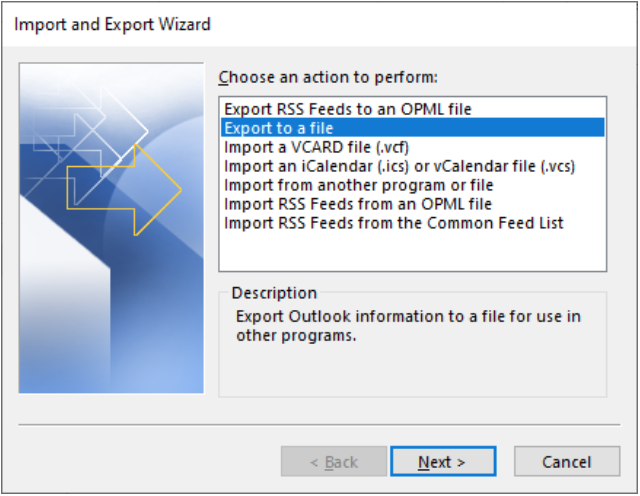
- The Import and Export Wizard will open. Select Export to a File and click Next.
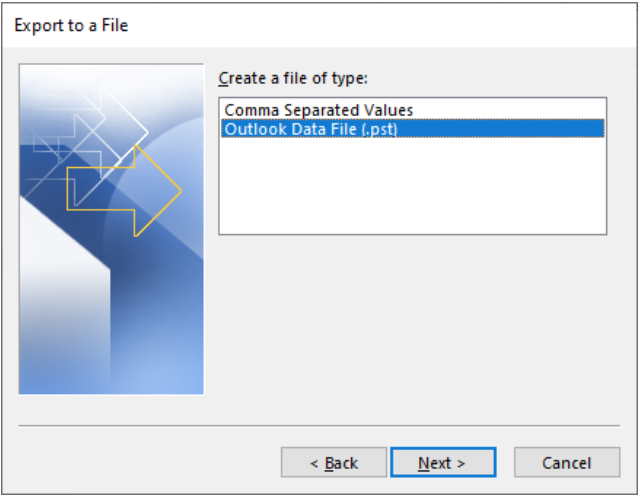
- Select Outlook Data File (.pst) and click Next.
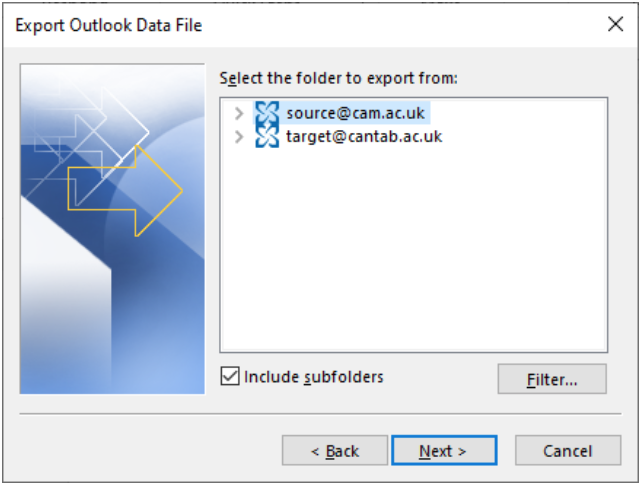
- Select the source mailbox (e.g. your CRSid@cam.ac.uk account) from the list of mailboxes available and click Next.
- To ensure all content is copied, select Allow duplicate items to be created and click Finish.
(You can change the exported file name and location if you wish, but the default value should be fine.)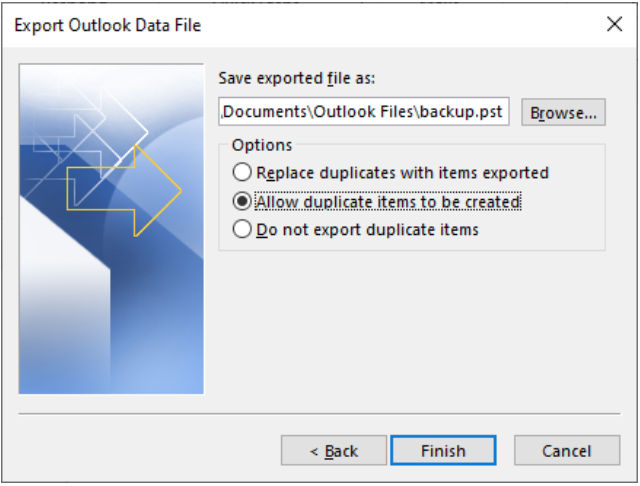
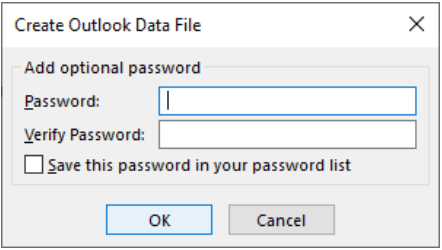
- A password for the file can be added, but it is not necessary. Whether or not you set a password, click OK.
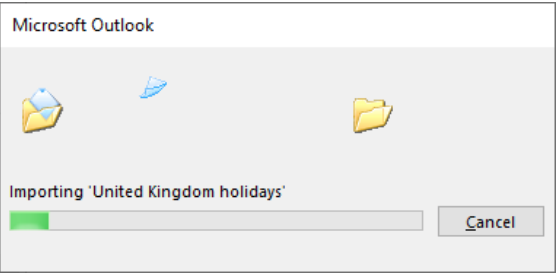
- The view should return to the Outlook client and a progress window appear after a short delay.
The export process can take some time, particularly for large mailboxes.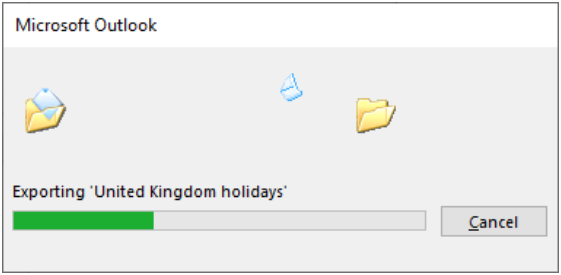
- Once the export is done, the view should return to the Outlook client.
Switch to your target mailbox to import your data:
To import the data from the .PST file you just exported, highlight the target mailbox (e.g. your ID@cantab.ac.uk account) to select it and click on the File tab again to open the Account Information window.Click Open & Export to open the Open window and click Import/Export to open Import and Export Wizard.
Select Import from another program or file and click on Next.
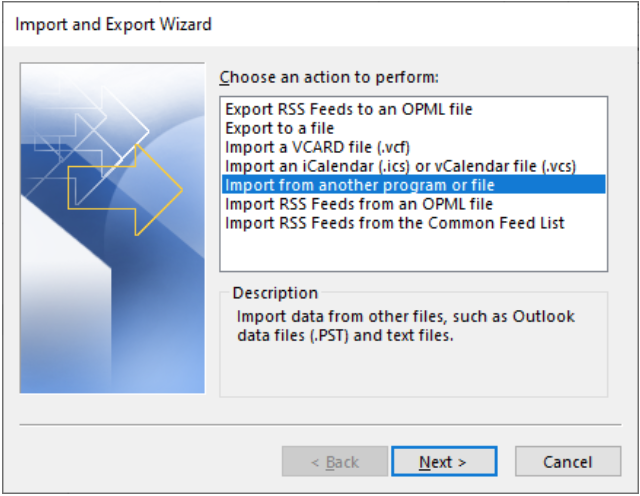
- Make sure the new window says Import a File (if it does not, click Back and repeat step 11).
Select Outlook Data File (.pst) and click Next.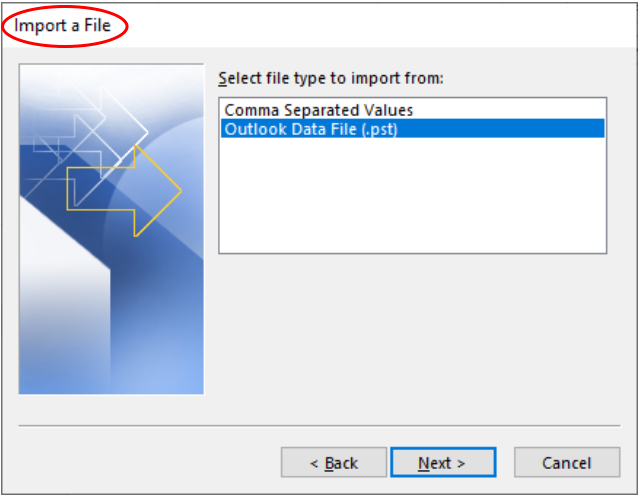
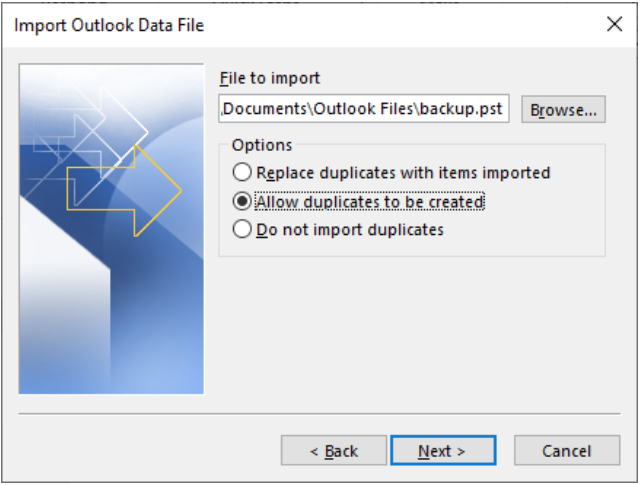
- Select the File to Import; this will be the same file created in the export stage of the process and, if no changes were made to the filename or path, it will be selected automatically. Again, choose Allow duplicates to be created to make sure nothing is missed and click Next.
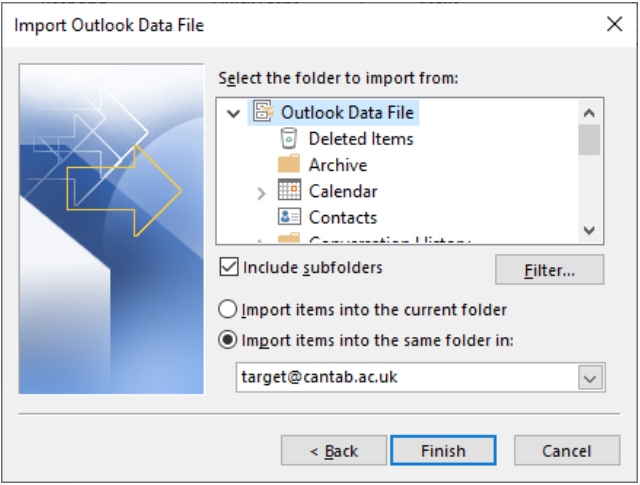
- Choose the top of the folder tree – Outlook Data File – and make sure it is set to Import into the same folder in the target mailbox.
Note: These settings can be changed if a specific sub-folder is required as the destination of the data, but it is simpler to leave the settings as they are.
Click Finish.
- The view should return to the Outlook client and a progress window will appear after a short delay. The import process can take some time, particularly for large mailboxes.
- After the import has finished, Outlook will return to the default view.
Check the target mailbox to ensure content has been copied across, including sub-folders and calendar items.
Method 2: Drag-and-drop/Move to Folder
If the above export/import process is unavailable or the source mailbox is not very large, it is always possible to connect to both mailboxes and manually copy items between them either by:
- using drag-and-drop to move items between your two Exchange Online mailboxes in Outlook
or - using the Move option.
Using the Move option in the Outlook Windows desktop client
- Select the items you want to move from your source inbox (e.g. CRSid@cam.ac.uk) – use the Ctrl+A keyboard shortcut to select everything in your mailbox, or hold Ctrl and click to select individual items.
- Right-click and select Move from menu
- Choose either Other Folder or Copy to Folder:
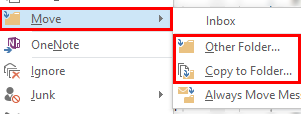
- Other Folder: this moves the emails to your target mailbox and removes them from your source mailbox
- Copy to Folder: this makes a copy of the emails in your target mailbox and also keeps the originals in your source mailbox.
- A new window will appear displaying your folders. Select the target mailbox folder that you want to move/copy the emails into and click OK to finish.
Cleaning up afterwards
Removing your old Cambridge student mailbox
Once the export and import is completed, you may wish to remove your CRSid@cam.ac.uk mailboxfrom Outlook as it will be decommissioned when you leave Cambridge.
Adding an auto-reply message for your old CRSid@cam.ac.uk email account
We cannot forward email sent to your CRSid@cam.ac.uk email account after you leave, but you can set up an auto-reply in which you can include your new email address. See: Leaving the University.