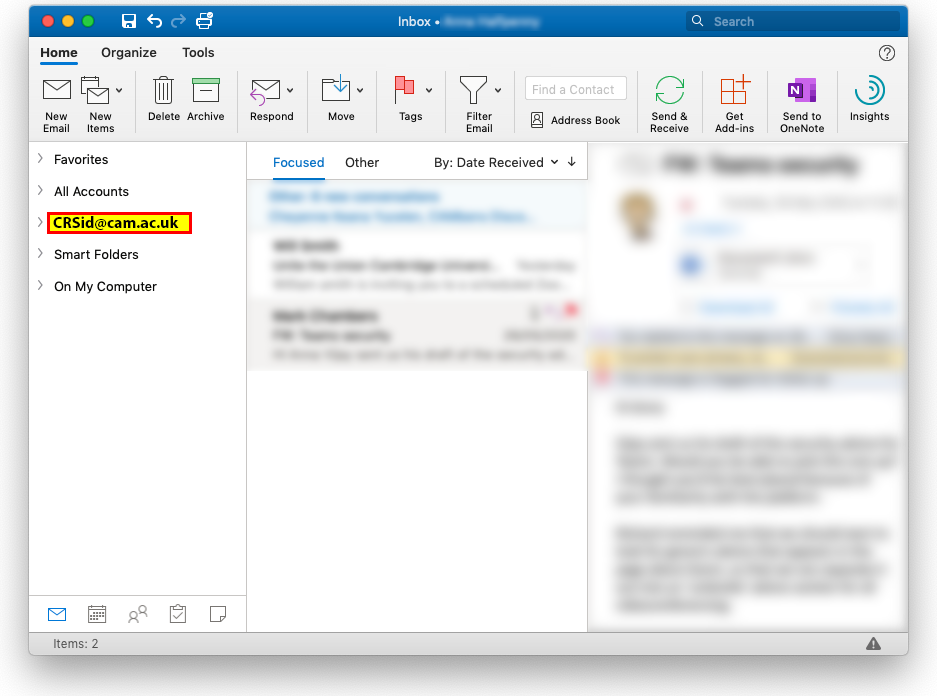
After graduating, you may want to keep your student emails. Follow these instructions to move the contents of your student mailbox (CRSid@cam.ac.uk) to another email account, for example, your new alumni mailbox (ID@cantab.ac.uk):
What options do I have?
There are two methods you can use, but we advise deciding which is best depending on how big your mailbox is (or how much of it you want to keep):
- Export/import – this is recommended for creating a backup of your mail data that can then be copied to your alumni mailbox
- Drag-and-drop/Move to folder – this is easier if you only want to keep a small amounts of data, e.g. just your most important emails.
Method 1: Export/import by creating an Outlook Data File (.olm)
- Set up the Outlook client to connect to your CRSid@cam.ac.uk mailbox.
- You will need enough space on your hard disk to export your mailbox file – this file will be a bit bigger than the size of your mailbox.
Optional check:
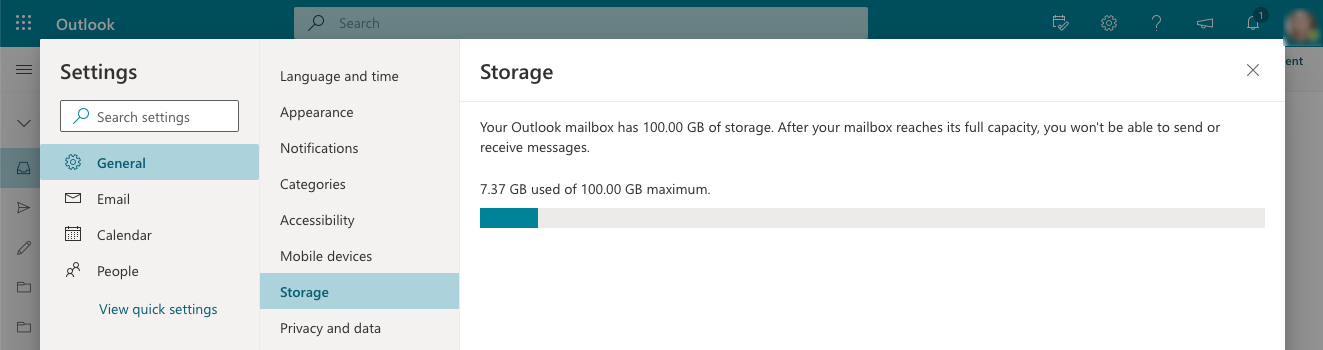
The easiest way to check the size of your mailbox is to log in to the Outlook web app (https://outlook.office.com) and choose Settings (cog icon) > View all Outlook settings > General > Storage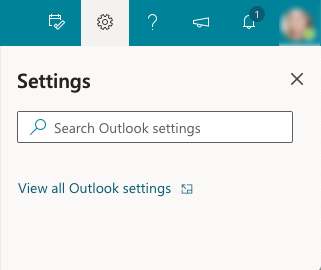
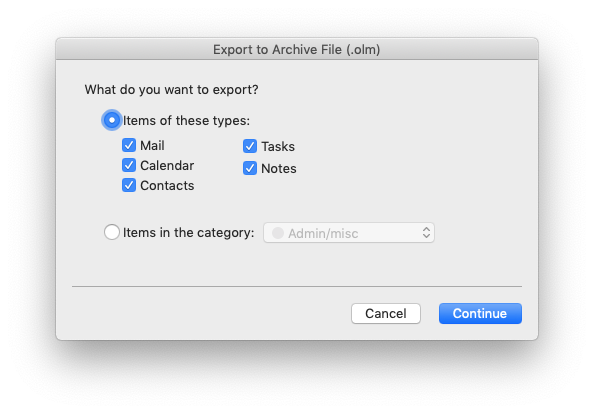
- Click File > Export and select the items you want to export. If you do not have the Export option available you will need to revert to the legacy version of Outlook for Mac:
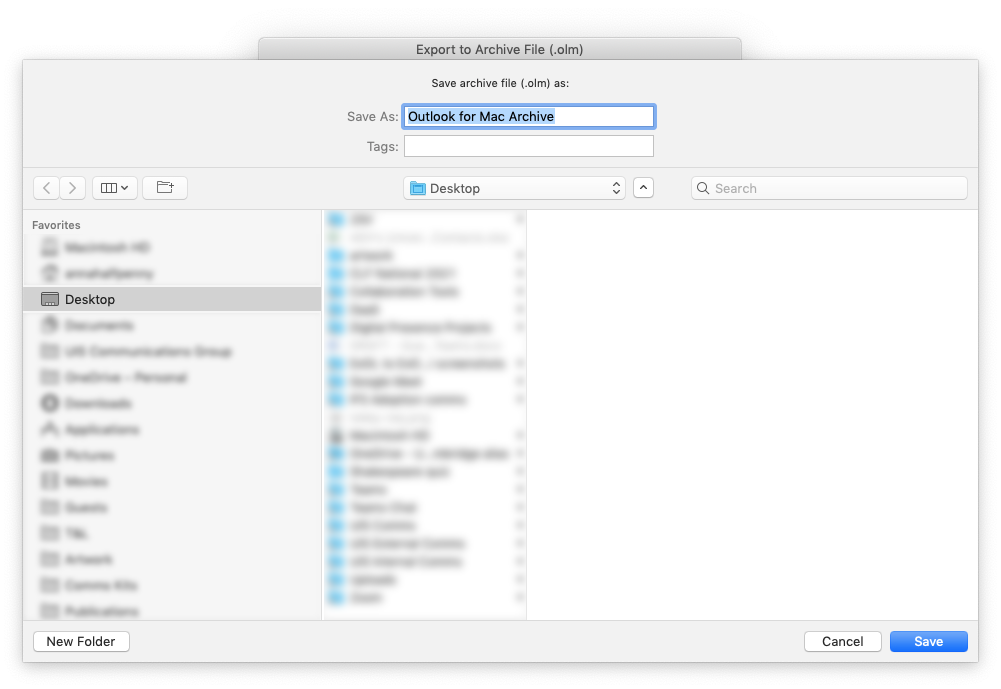
- Choose a destination to save the Outlook for Mac Archive.olm export file to, e.g. the Desktop:
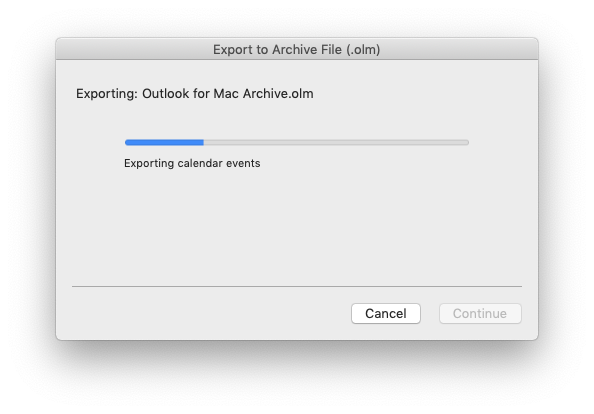
- Outlook will export your data into a file called Outlook for Mac Archive.olm. This may take a while depending on the size of your mailbox.
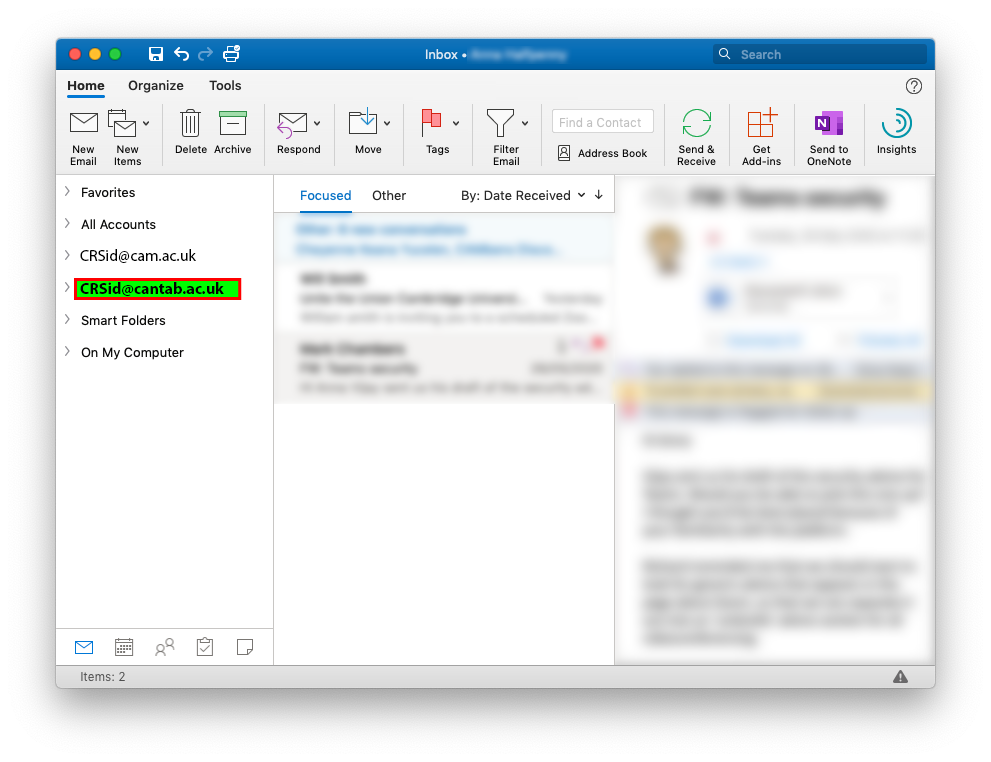
- Set up the Outlook client to connect to your ID@cantab.ac.uk mailbox.
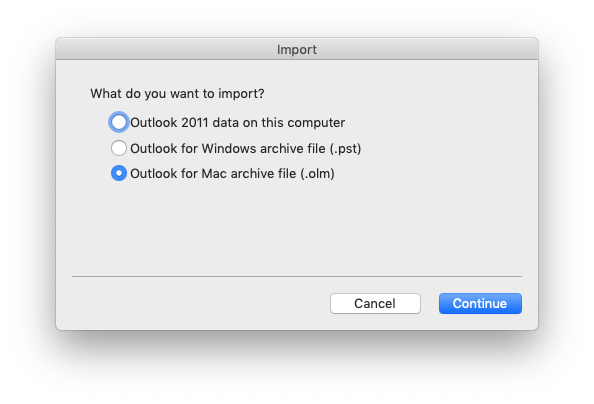
- From the main menu, select File > Import:

- Choose Outlook for Mac archive file (.olm) and click Continue:
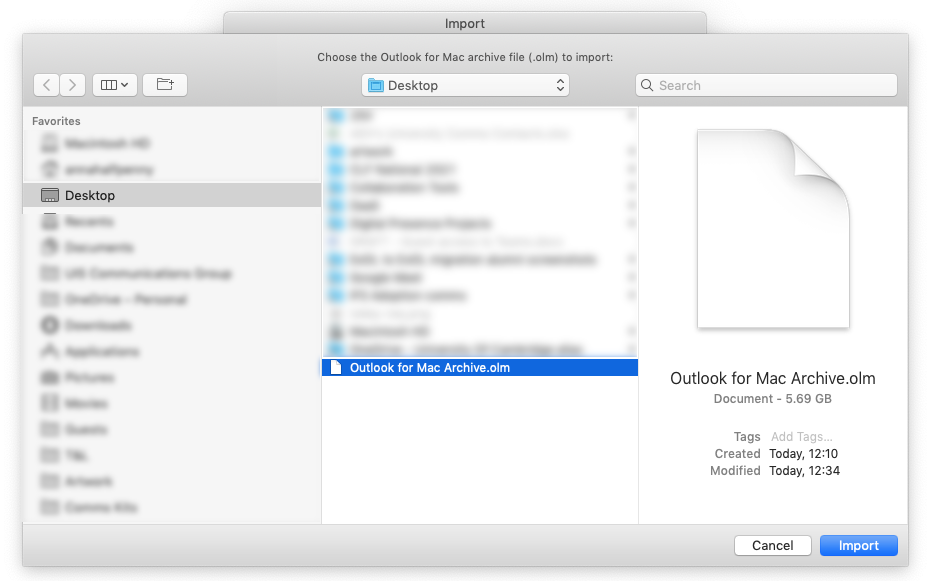
- Browse to the Outlook for Mac Archive.olm file you exported and click Import:
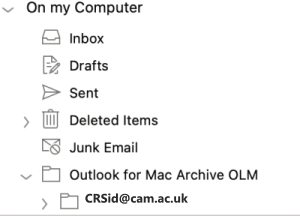
- It may take a while for it to import if there is a lot of data. This will import the .olm file to the 'On my Computer' folder
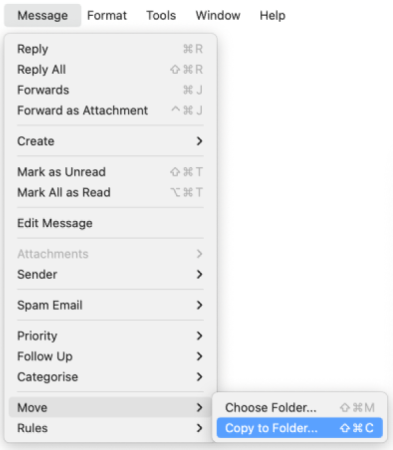
- Select the individual items you want to copy from your backup file. From the main menu select Message then Move and Copy to Folder.
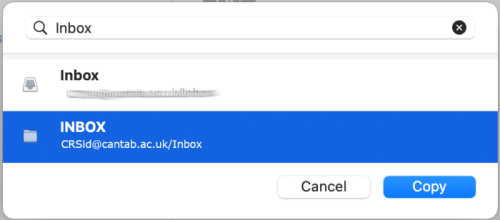
- Type the corresponding Folder name eg 'Inbox' and select the folder that is in your ID@cantab.ac.uk mailbox then click Copy
Method 2: Drag-and-drop/Move to Folder
If the above export/import process is unavailable or the source mailbox is not very large, it is always possible to connect to both mailboxes and manually copy items between them either by:
- using drag-and-drop to move items between your two Exchange Online mailboxes in Outlook
or - using the Move option.
Using the Move option in the Outlook for Mac desktop client
- Select the individual items you want to move from your source inbox (e.g. CRSid@cam.ac.uk) – use the Cmd+A keyboard shortcut to select everything in your mailbox, or hold Cmd and click to select individual items.
- From the main menu select Message and either choose the target mailbox (e.g.ID@cantab.ac.uk)
or use either Choose folder (to move items) or Copy to Folder (to make a copy of the items):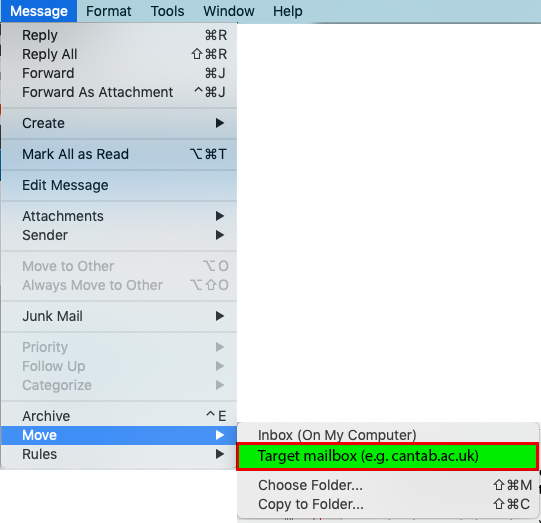
- Your messages will be moved to the target mailbox/folder.
Cleaning up afterwards
Removing your old Cambridge student mailbox
Once the export and import is completed, you may wish to remove your CRSid@cam.ac.uk mailboxfrom Outlook because it will be decommissioned after you leave Cambridge.
Adding an auto-reply message for your old CRSid@cam.ac.uk email address
We cannot forward email sent to your CRSid@cam.ac.uk email account after you leave, but you can set up an auto-reply in which you can include your new email address. See: Leaving the University.