This page covers how to:
- create a new task
- add an attachment to a task
- add a note to a task
- view the activity history on a task
- view the audit history on a task
- mark a task as complete
How to create a new Task
To create or manage tasks you first need to open the Task tab. This is the same when working with either an incident or service request.
Incidents: you can see 'Task' between 'Resolution' and 'Activity History'.
Service requests: you can see 'Task' between 'Approval' and 'Approvers'.
-
To create a new task, select 'New task' in the top right-hand of the screen. This will open the New Task window.
-
Enter a brief title for the task in the Summary field.
-
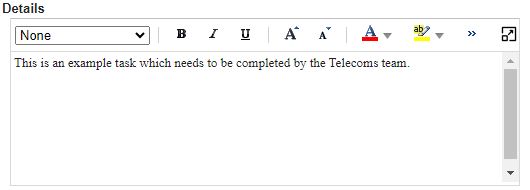
Enter a full description, including all relevant details and requirements, in the Details text box.
-
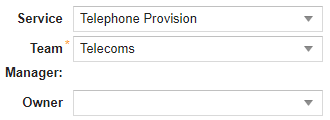
In the drop-down menu boxes, set the service that the task relates to and select the team you’d like to assign this task to. There is also an Owner field so that you can assign the task to an individual within the team, however if assigning the task to a team other than your own it would be best practice to leave the Owner field blank.
-
Once complete, select 'Save'.

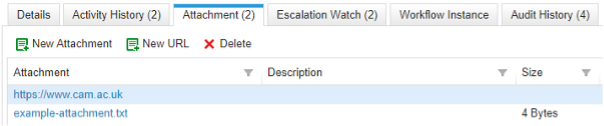
Add an attachment to a Task
As part of completing a task, you might need to attach a file to the task in order to pass the file on to the owner of the parent incident or service request.
-
To do this, first you need to open the Attachment tab.
-
To attach a file, such as a PDF, Word or Excel file, select 'New attachment'.
A file explorer window will open, allowing you to navigate to the file on your computer and attach it to the incident.
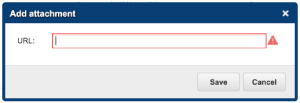
If you wish to attach a URL to the incident, perhaps to a webpage where you would like the owner of the parent incident or service request to reference to help the user, select the 'New URL' button. Enter the URL into the text box.
-
Any attached files or URLs will be listed in the Attachment box below.
-
Once you are finished adding attachments, remember to select 'Save' to save your changes.
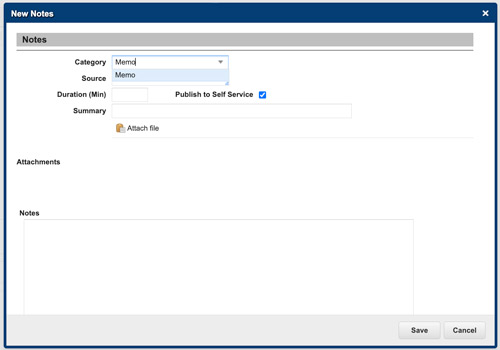
Add a note to a Task
-
To add a note, scroll down to the Comments section on the Details tab and then select the 'Create' button to open the New Notes window.
-
Enter your note into the large Notes text box and remember to uncheck the 'Publish to Self Service' checkbox if you do not wish the note to be visible to the customer.
View the activity history on a task
You can view the history of emails and notes, including any email automatically generated by the HEAT system, by opening the Activity History tab.
Here you will find a chronological list of all emails and notes attached to thist.
View the audit history on a task
The Audit History gives you a detailed breakdown of who has done what to a task, and when.
The Audit History tab contains a timestamped list of any changes made to the task such as changes to any audited fields including, but not limited to, Service, Status, Team, and Owner, providing the CRSid of the user who made the change.
It will also detail attachments being added to the task or emails being sent or received.
Mark a task as complete
Once you have completed the actions required in the task, you should update the task and mark it as complete. This means that the owner of the parent incident or service request knows that it has been done and they can move on with the rest of their process.
-
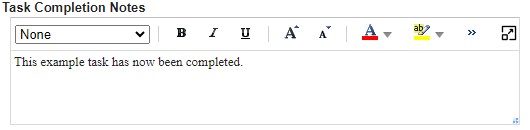
On the Details tab in the Task window, enter any relevant notes in the Task Completion Notes field. This information will be visible to the owner of the parent incident or service request so this can be used to provide any relevant information that they may need to know.
-
Once you have added the Task Completion Notes, select 'Complete' in the top right corner of the window.
-
Once the task has been marked as complete, the owner of the parent incident or service request will be notified.