These instructions explain how to add your new Exchange Online mailbox, if you were already using Outlook to get your email.
This information is also available in PDF format >
Before you start: If you have never done so, sync your Raven password to the Blue Active Directory by running through the Change Password procedure using the UIS Password Management application at password.raven.cam.ac.uk. You can keep using your current password – the important part is that you run through the process one time only in order to trigger the sync with Blue, and then onwards to Azure, Microsoft’s Active Directory which ultimately controls your access to Exchange Online services. It may take up to 3 hours for your password to sync to Azure. You can’t complete the Exchange Online configuration until your Raven password has synced with Azure, and will get error messages when you try to log in. These errors will stop once your password has synced.
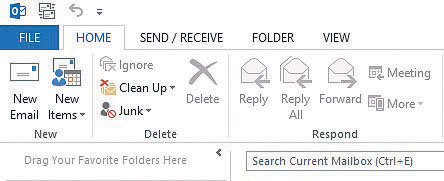
- If Outlook is currently running, click the X icon (top right) to quit:

- Click here to download the ExchangeOnline.msi file.
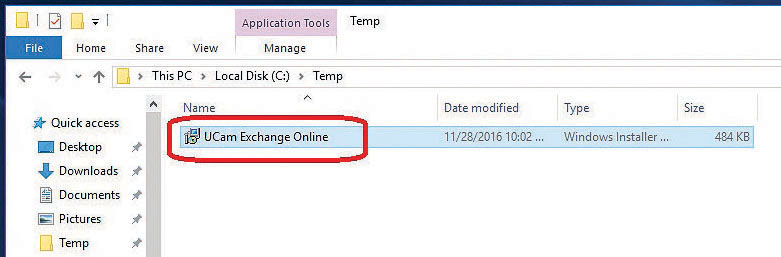
Locate the downloaded file on your local drive, and double-click on it to launch the installer:
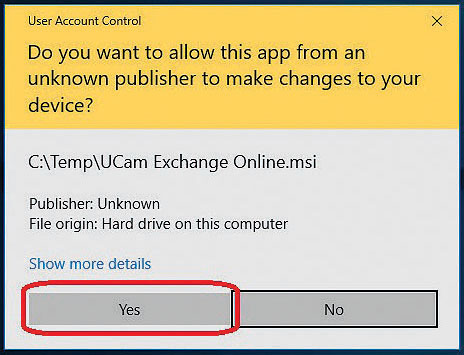
- Click Yes to allow the installation to complete:
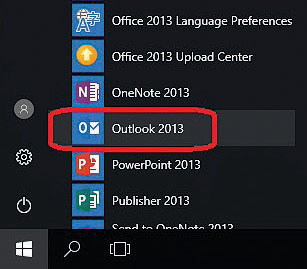
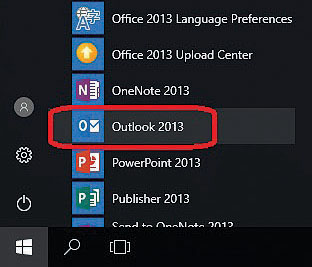
- From the Start menu, open Outlook:
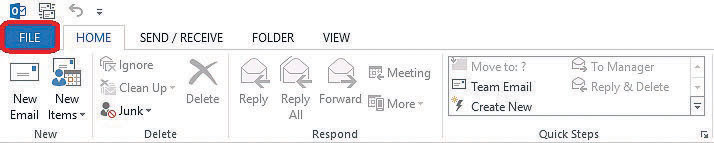
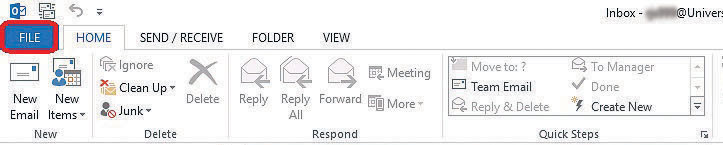
- Click the File link:
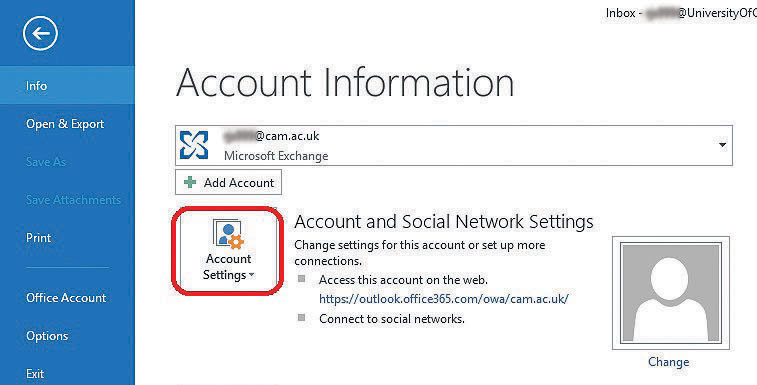
- From the Info tab, click Account Settings:
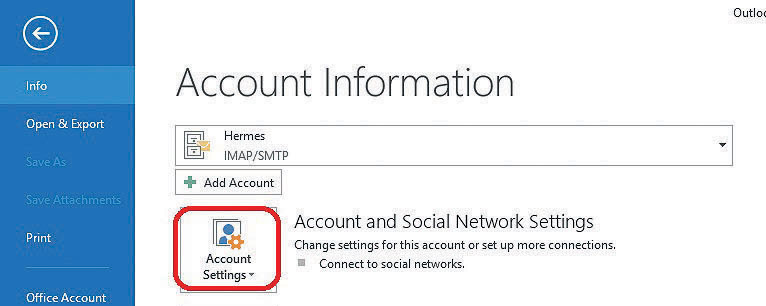
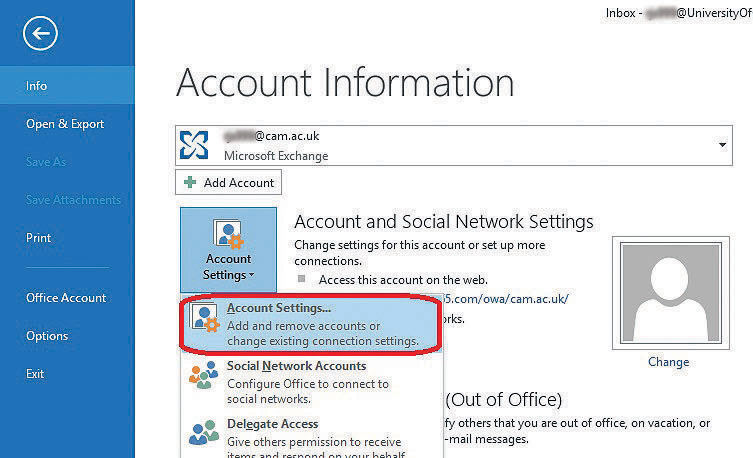
- From the drop-down menu that appears, choose Account Settings:

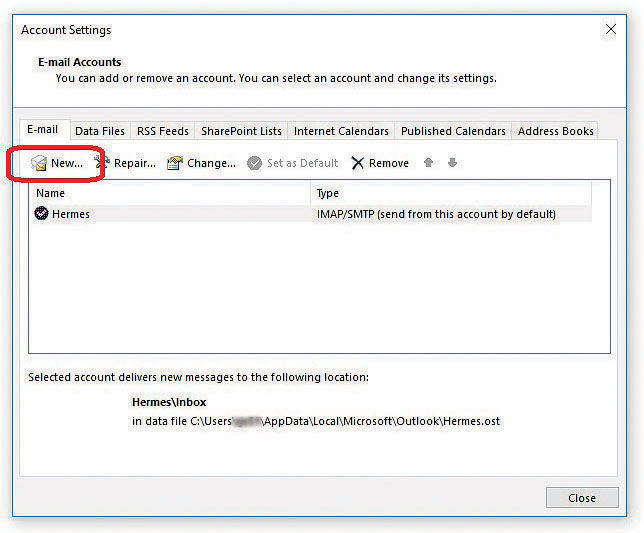
- From the Account Settings pop-up window, click the New button:
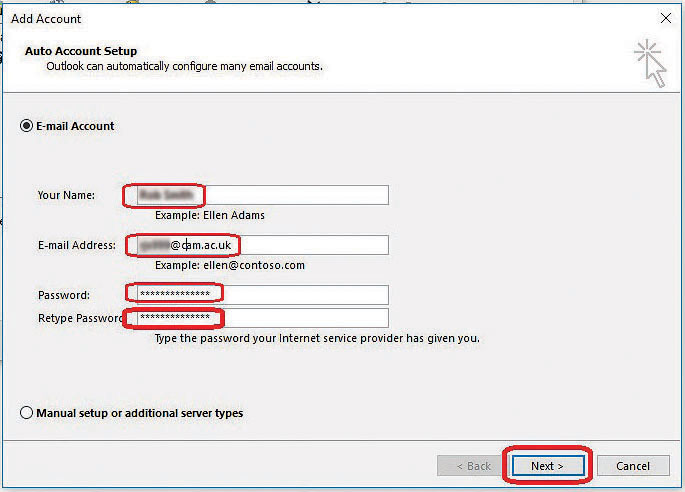
- In the Add Account pop-up, fill in the following details:
Your Name = your full name
E-mail Address = CRSid@cam.ac.uk
Password = your UIS Password
Click Next:
- Click Finish to close the Add Account pop-up:

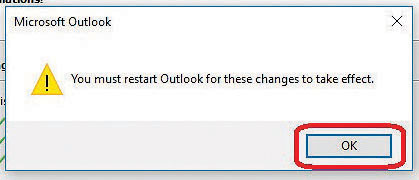
- Click OK to close the alert dialog box:
- Click Close to close the Add Account pop-up:

- Click the X icon (top right) to quit Outlook:
- From the Start menu, open Outlook:
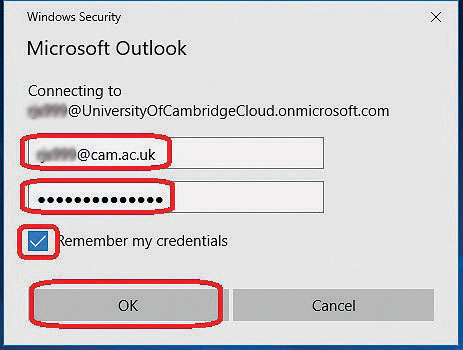
- Log in to your University of Cambridge Microsoft Account using your CRSid@cam.ac.uk as your username,and UIS Password:
- In Outlook, click the File link:
- From the Info tab, click Account Settings:
- From the drop-down menu that appears, choose Account Settings:
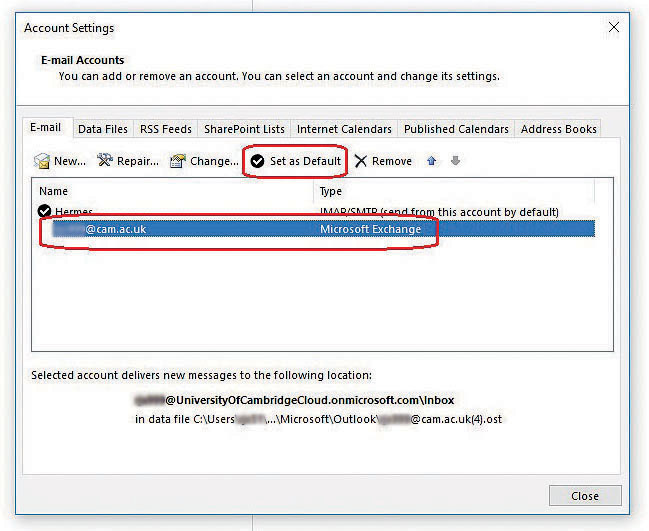
- Make sure your new account is highlighted, and click the Set as Default button:
- Click the Close button to close the Account Settings pop-up window:
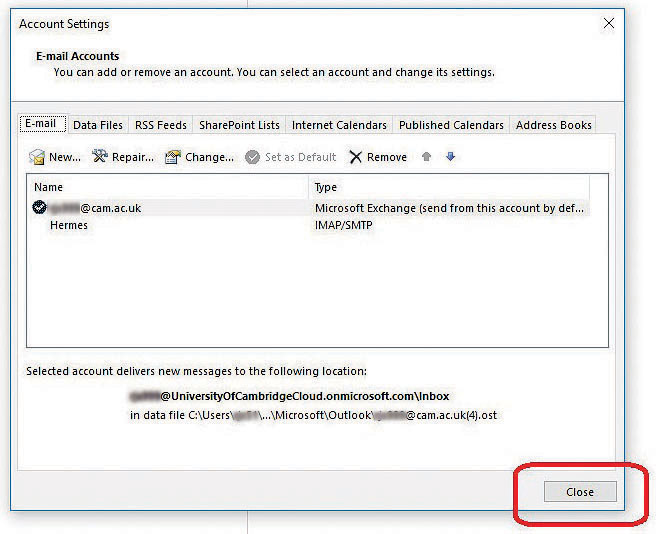
- You will now see your Exchange Online account shown as your default mailbox: