The following instructions are for macOS Ventura and Sonoma. Please refer to our separate instructions if your Mac is running Monterey. Apple no longer provides security updates for older versions of macOS, such as Catalina and Mojave, so we recommend that you do not use them.
Set up Trellix antivirus software on a device running macOS Ventura and Sonoma
-
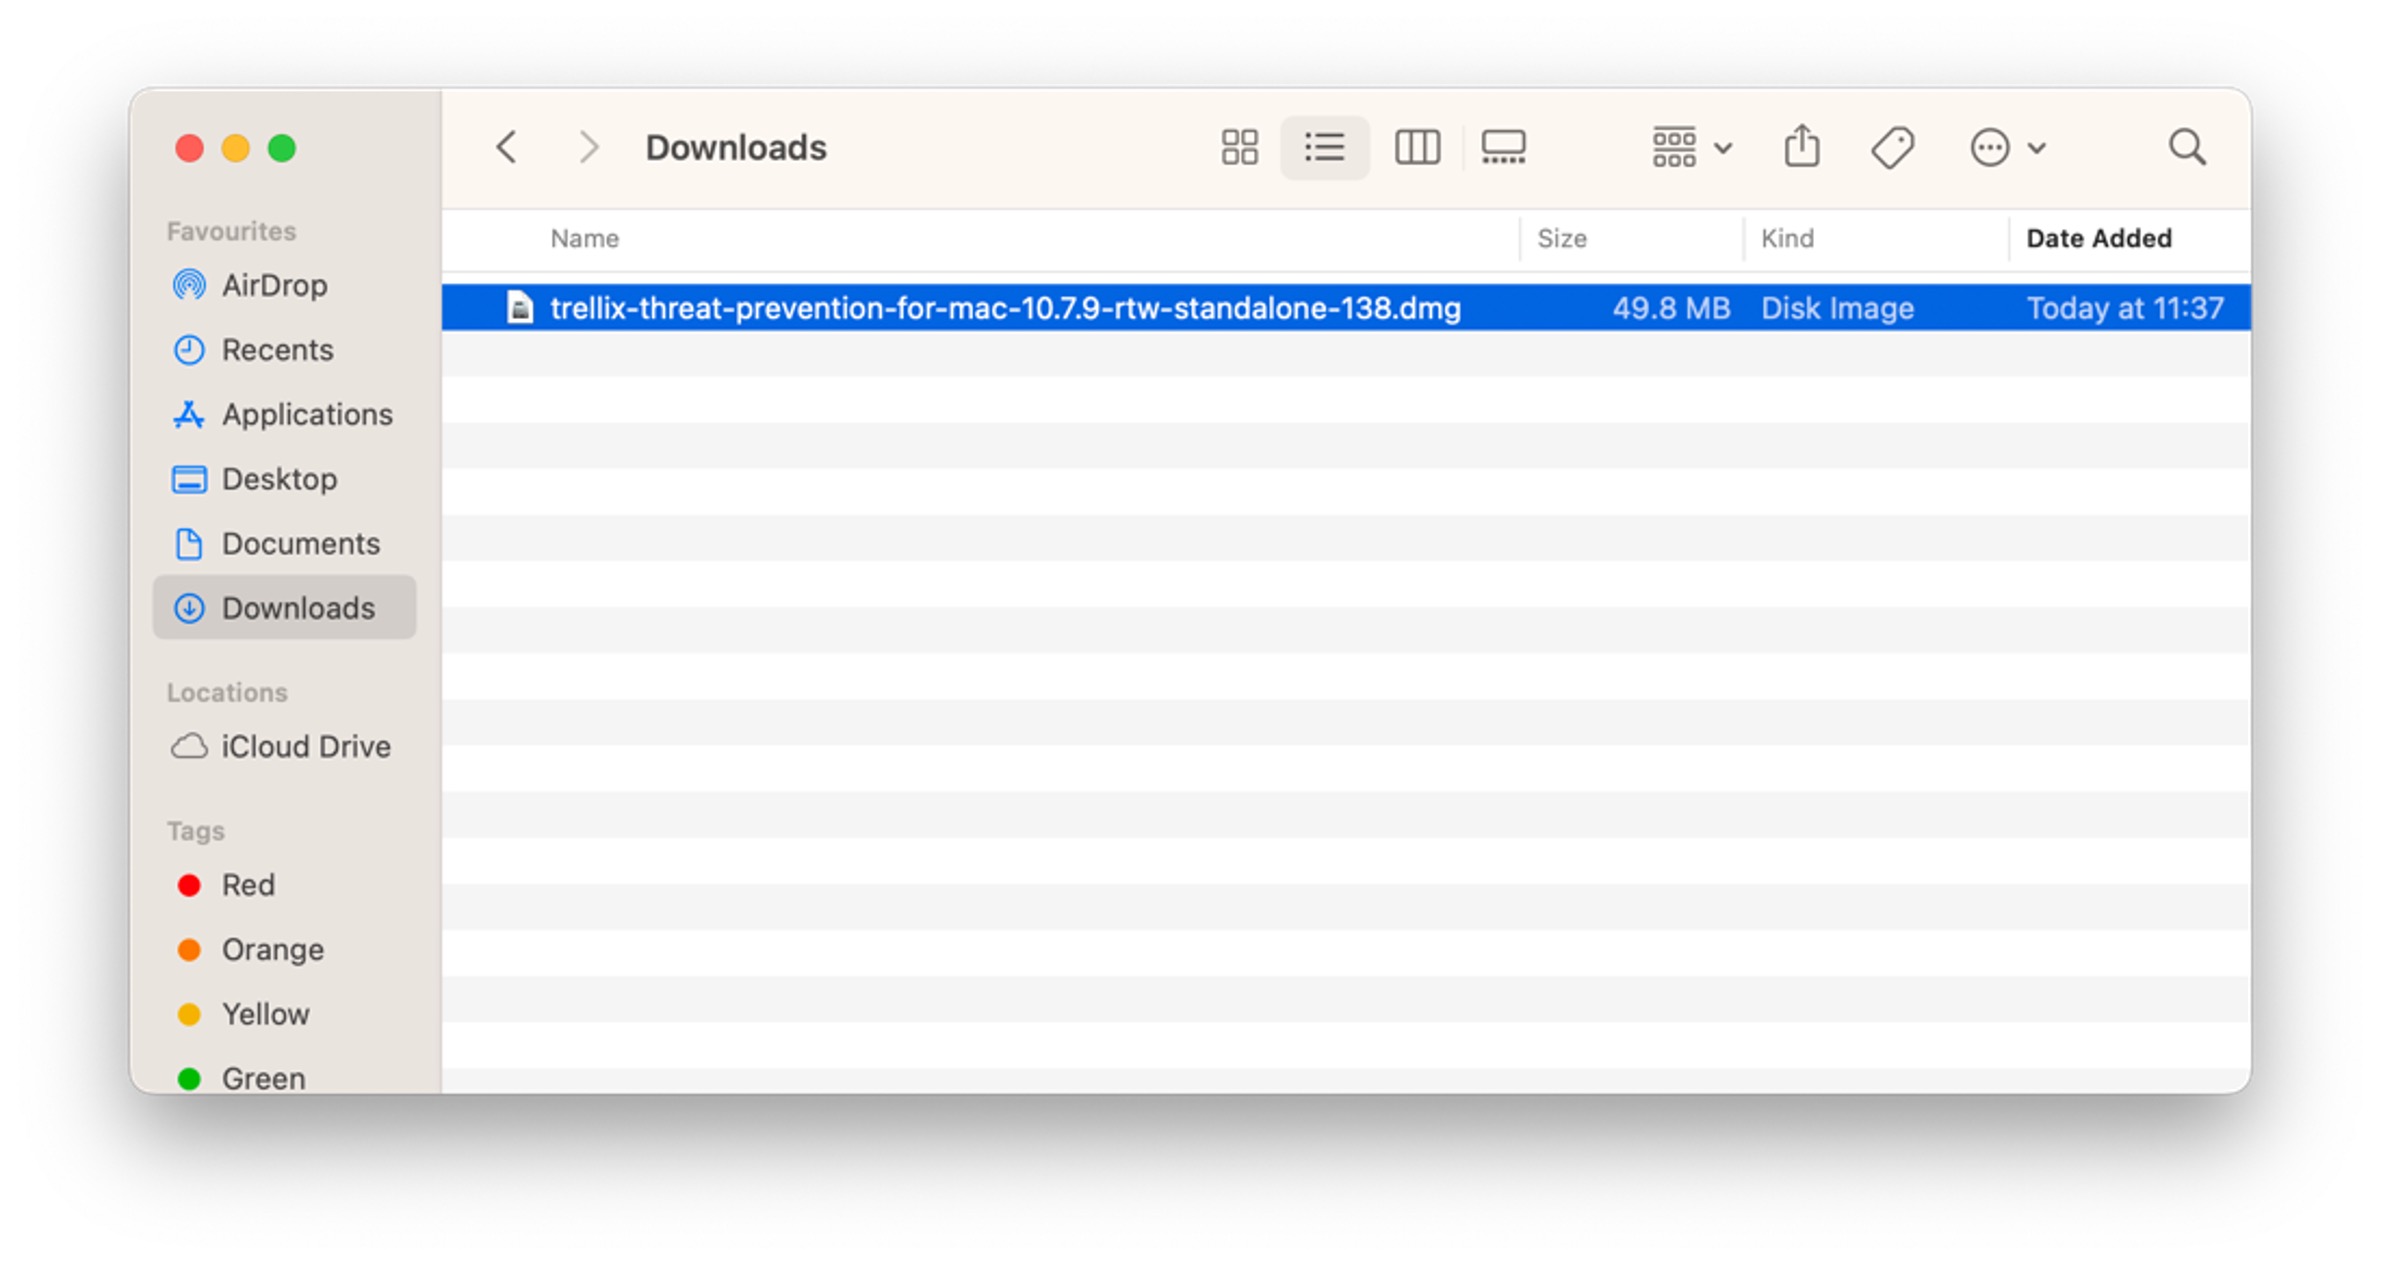
Download the Trellix installation software. (ENSM 10.7.9 updated September '23)
- Open your 'Downloads' folder and double click the downloaded file to open it.
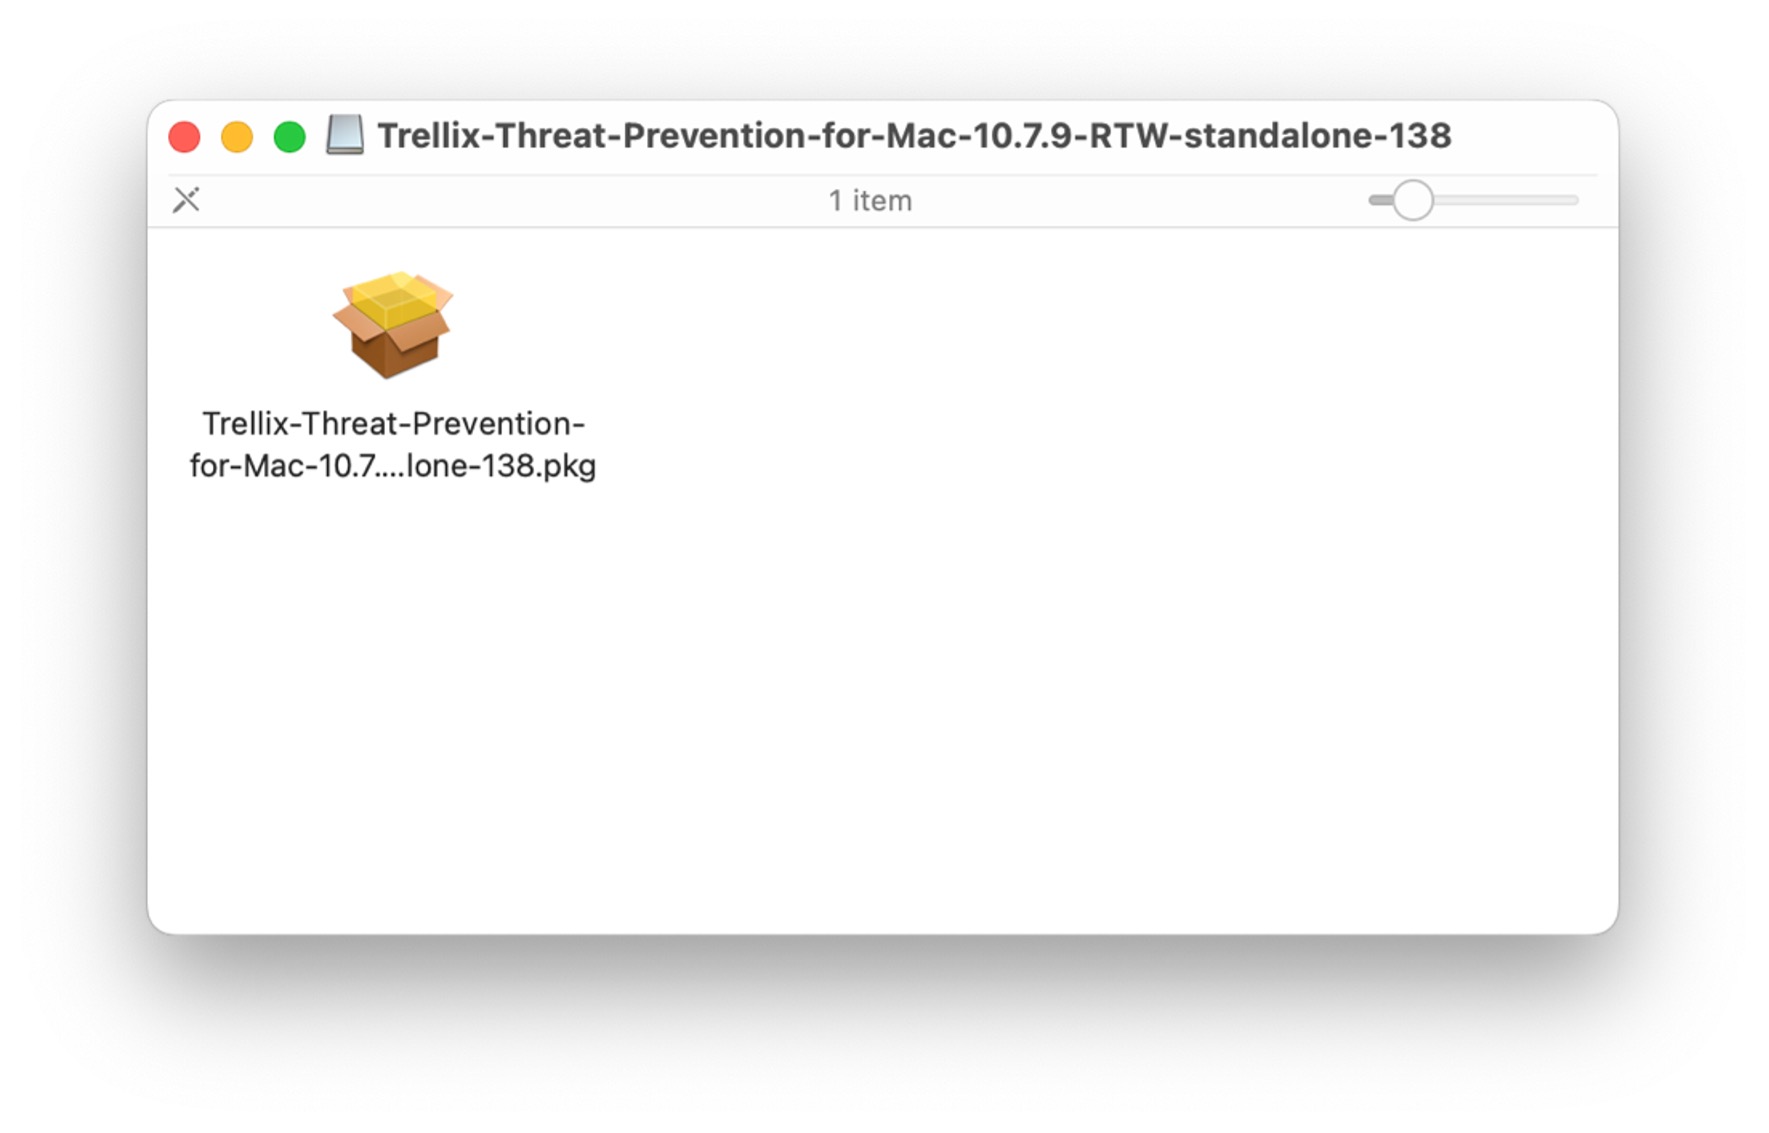
- Open the 'Trellix Endpoint Security' installer package inside the downloaded file.
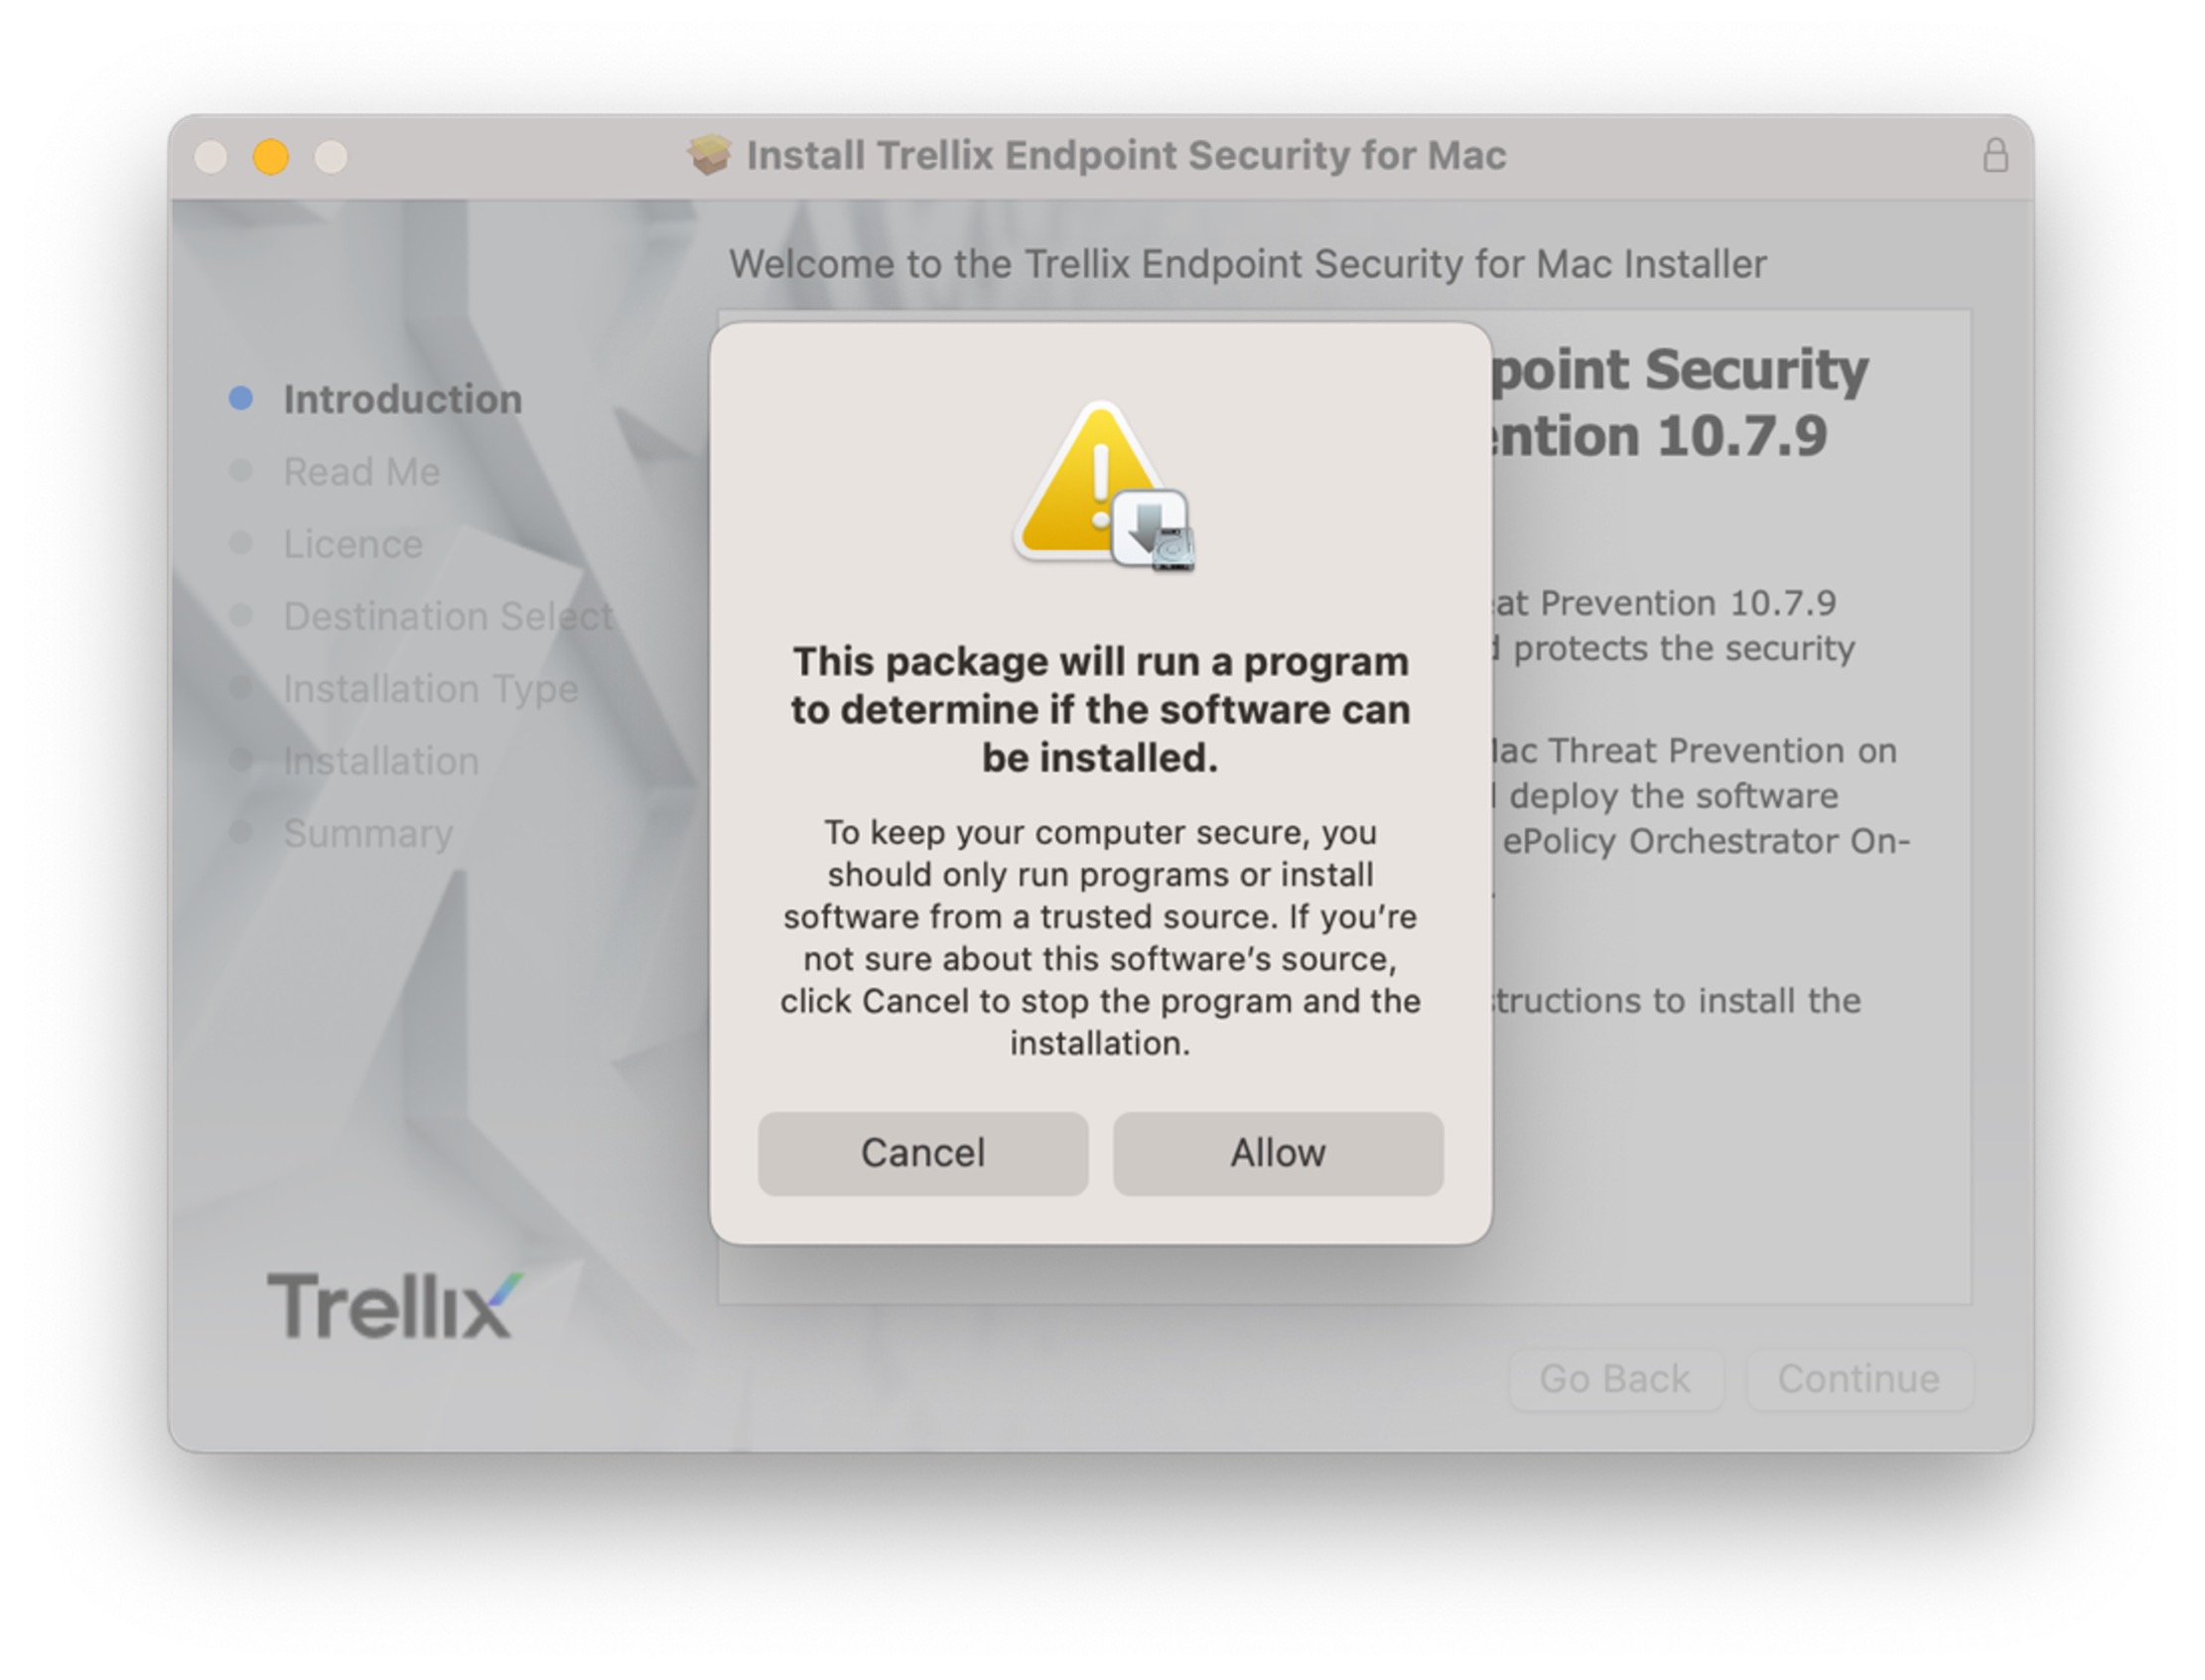
- When prompted to run a program to determine if the software can be installed, select ‘Allow’.
-
Select ‘Continue’ when you see the installer’s ‘Welcome’ screen.
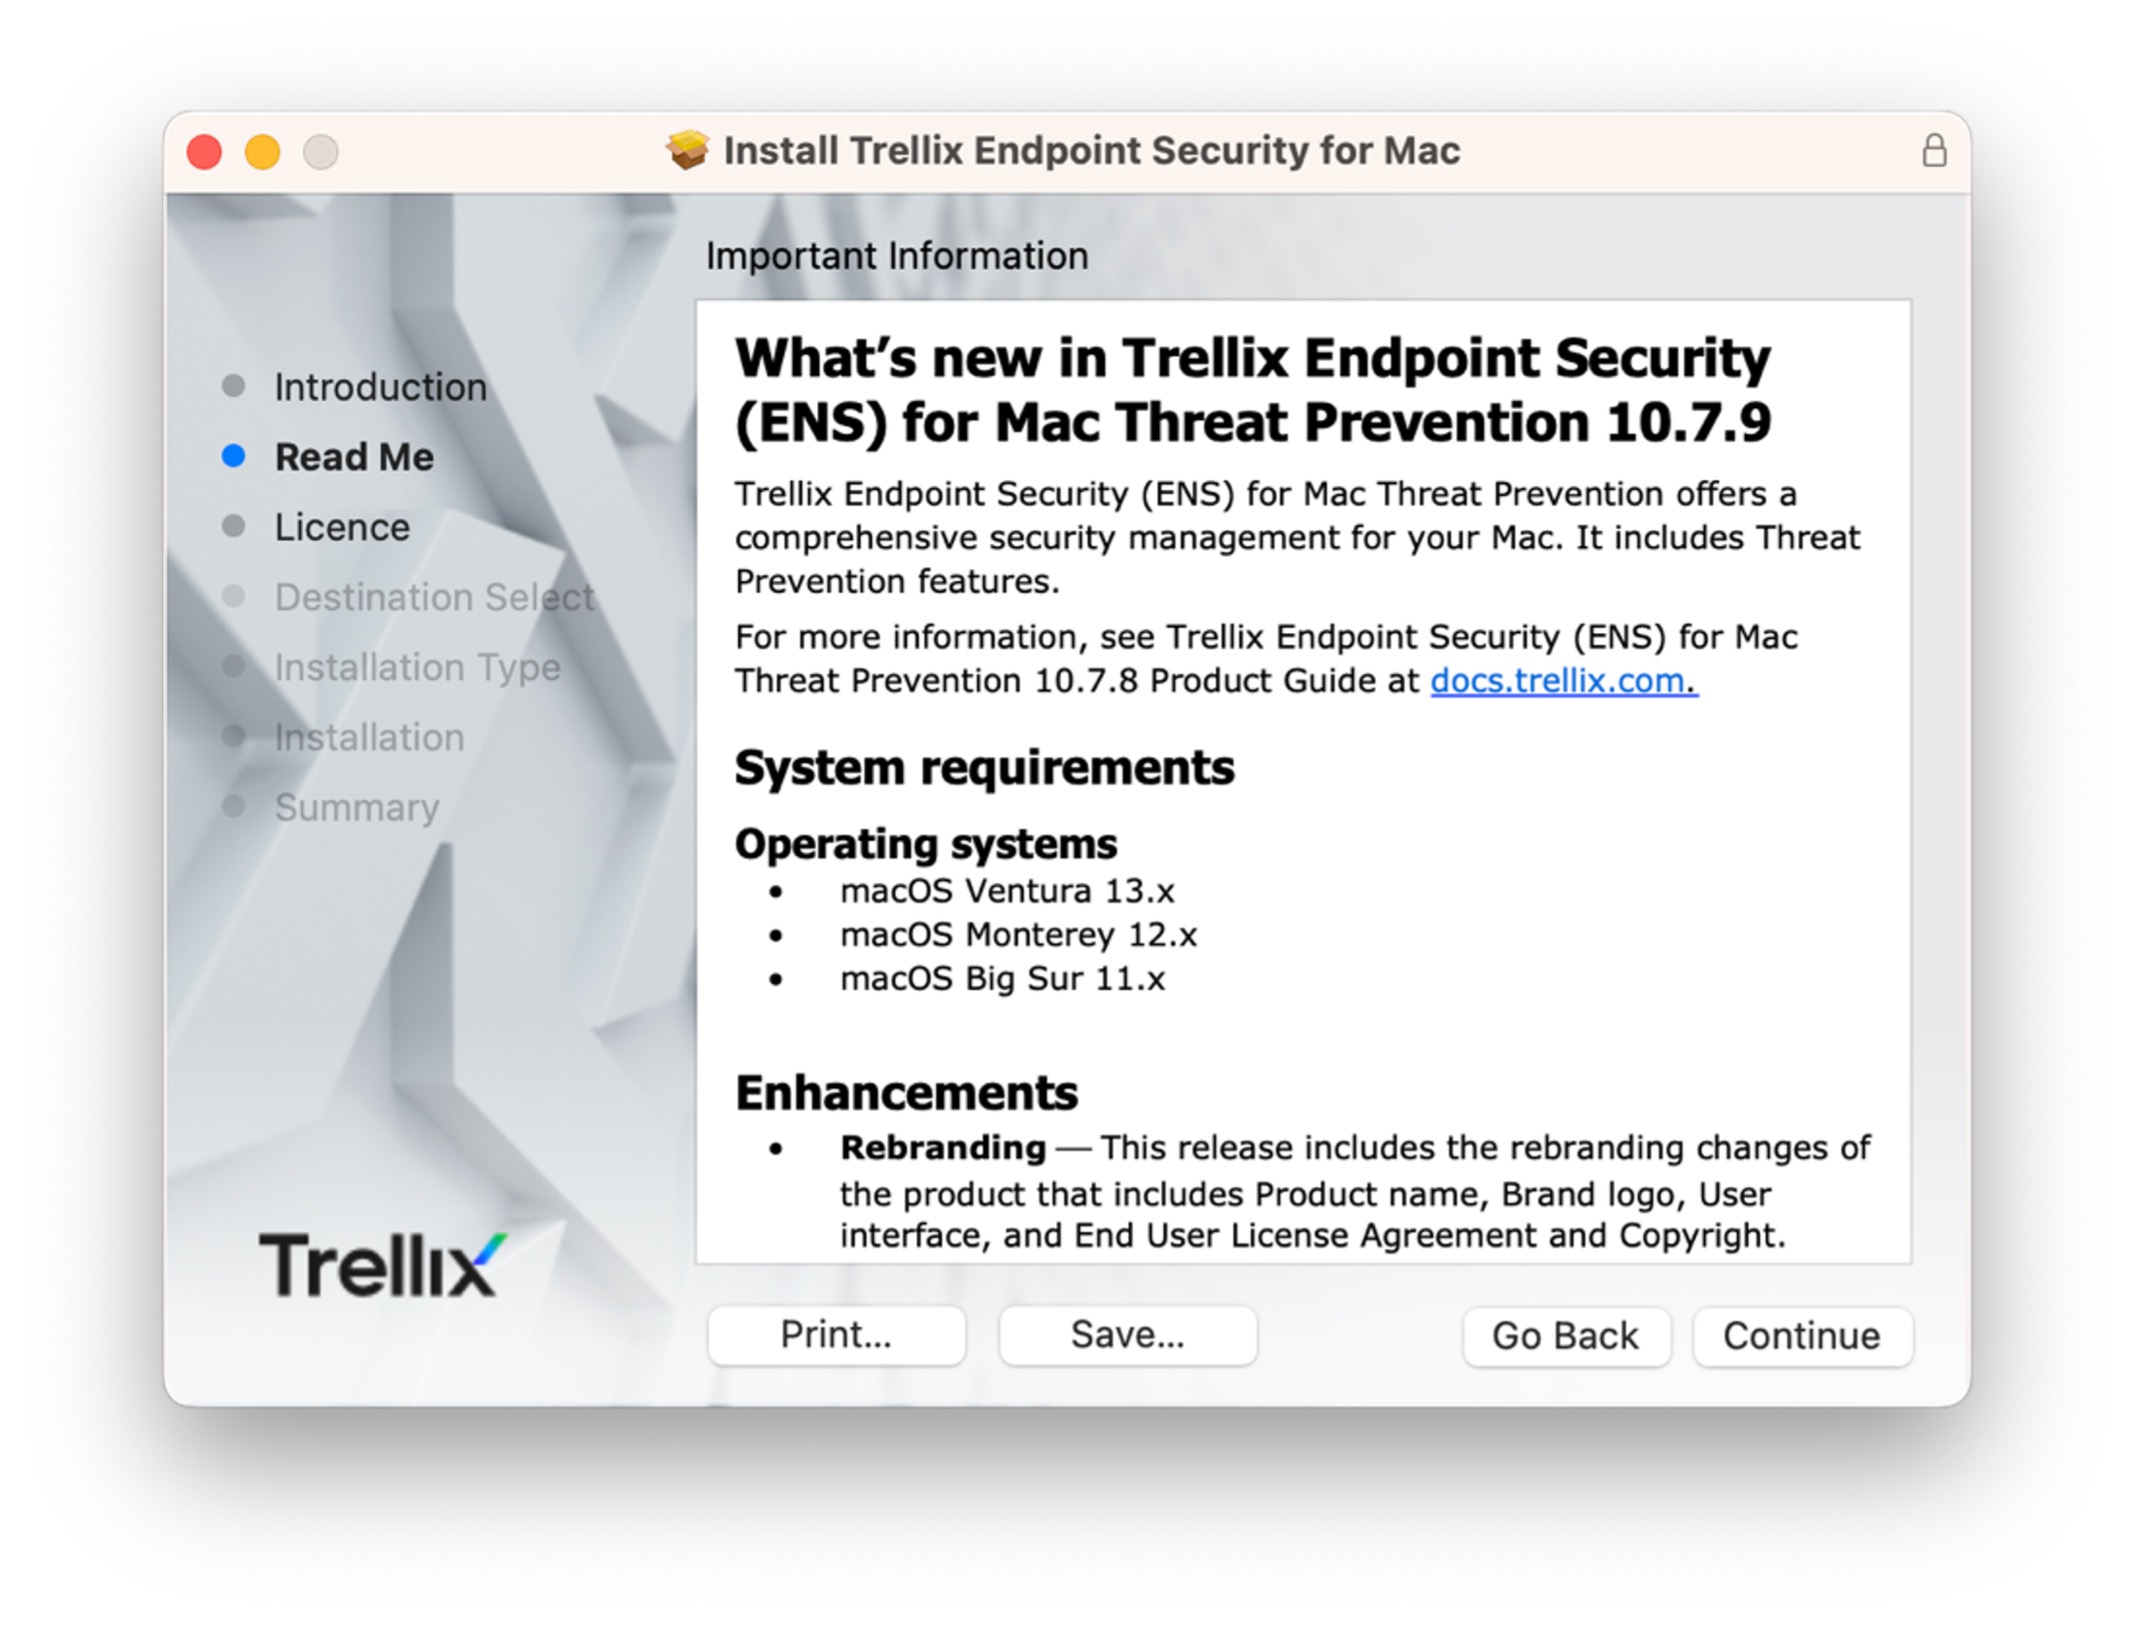
- Select ‘Continue’ on the ‘What’s new’ screen.
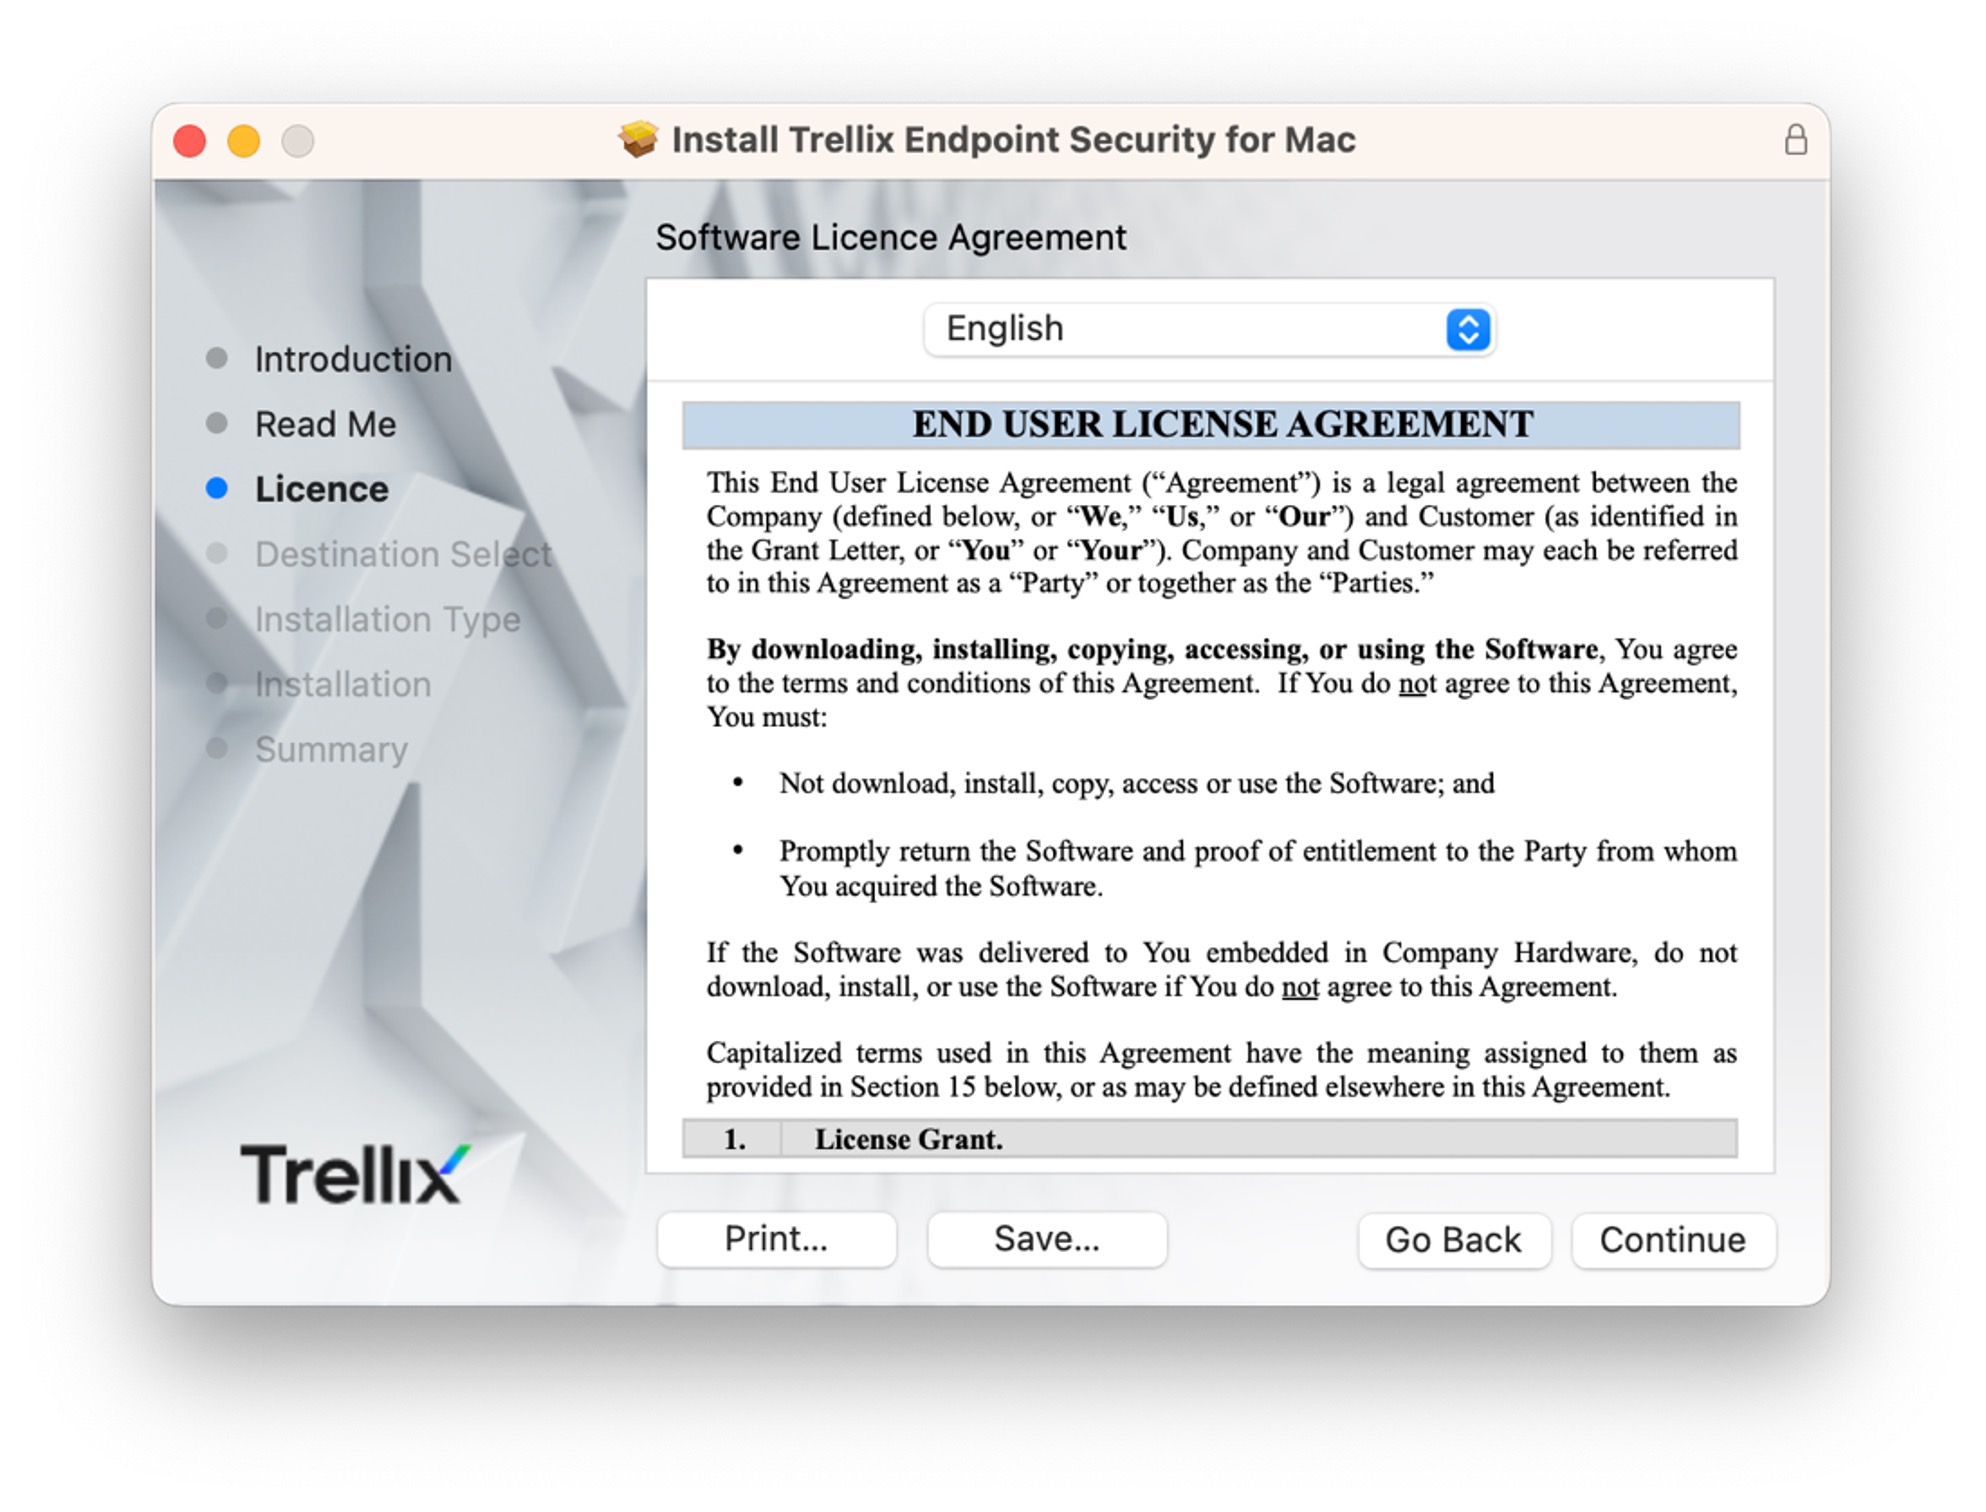
- Select ‘Continue’ then ‘Agree’ on the ‘Software Licence Agreement’ screen.
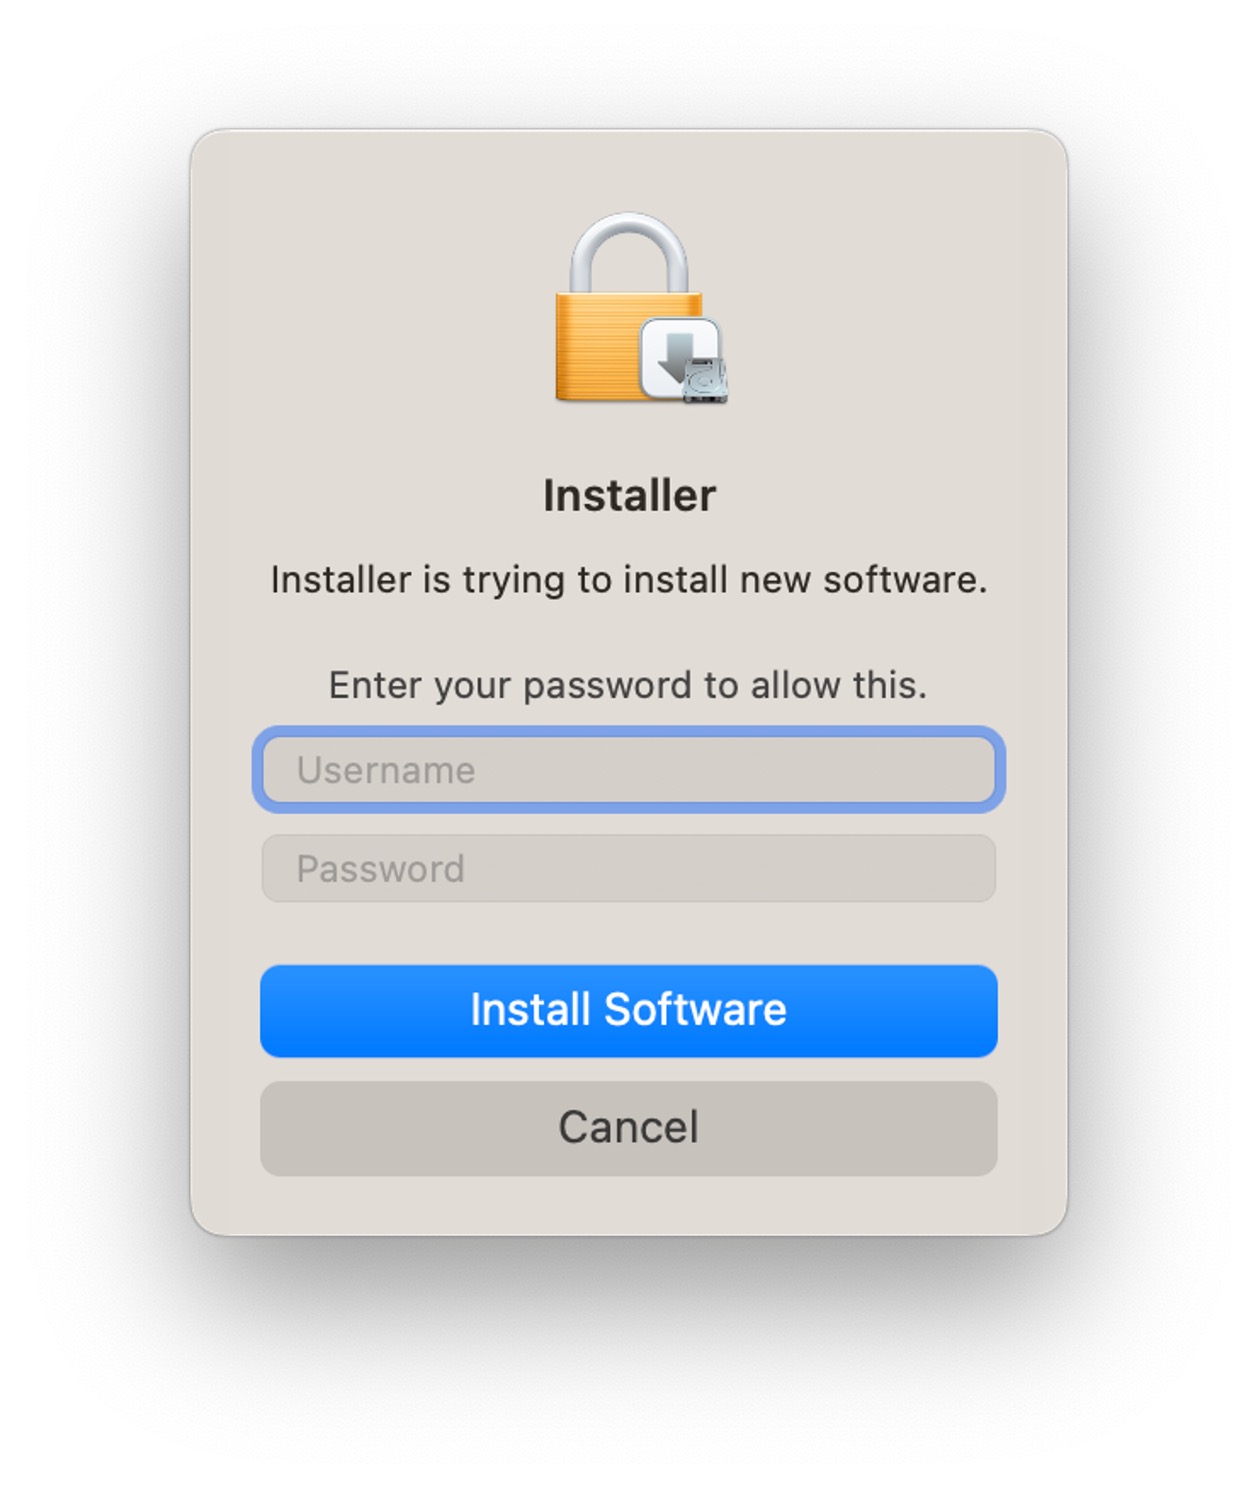
- Select ‘Install’ on the ‘Install’ screen. You’ll be asked to enter an administrator’s username and password or use Touch ID to allow this.
-
When installation is complete, you may be prompted to move the installer to the bin. Choose ‘Move to Bin’.
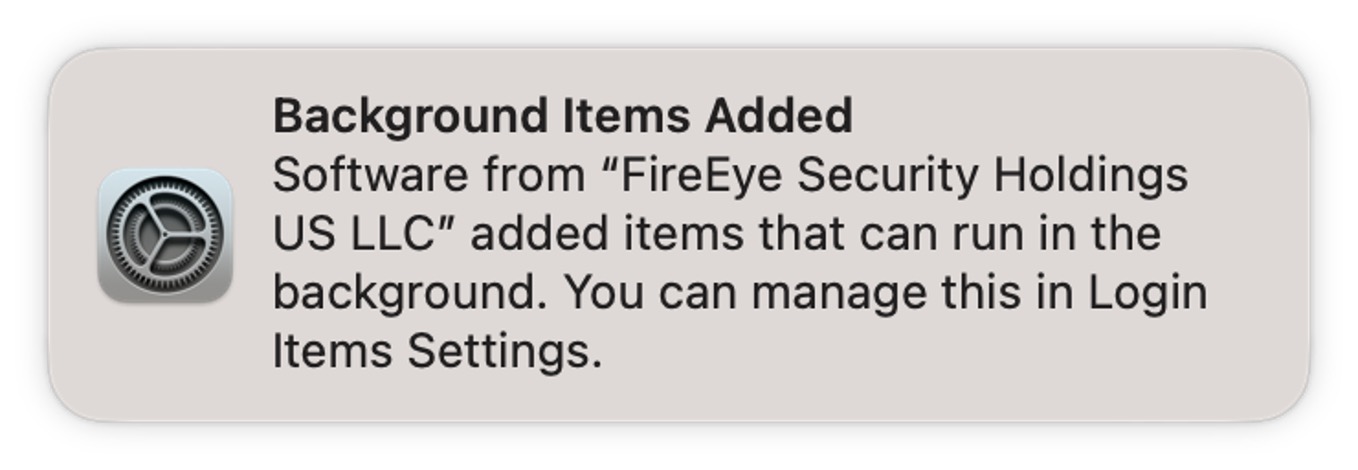
- You will see a notification that FireEye Security Holdings has installed background software.
-
Open ‘System Settings’ from the Apple menu.
-
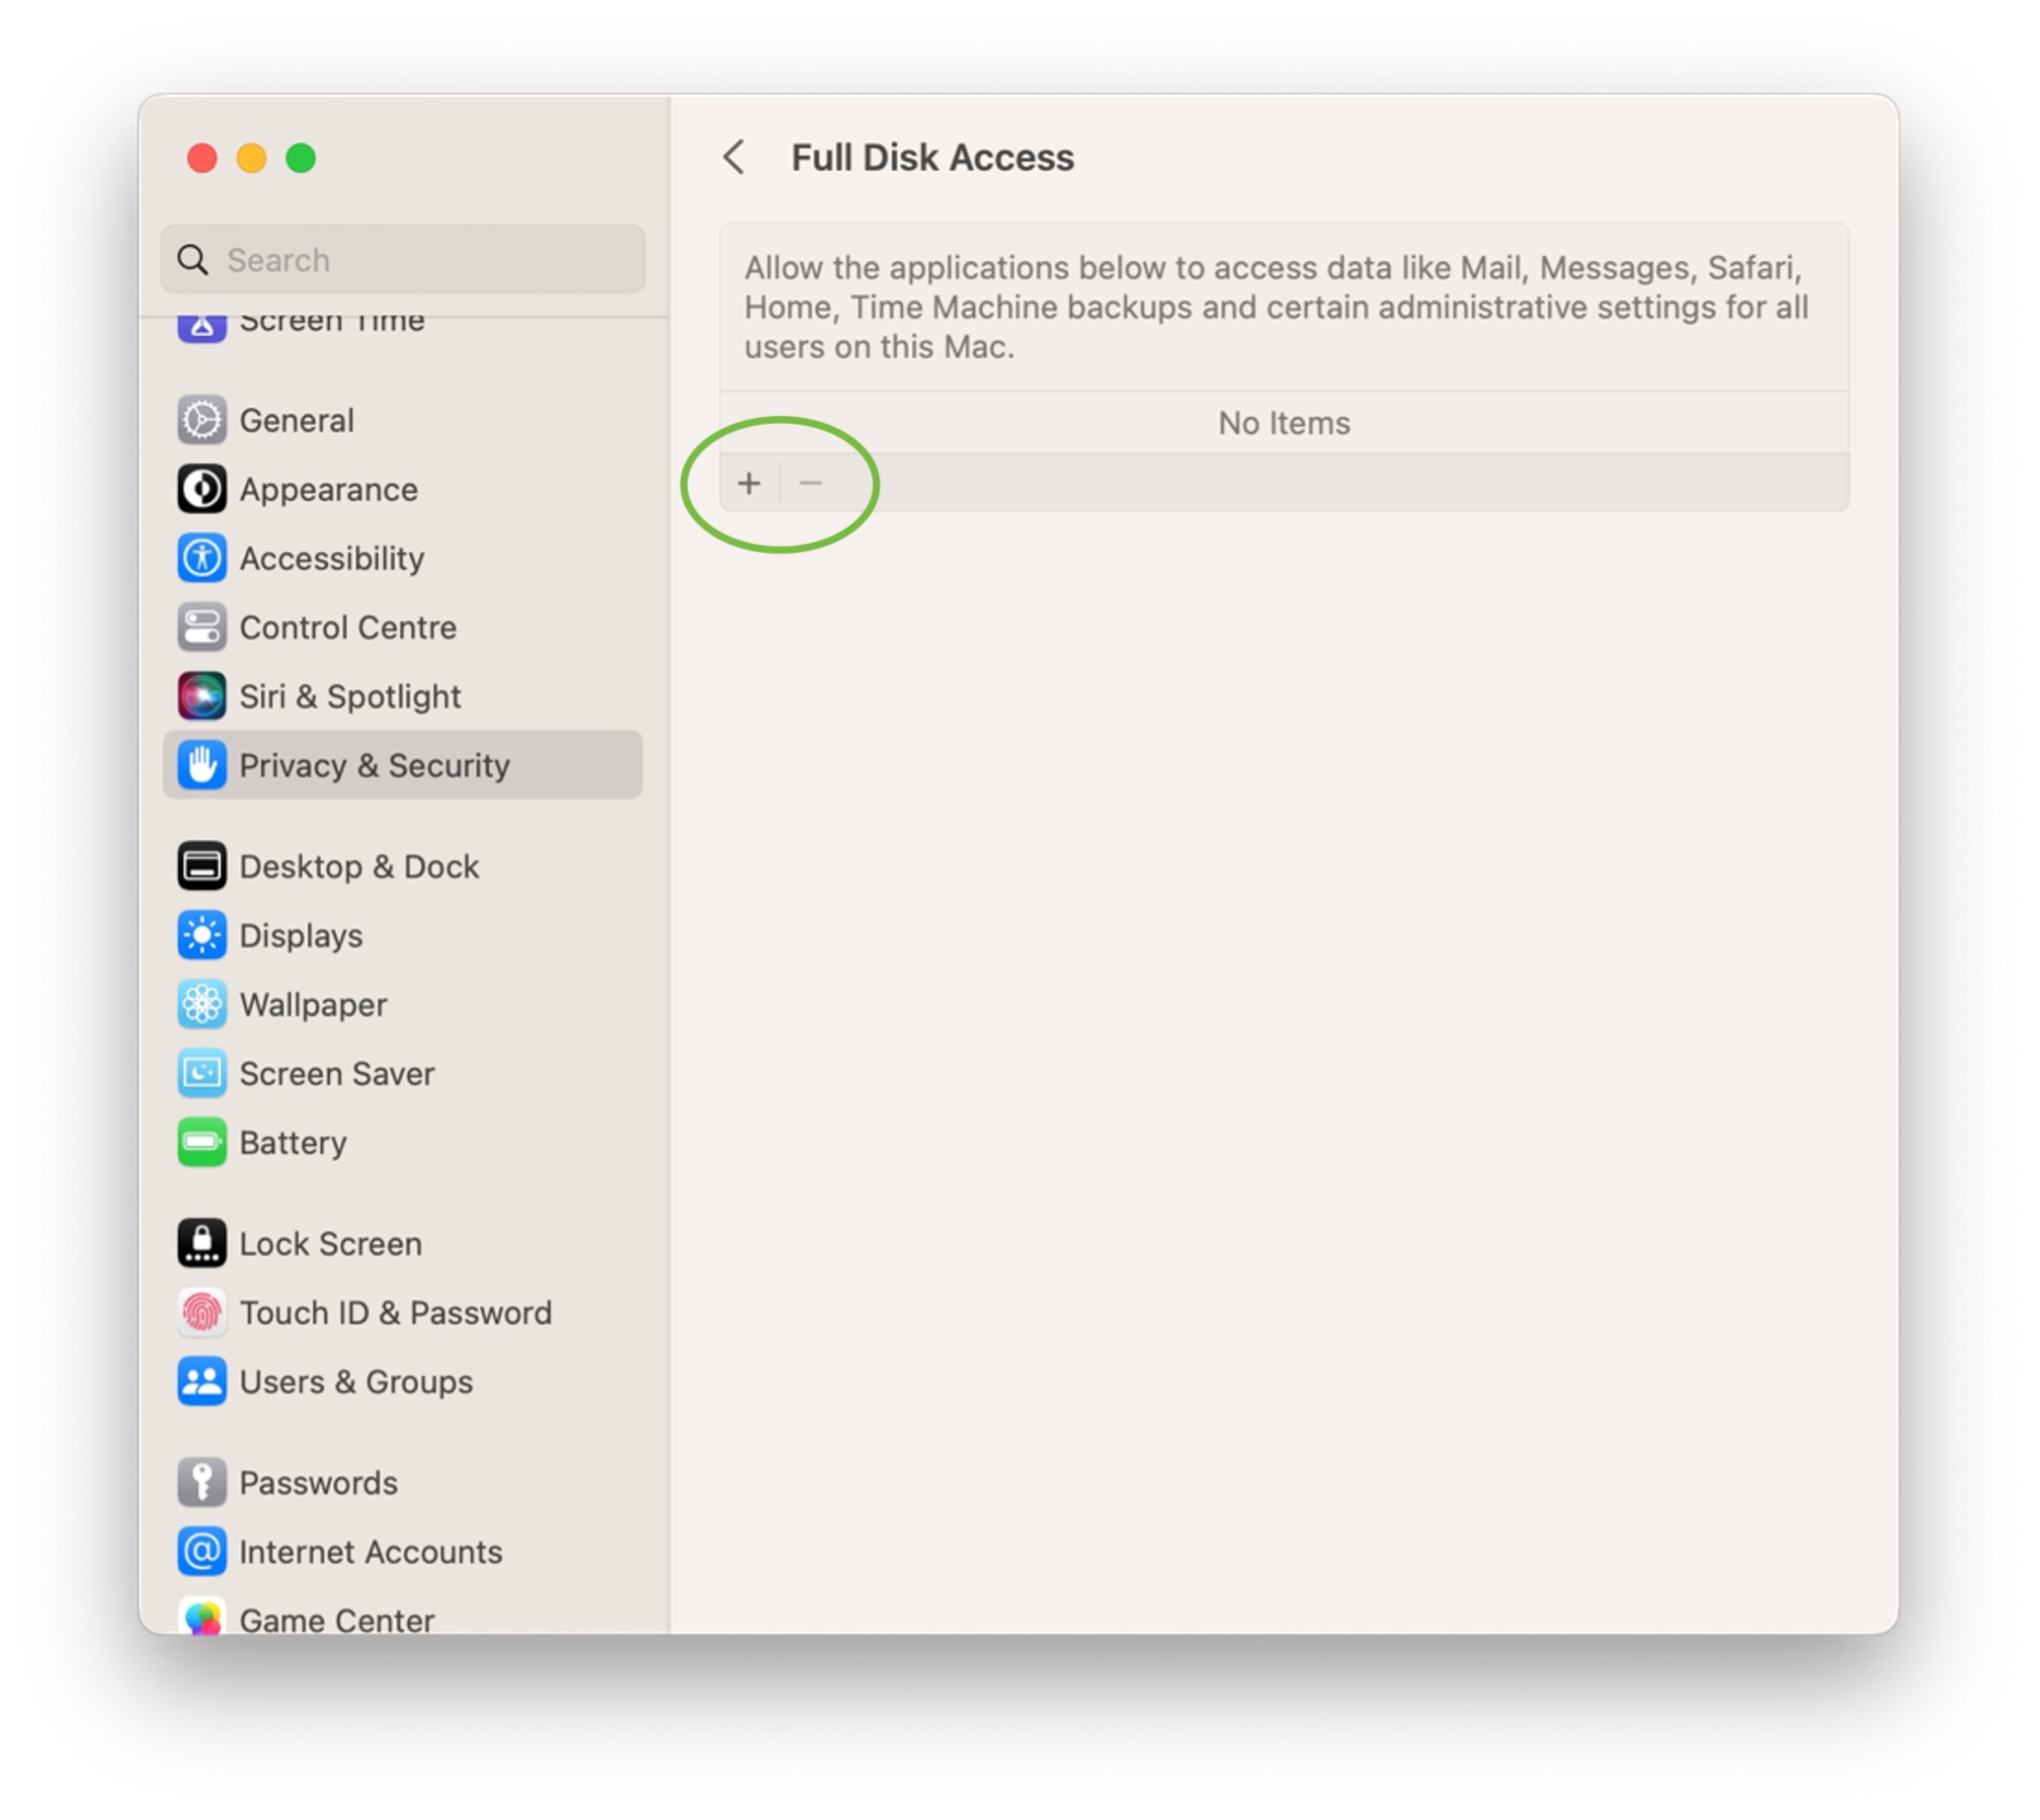
Choose ‘Privacy & Security’ from the list on the left and then ‘Full Disk Access’.
- Choose the ‘+’ icon.
-
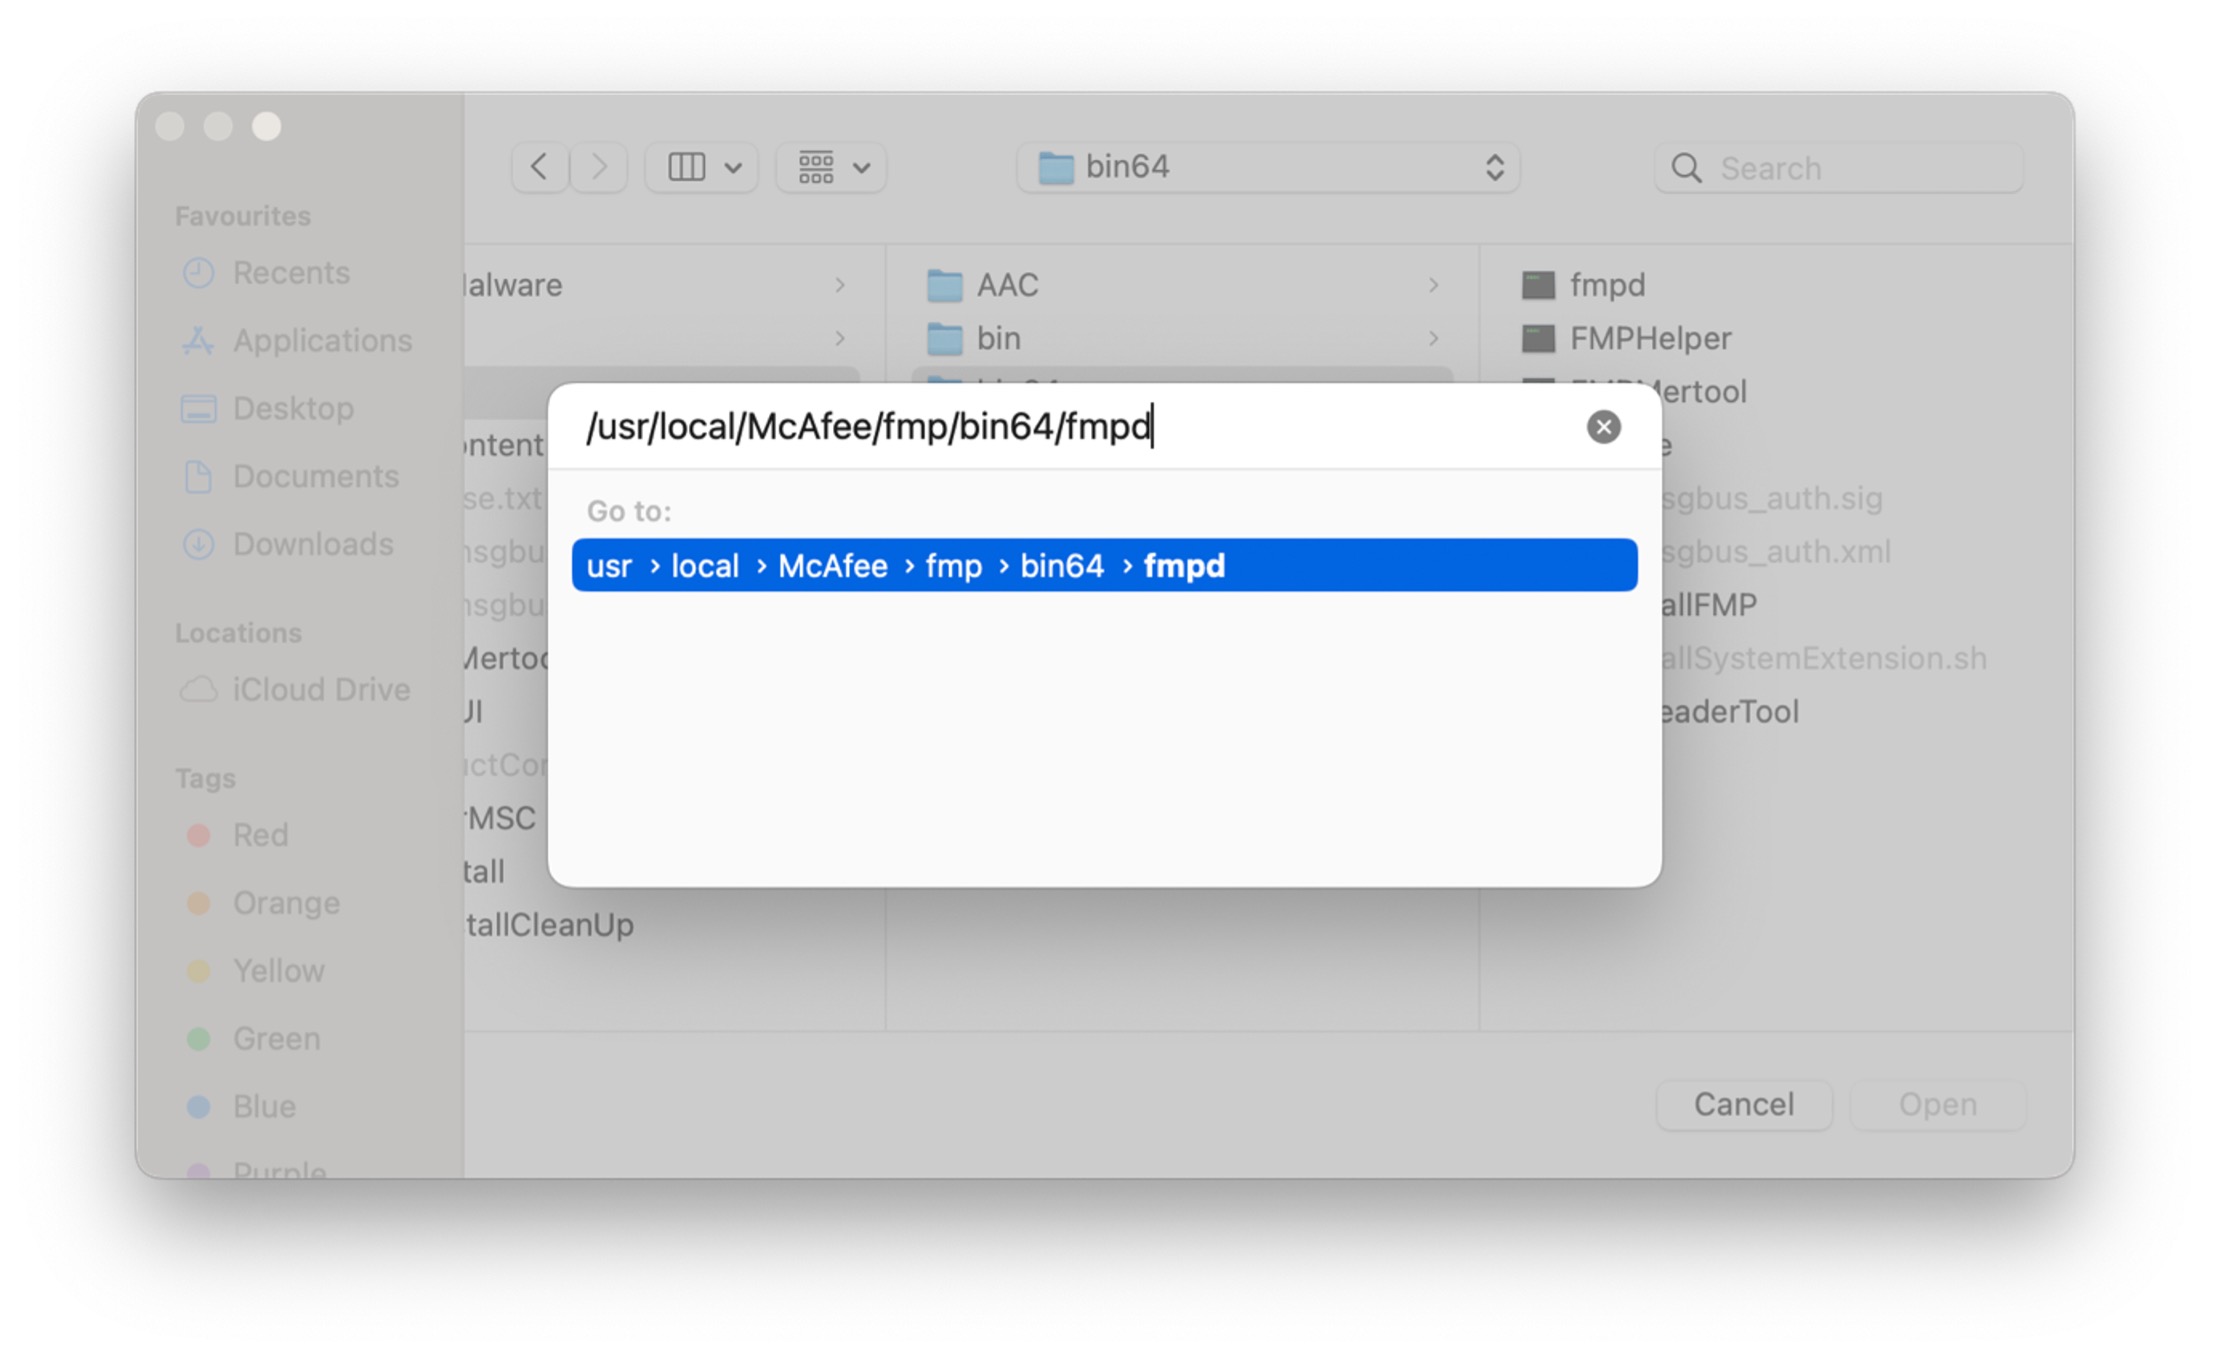
Press ‘Command’ and ‘Shift’ and ‘G’ at the same time.
-
In the window that appears, type the following path and then press ‘Enter’: /usr/local/McAfee/fmp/bin64/fmpd
Select 'Open' to enable that application. -
Repeat steps 13–15, but enter the path: /usr/local/McAfee/AntiMalware/VShieldScanner
-
Repeat steps 13–15, but enter the path: /usr/local/McAfee/AntiMalware/VShieldScanManager.app
-
Close ‘System Settings’.
- Open ‘Trellix Endpoint Security for Mac’ from the ‘Applications’ folder.
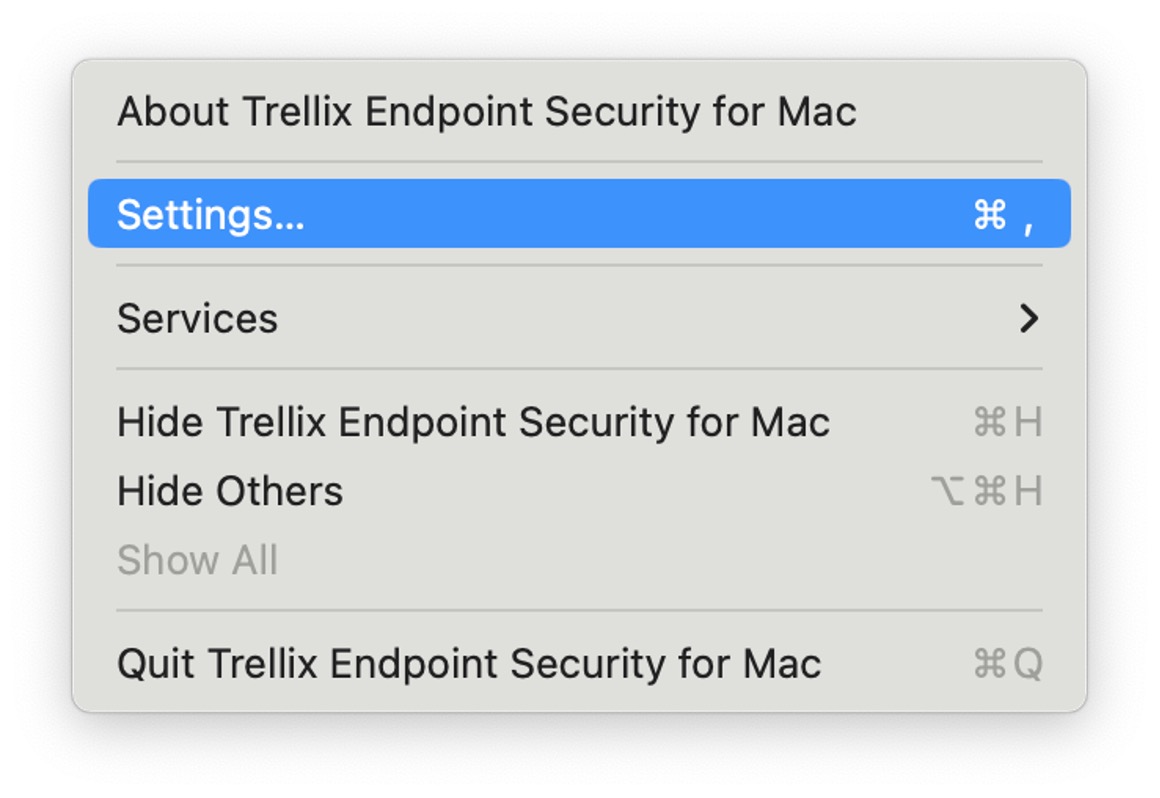
- Choose ‘Settings’ from the application menu.
-
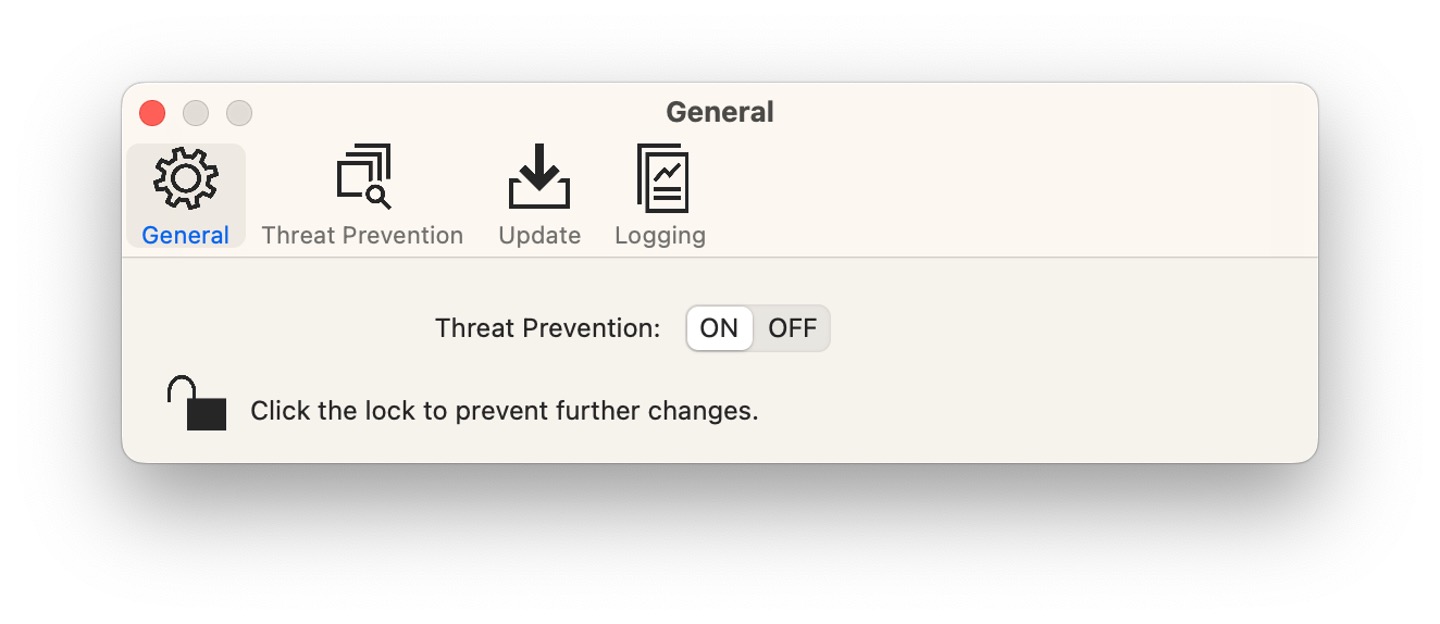
Select the padlock to unlock the settings. You’ll be asked to enter an administrator’s password.
- Set ‘Threat Prevention’ to ‘On’.
-
Close ‘Settings’ and ‘Trellix Endpoint Security’.