How to move your files off the M: Drive to your OneDrive manually (drag-and-drop method).
Before you start
You must be logged in to your managed UAS Desktop on your work computer. Either:
-
In the office: log in to you work PC/laptop while it is connected to the University of Cambridge network (i.e. the ACN Network), or
-
Working remotely: log in via the ACN Remote Access Service. See: Remote access when working away from the University.
1: Drag-and-drop your files from the M: Drive to your personal OneDrive
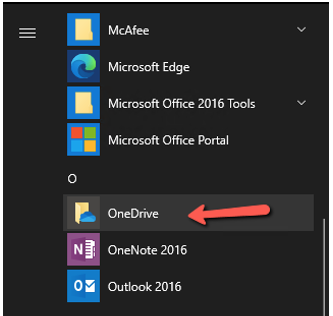
1. Open the OneDrive app from the Start menu:
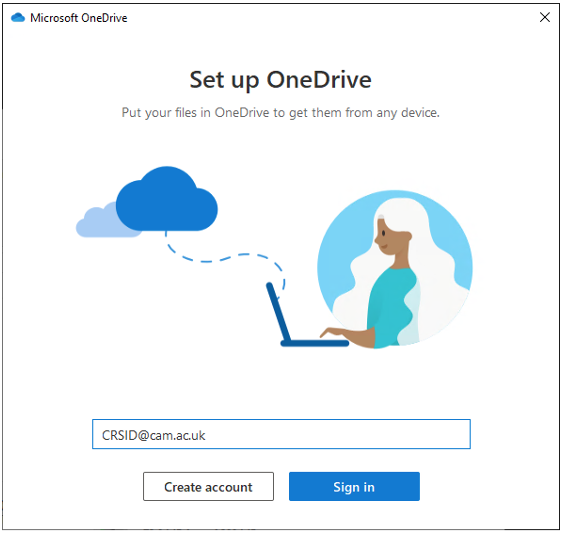
2. You will see the Set up OneDrive screen, prefilled with your CRSid@cam.ac.uk email address. Click the Sign in button:
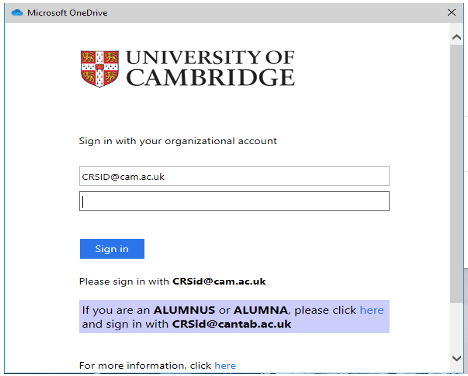
3. ...and you will be transferred to the standard University Microsoft login pop-up window.
Enter your Raven password and click the Sign in button:
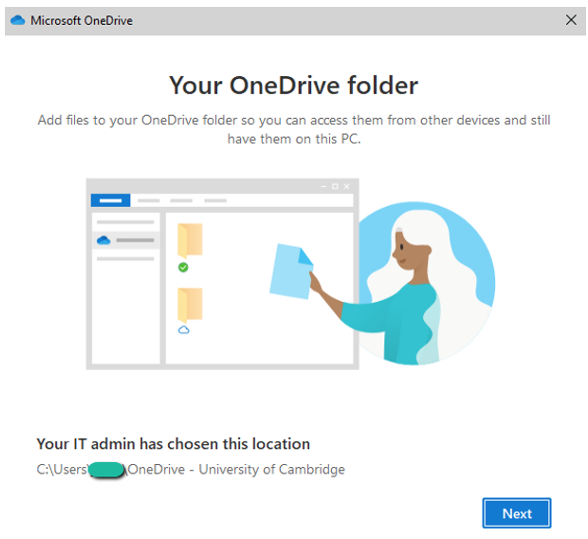
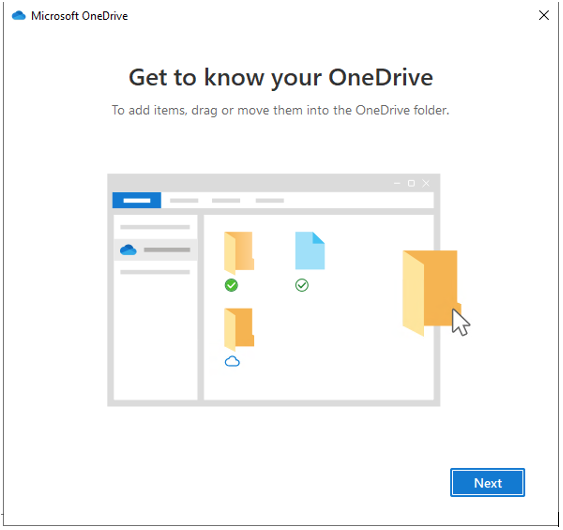
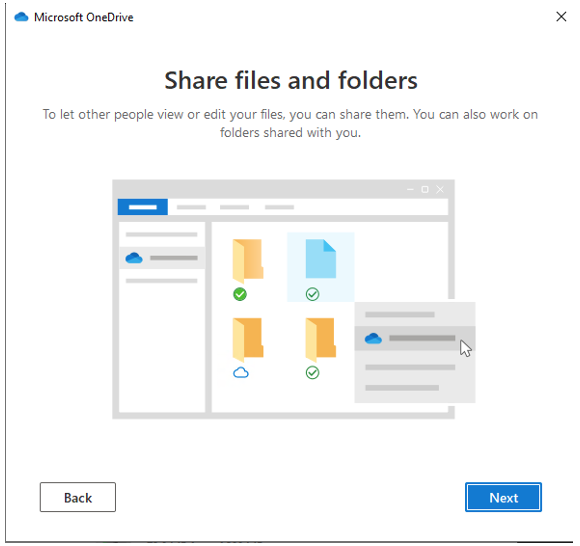
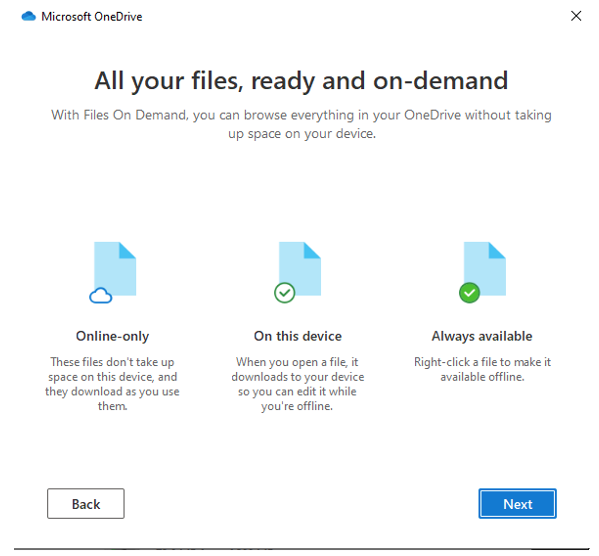
4. Click the Next buttons to set up your OneDrive configuration using the default options:
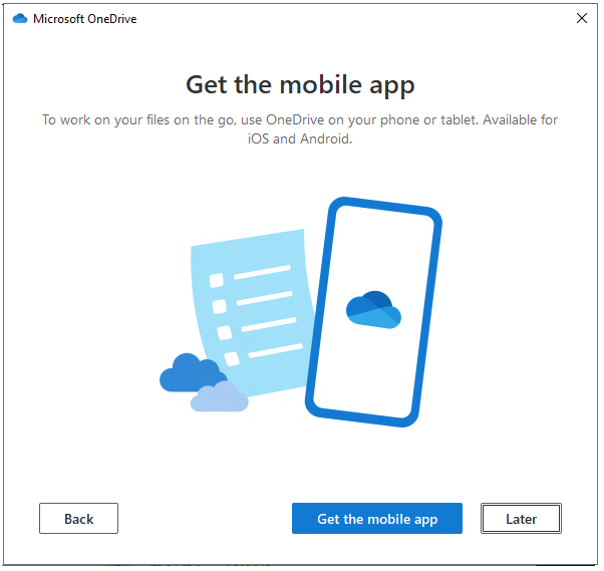
Click Later to skip downloading the mobile app for now (you can get the mobile app any time from your device's app store, e.g. Google Play or Apple's App Store):
Finally, click the Open my OneDrive folder button:

5. You will now see your OneDrive – University of Cambridge area:
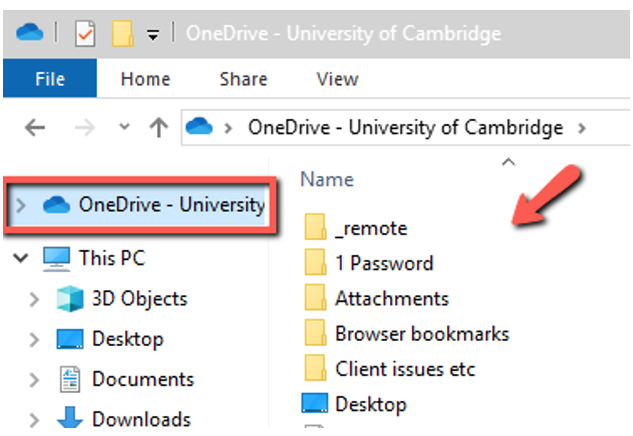
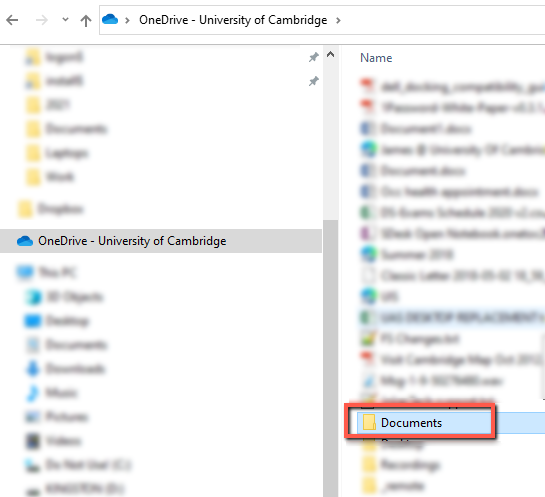
6. Locate the Documents folder and open in a new Explorer window in the University of Cambridge OneDrive area:
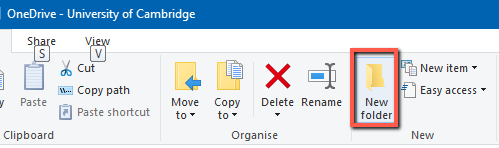
NOTE: If you don't have a folder called Documents in your main OneDrive area, create one by selecting clicking the New Folder icon in the Ribbon toolbar at the top of the screen:
7. Locate and open the M: Drive (it is in your Network locations alongside drives such as K:, R: etc.):

8. With both the M: Drive and your OneDrive areas open on screen, highlight the files in the M: Drive that you want to move and drag-and-drop them into the OneDrive Documents window to start the file upload:
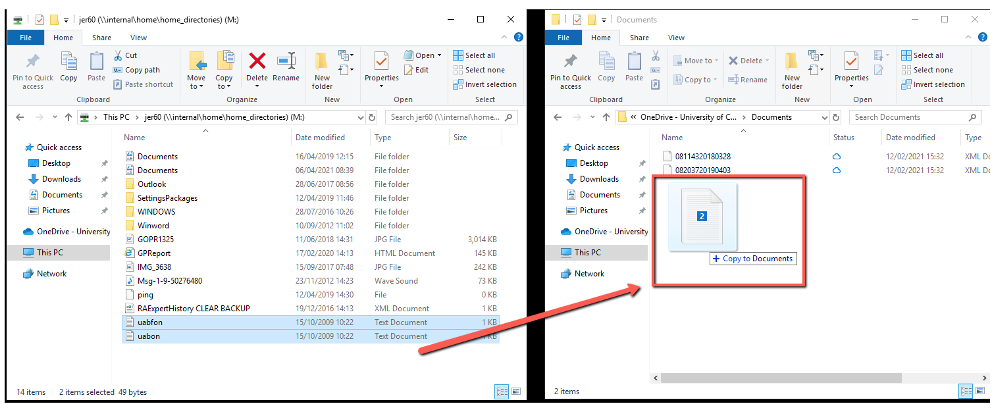
IMPORTANT: Please allow for time for your files to upload to OneDrive. Depending on the amount of data being uploaded, it may take up to 30 mintues. In the Status column, you will see a blue cloud icon beside each filename to indicate that it has finished uploading.
9. Once you have moved/copied over the items from your M Drive to your University OneDrive Documents folder you will now be ready to see those items in the Citrix workspace.
IMPORTANT: You should now stop using the M drive because anything you save there will not be available to you in AppsAnywhere. Complete Step 2 below to remove the drive mapping.
2: Remove your M: drive mappings to prevent file sync problems
Once your confident your M:Drive data has been migrated to OneDrive you must to remove the M: drive mapping from the File Explorer under your profile.
- Navigate to File Explorer and then to the J: drive:

- Double-click the MDriveremove-Shortcut and follow the prompts.
- The M: drive mapping will be removed from your profile over night to prevent you accidentally making changes that will not be synced to your OneDrive.
3. If you want to use AppsAnywhere: set OneDrive as your default Documents folder
You now need to configure your UMD Desktop in AppsAnywhere to use OneDrive as your default document storage. See: